
Start with the surface, not the print
Smudging usually begins before the trigger is pulled. Cardboard with loose dust, timber with saw residue, and steel with oil all affect how the ink sits on the surface.
Wipe the print area first. Dry cloths suit clean cartons. Solvent wipe can help on oily steel, while a light brush-down is often enough on timber that has surface dust but no heavy resin. If the surface feels damp, wait until it is dry enough for the ink to bond properly.
- Keep the print zone flat where possible.
- Remove dust, grease and loose fibres.
- Check for condensation on cold goods or morning stock.
Choose ink for the material in front of you
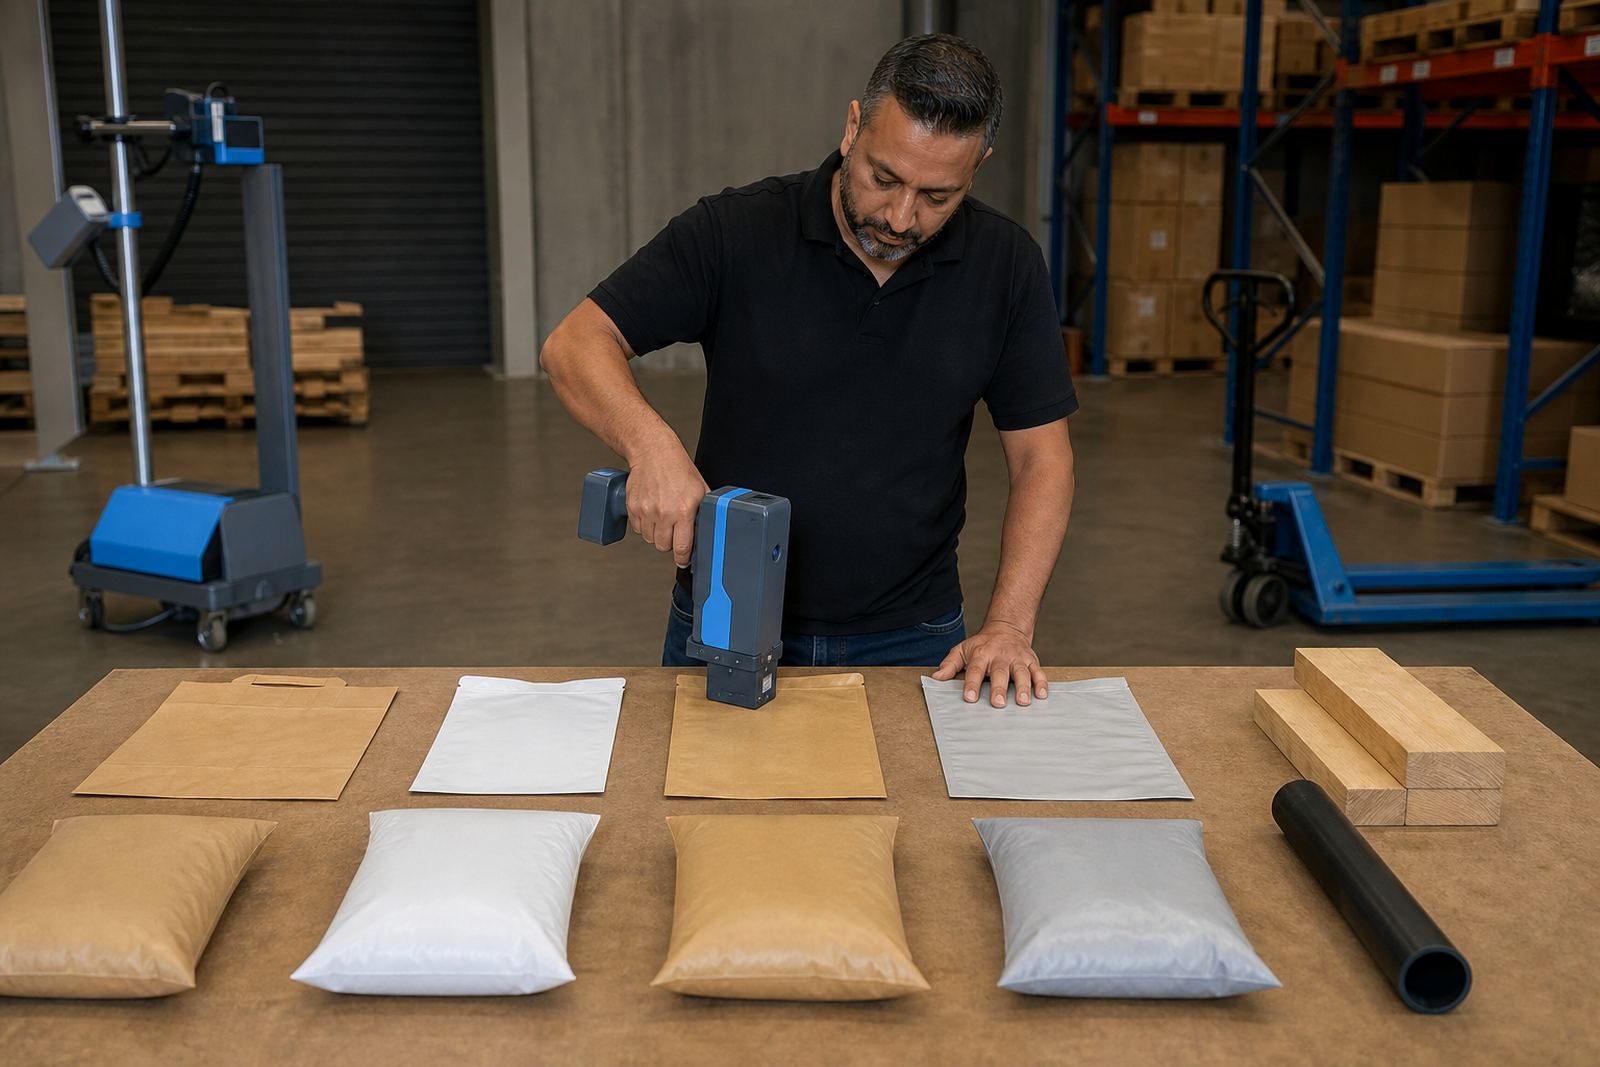
Ink choice changes how fast a code sets and how well it holds on a rough or coated surface. Quick-dry ink is often the first call for fast moving cartons and bags. Solvent-based ink works well on non-porous surfaces such as steel and some plastics. Water-based ink can suit porous boards and untreated timber when the surface is clean and dry.
On Durban jobs, humidity can slow surface drying on some materials. That does not mean the code will fail, but it does mean the operator should give it a little more space before stacking or handling the item. If the mark sits on a gloss finish, test first. A neat sample saves a lot of sorting later.
Print height and message layout matter
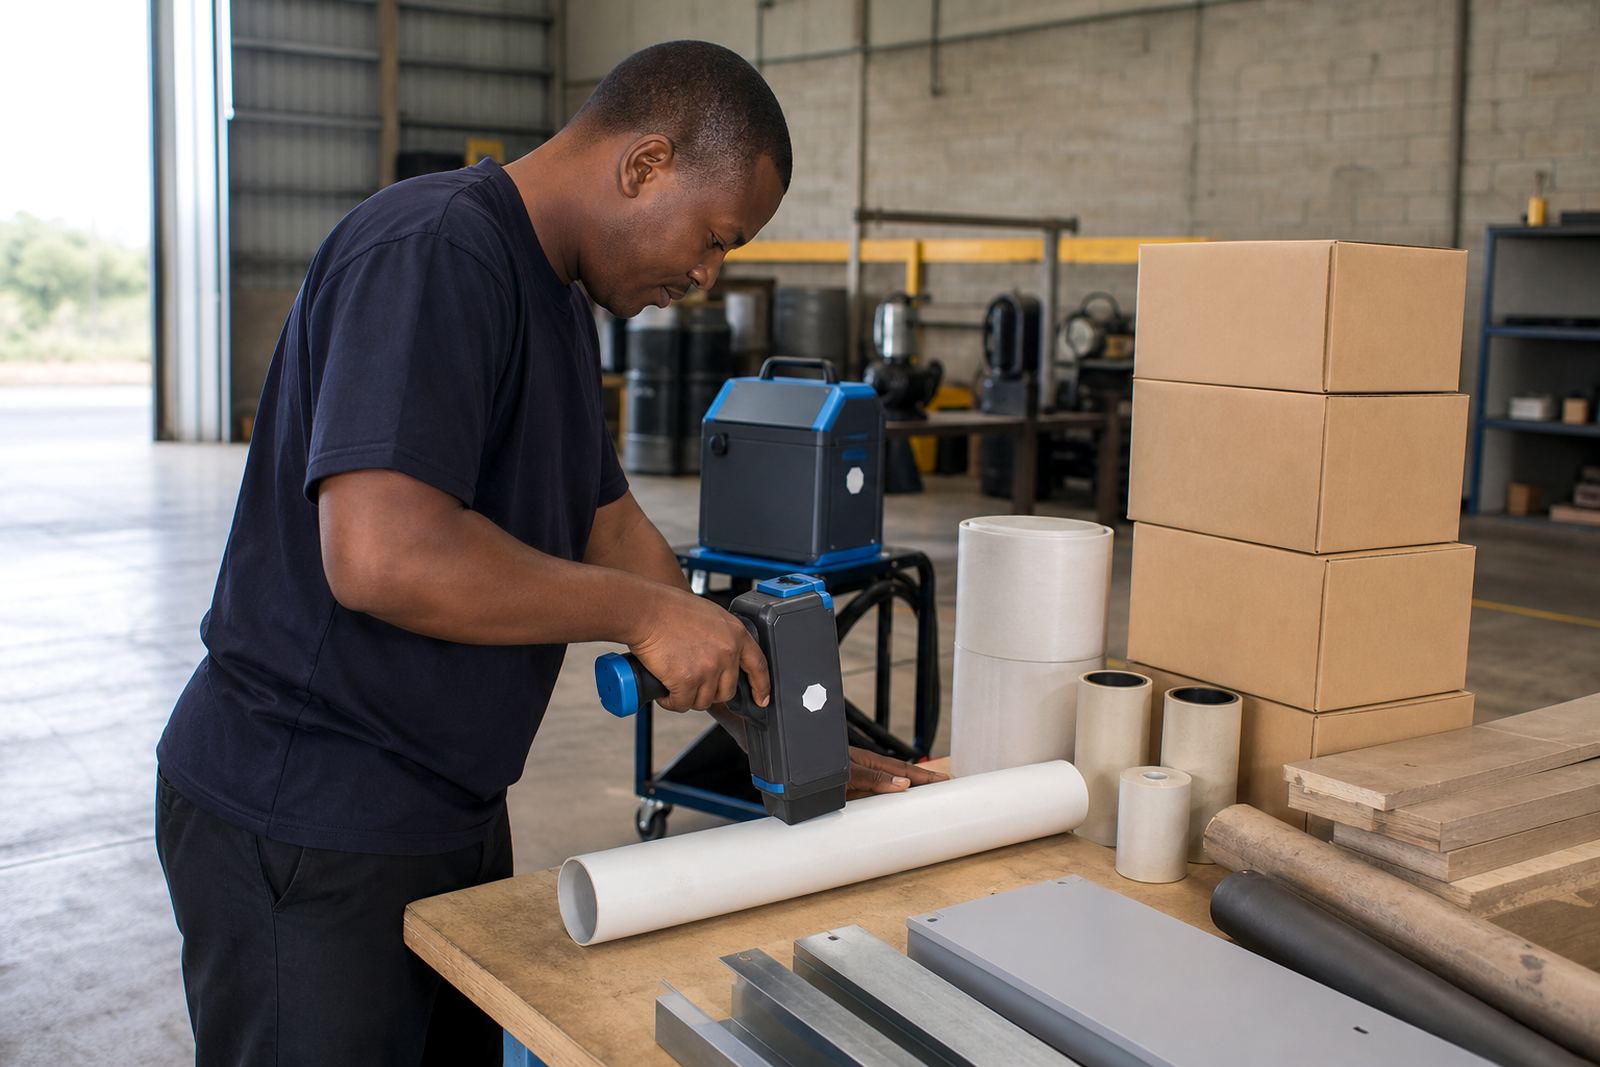
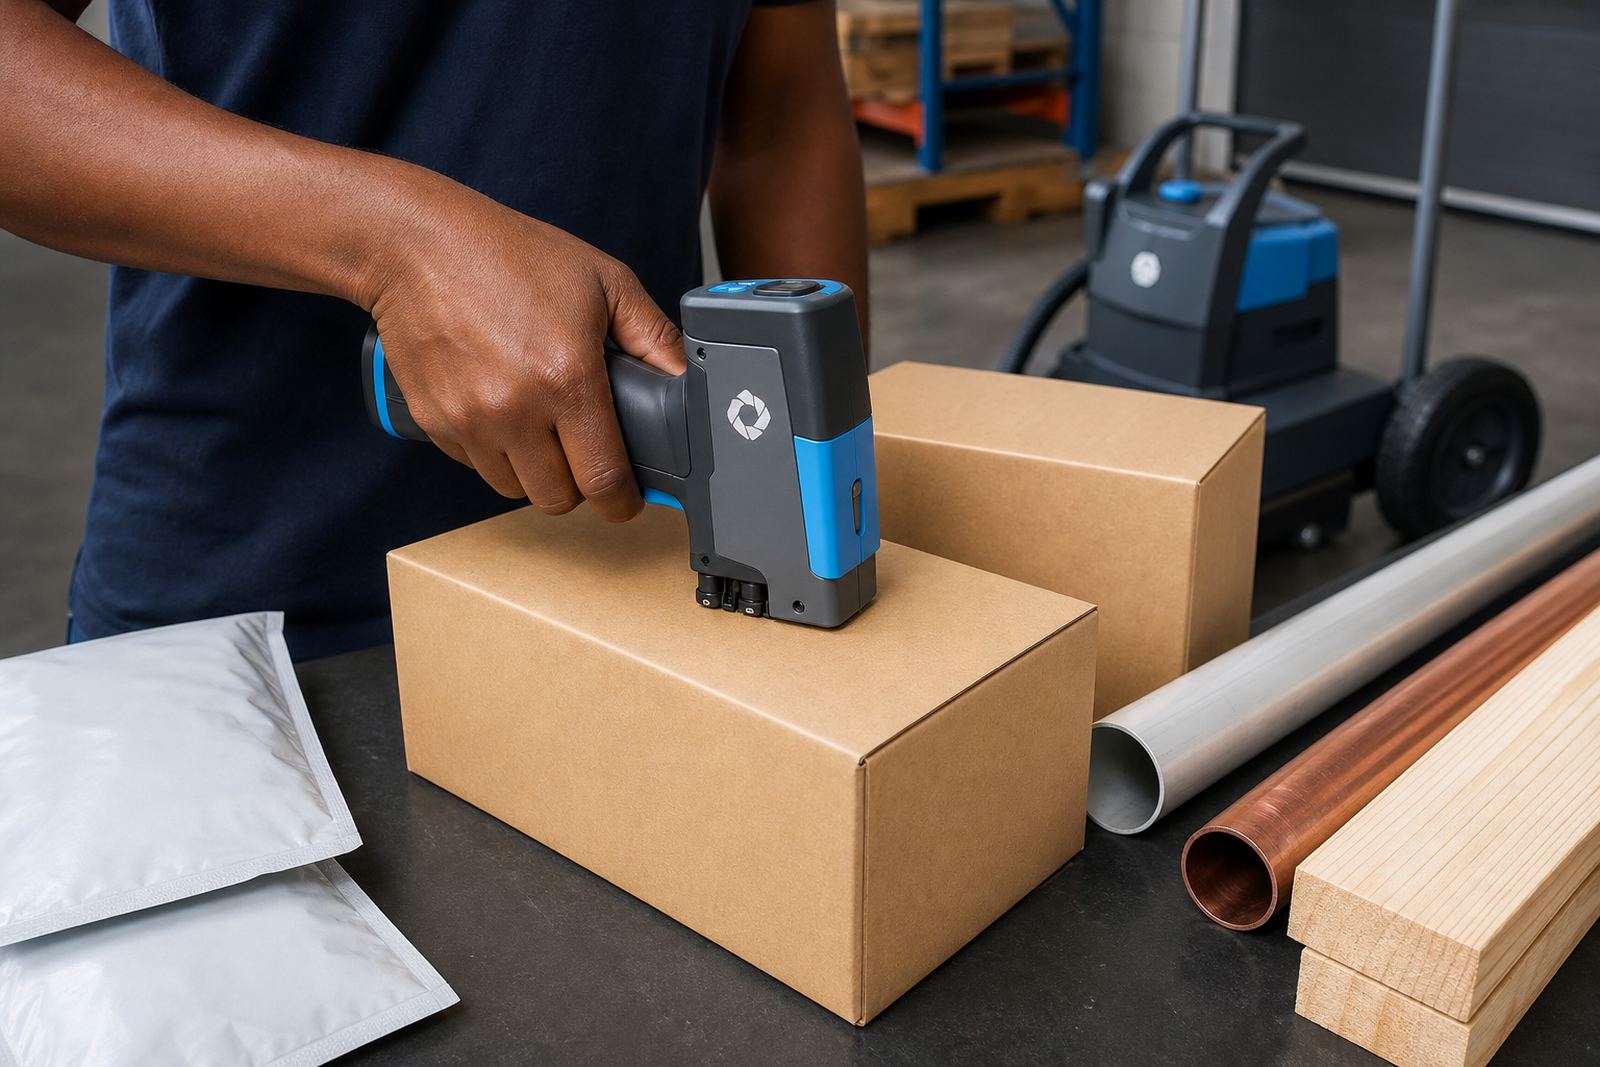
Many smudges start when the message is too large for the available space or too crowded for the hand movement. A taller code needs a steadier pass, especially on curved pipes and narrow timber edges. For cartons, keep the print area clear of seams, tape and flap folds.
Shorter messages are easier to keep crisp. Dates, batch numbers and simple logos usually print cleaner when the layout leaves a margin around the code. If a barcode is required, test the symbol size before the full run. A barcode that is too tight may scan poorly even if the ink looks fine.
- Use a print height that suits the surface width.
- Leave space around the code for the operator hand.
- Avoid printing across folds, rivets or rough joins.
Handling after printing is where many marks fail
Fresh ink needs a little care after application. A carton that is stacked too soon can pick up the wet code on the next box. Timber moved into a bundle too quickly can transfer marks from one board to another. Pipes should be placed so the printed area is not rubbing against straps or steel racks.
Keep the coded face visible until the ink has set. If the job involves wrapping, taping or strapping, leave the printed area clear until the finish is stable. On cold mornings in Pietermaritzburg or wet weather near the coast, give the ink more time before the goods are moved into storage.
Set up the coder before the line starts moving
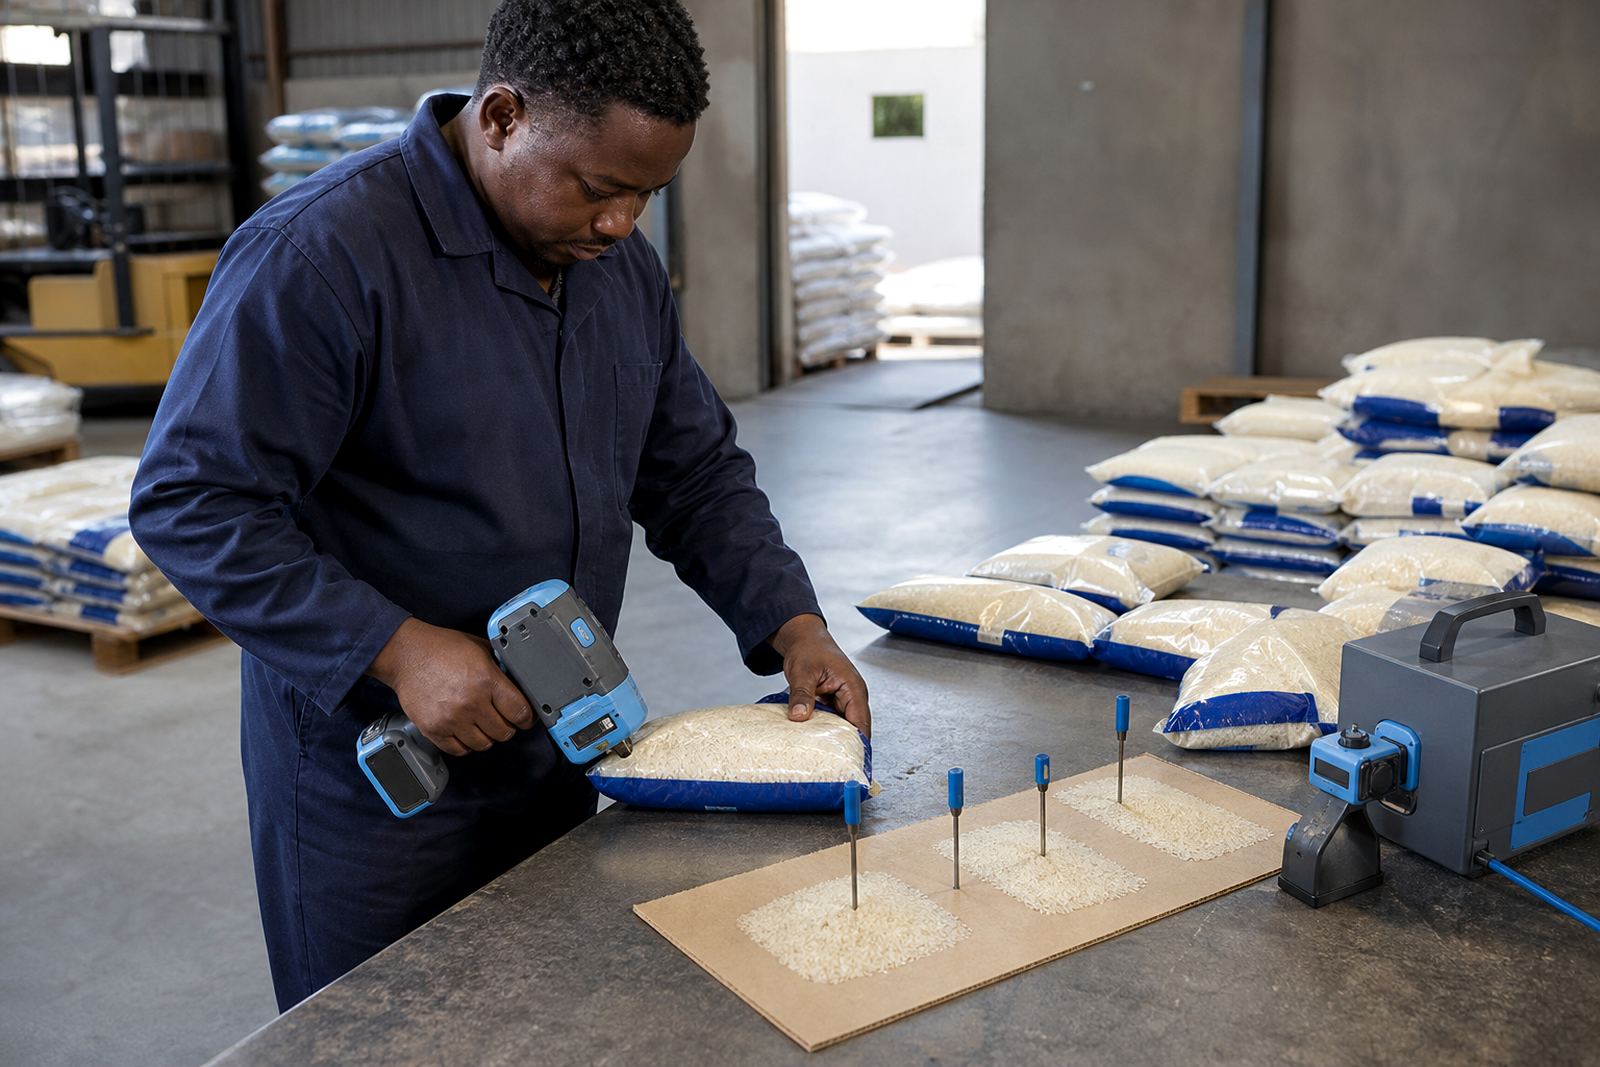
A handheld unit gives good results when the message is loaded cleanly and the test print looks sharp. Check the nozzle path, confirm the message height and print a sample on the same material that will carry the real code. If the sample looks light, adjust before the full batch starts.
Training matters here. The operator needs a steady hand, even pressure and a clear angle over the surface. A quick test on cartons is not the same as printing on curved pipe or rough timber, so each surface needs its own setting. Remote setup help can sort the first message layout, while on-site setup is useful when the material changes from one job to the next.
- Run a test print on the actual packing material.
- Check barcode clarity with a scanner where possible.
- Keep spare ink and cleaning material close at hand.
A Durban packing yard example
Picture a Pinetown yard sending mixed stock to Durban, Johannesburg and Richards Bay. Cartons are being marked with dates, timber lengths need batch numbers, and a few steel components carry small logos for identification. The operator moves from one surface to the next without changing the message settings carefully enough, and the codes begin to blur.
The fix is straightforward. Match the ink to each material, wipe the next surface before printing, and keep the printed face away from straps and stacking pressure. When the right ink and message are loaded, the same handheld unit can do all three jobs with cleaner results. That is where test printing and message loading support save time on a busy floor.
When hire support makes the difference
Hire by the week or month works well when coding needs rise and fall with production. A backup unit helps if one coder needs cleaning during a run. Consumables supply keeps ink on hand for the material in front of you, instead of forcing a job to wait because the wrong cartridge or bottle is on the shelf.
For teams working across South Africa, delivery and collection, operator training and troubleshooting support keep the process practical. The aim is not only to print, but to keep the code readable after handling, stacking and transport. Clear marking is cheaper than rework, especially when the carton has already left the line.