
Start with the way the item is handled
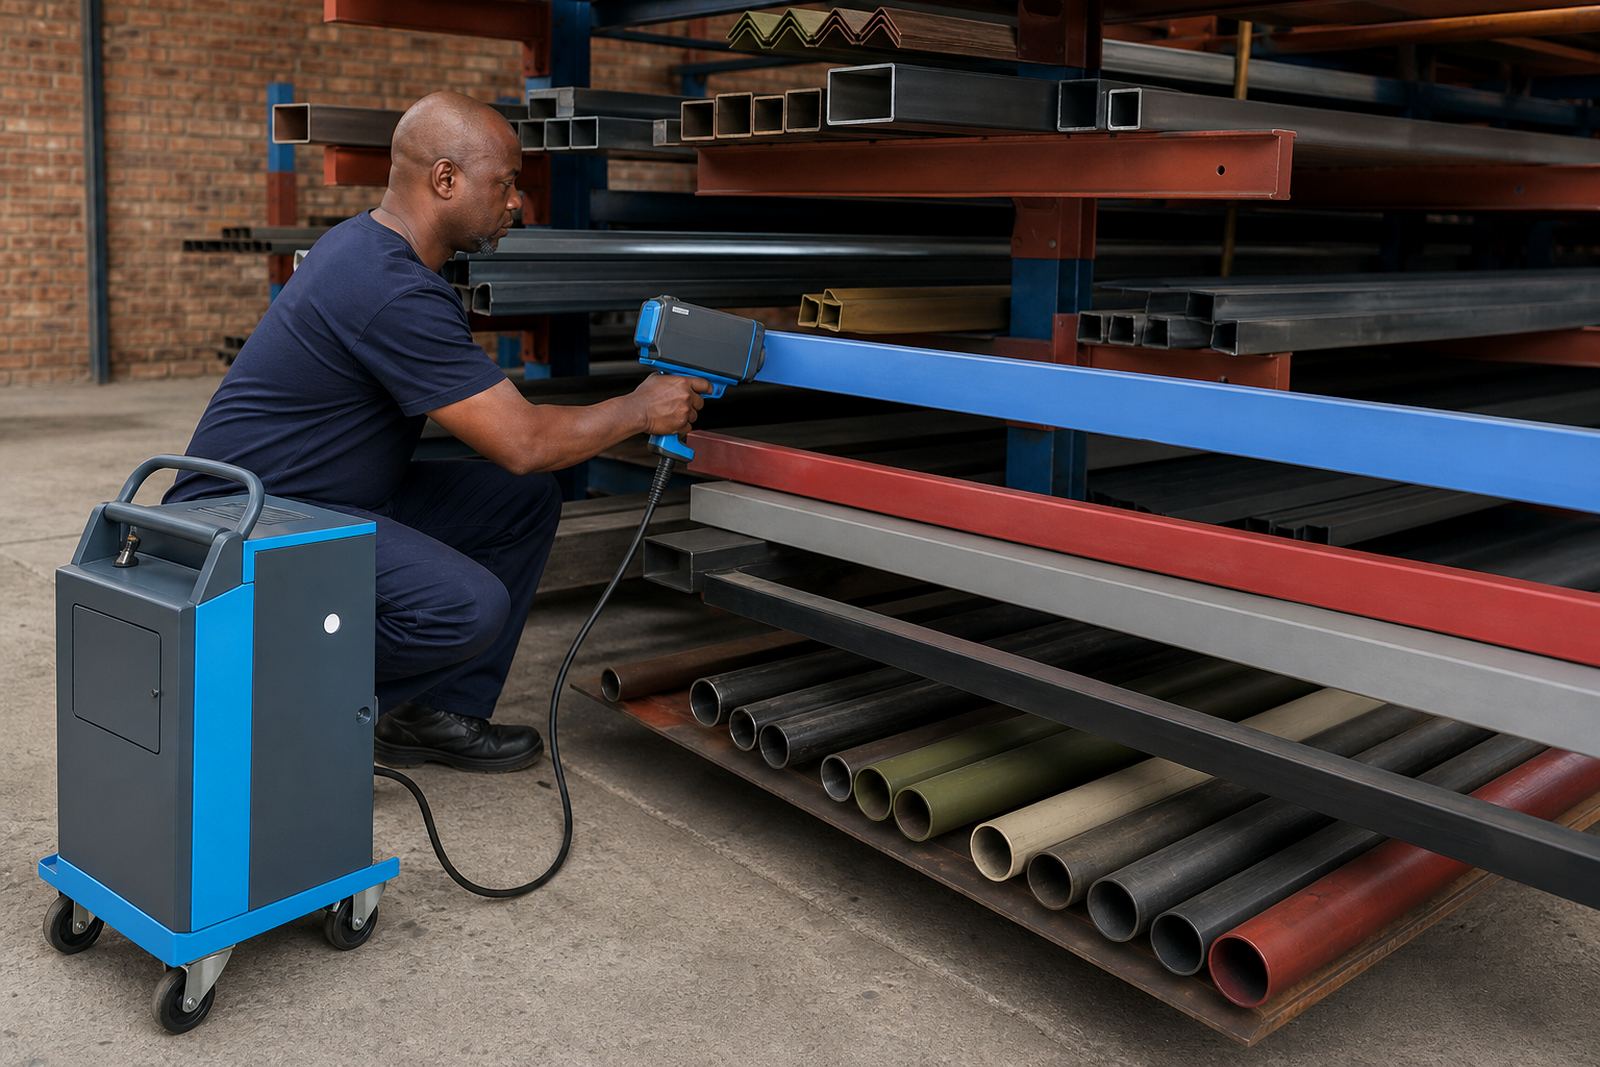
A handheld inkjet coder works best when the print face is chosen around the real handling pattern, not just the empty bench. If cartons are stacked tight, the code belongs on a panel that stays visible after wrapping, taping or palletising. On pipes and timber, the mark needs to sit where a packer, inspector or installer can see it without turning the whole piece over.
For Durban and Pinetown packing areas, that often means choosing a side face rather than the top edge. A top edge can get rubbed by straps or hidden under film. On timber packs, keep the code away from knots, rough saw marks and moisture patches because the ink can break up there.
- Pick a face that stays exposed after storage or transport.
- Avoid folds, seams, welds and rough cut edges.
- Leave enough flat space for the full message and any barcode.
- Check the mark from a standing reading height, not only at the bench.
Match print height to the job
Print height matters because a small mark can disappear on a long carton run, while an oversized one can look untidy on a narrow strip of steel. Handheld coders usually suit compact messages such as dates, shift codes, batch numbers and short logos. A barcode needs more breathing room than a plain text line, especially where the surface is curved or lightly textured.
In practice, the best height is the one that gives clean characters without forcing the operator to move too slowly. On cartons, a moderate height works well for dispatch labels and production codes. On pipes and timber, a slightly taller mark can help when the item is read from a distance or under site lighting.
- Use shorter messages where the panel is narrow.
- Keep barcodes on flatter areas with enough quiet space around them.
- Test a few print heights on the same surface before settling on one.
- Let the message length guide the size, not the other way around.
Surface type changes the position
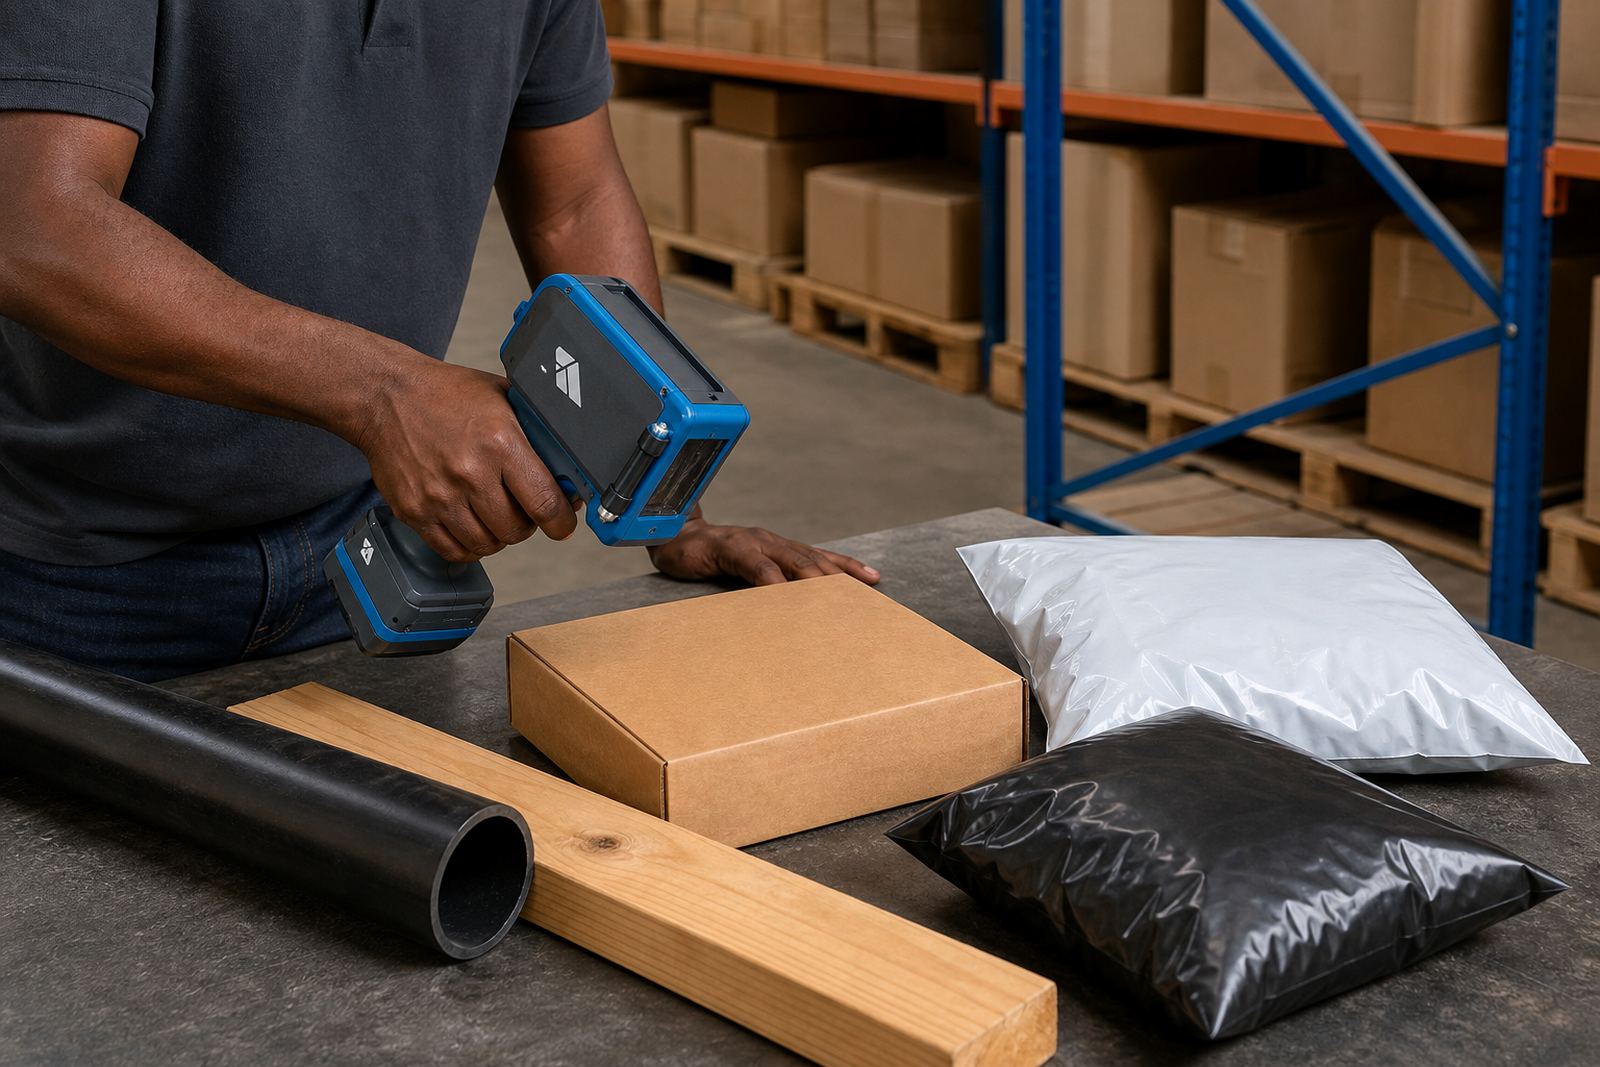
Carton board, galvanised steel, timber and plastic all take ink in different ways. Smooth board gives a cleaner result, while dusty timber or lightly oily steel can force you to move the print point to a cleaner patch. Quick-dry inks are useful where the item moves fast after coding, while solvent or water-based inks suit different surface conditions and drying needs.
For outdoor stock in Richards Bay, humidity can affect how fast a code settles on some materials. For warehouse work in Johannesburg, a dry room may let you use a little more flexibility on placement. The operator still needs to avoid damp corners, condensation lines and areas that carry dust from cutting or packing.
- Use the cleanest part of the surface, even if that means moving the code slightly.
- Stay off greasy zones, wet patches and heavy dust.
- Choose ink to suit the material and the drying window.
- On coated cartons, test the code before bulk marking starts.
Barcodes need more space than text
Barcodes are less forgiving than plain wording. If the code sits too close to a fold, seam or edge, the scanner can struggle even when the print looks fine to the eye. Keep the mark on a steady panel and leave clear margins around the barcode so the bars do not crowd into nearby graphics or tape lines.
That matters on shipping cartons and timber bundles where labels, handling marks and batch text may all compete for the same space. A handheld printer can place a barcode neatly, but the operator has to treat it like a precise block of information. When in doubt, move the barcode to a broader face and keep the date or batch line separate.
- Leave blank space around the barcode area.
- Avoid printing across ridges, joins or curved edges.
- Separate barcode data from the date code where possible.
- Check scan quality after the first few prints, not at the end of the run.
Logos work best where eyes naturally land
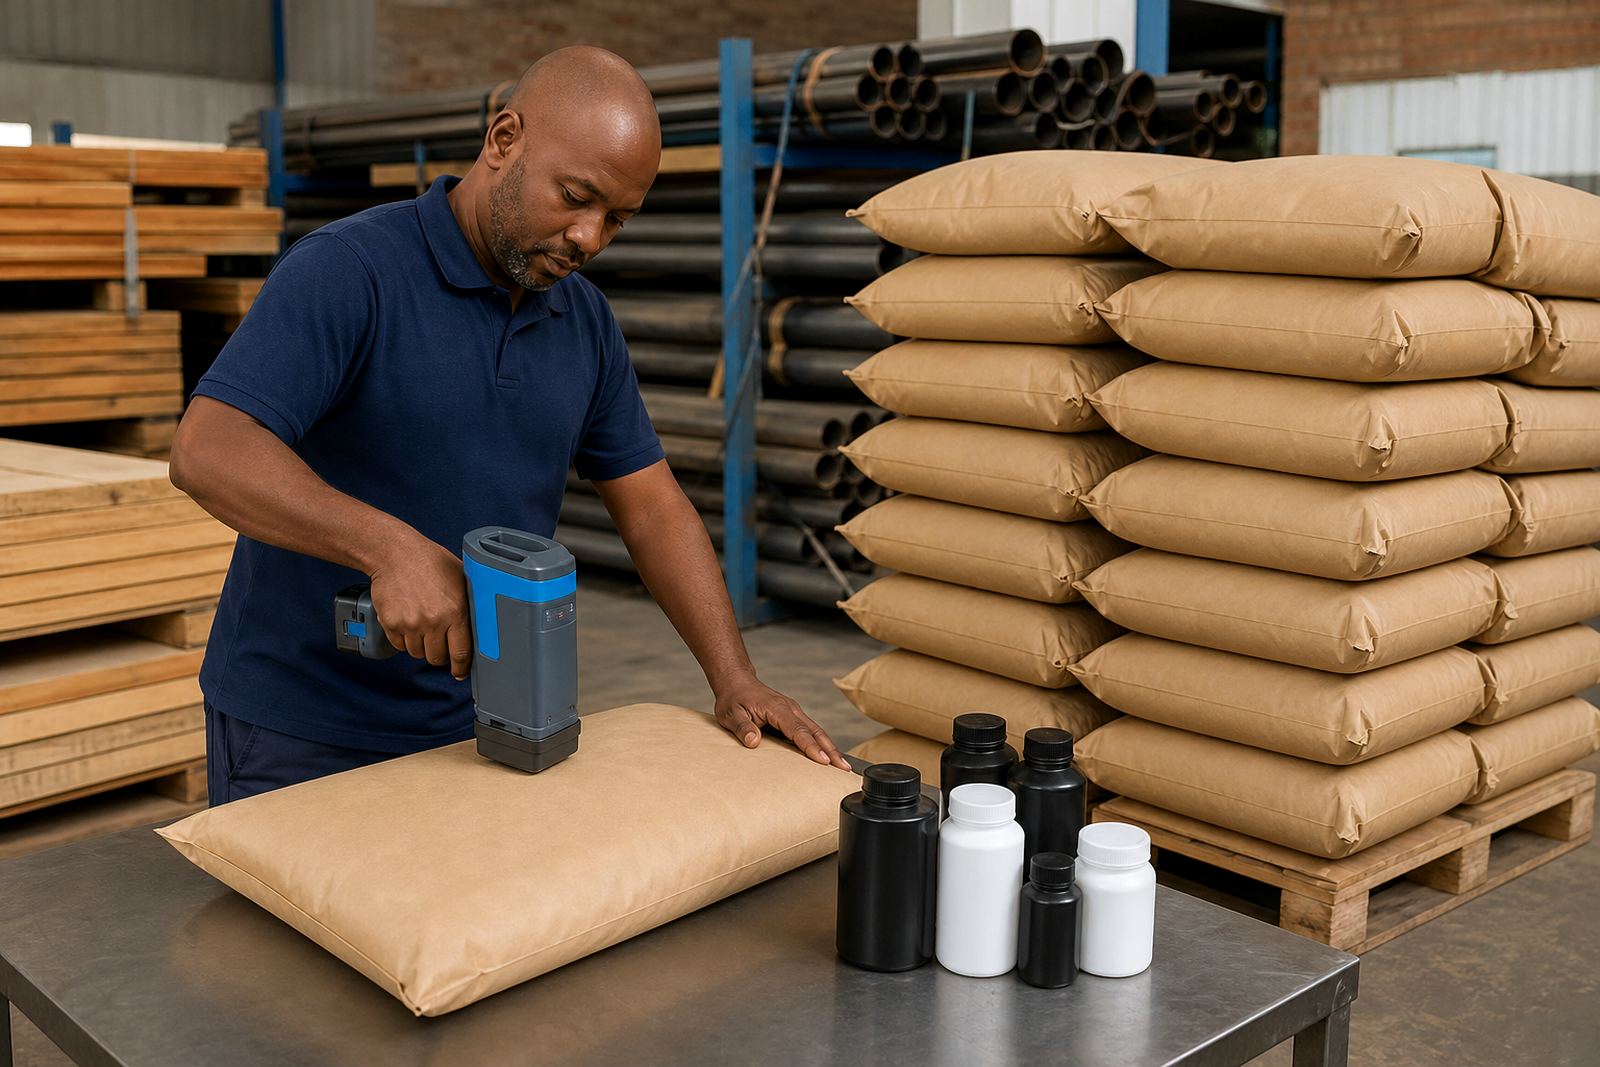
Small logos on cartons or bags should sit where the eye naturally lands first. That is usually the upper third of a panel or a clear open face that is not covered by tape, handles or straps. A logo placed too low can disappear under stacking, and one placed too close to the edge can look clipped once the pack is closed.
On timber and steel, a logo is often more about identification than decoration. A tidy mark on a visible face helps with sorting and site checks. If the item is going to be painted, coated or wrapped later, print the logo on a face that will still be visible after the next process step.
- Keep logos away from corners and overlaps.
- Place them on flat, clean faces with enough margin.
- Use a test print before locking in the final spot.
- Make sure the logo does not fight with safety or handling marks.
A Pinetown job often shows the real test
A packing line in Pinetown can look calm at the bench, then become awkward once the cartons are stacked for dispatch. One local plastics supplier needed date codes on cartons that were later banded and wrapped for truck loading. The first print position looked fine on the bench, but the code disappeared under a strap on the finished pallet.
Moving the mark a little higher on the side face solved the problem without changing the message. The team also kept the batch line separate from the barcode so the scanner had a clean area to read. That kind of adjustment is small, but it saves a lot of rework when the stock is already moving through the yard.
- Check the print position on the packed item, not only on a loose sample.
- Watch for straps, wrap and labels that can cover the code later.
- Keep a spare position ready if the first face is not suitable.
- Use operator training to lock in a repeatable method.
A short field check before bulk marking
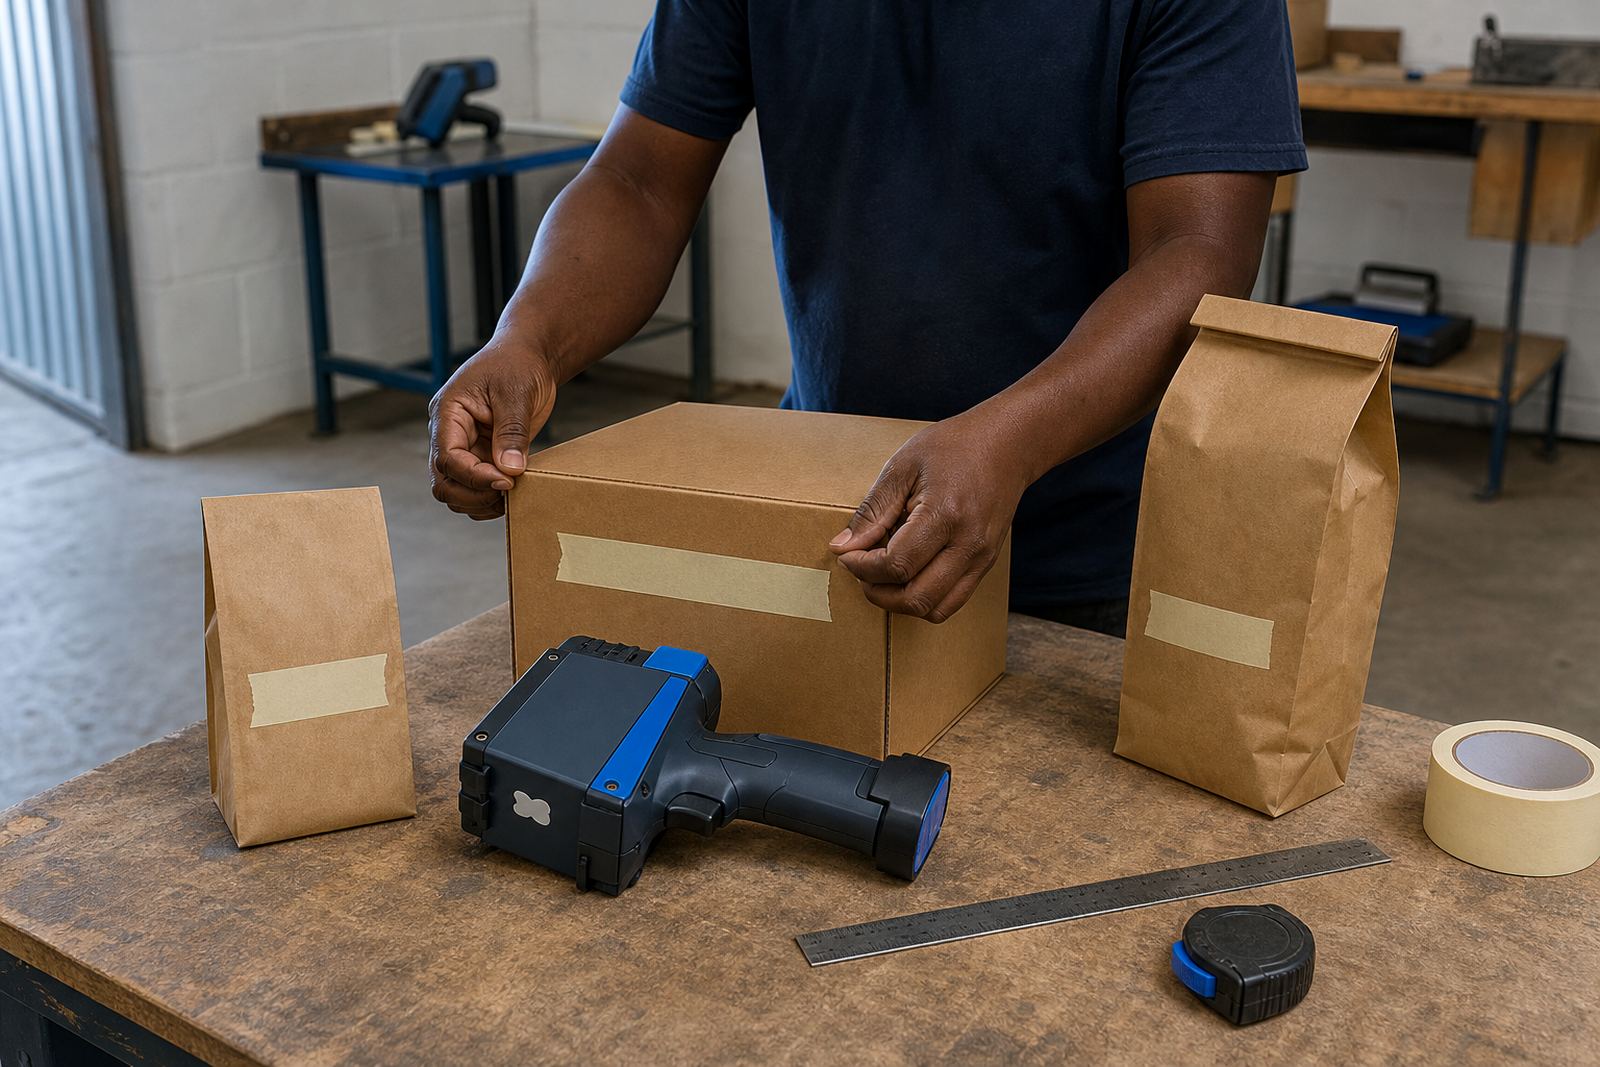
Before a larger run, make one clear sample on the actual material and inspect it from the same angle the customer or receiving team will use. Read the code at arm length, then step back a little and check it again. If the message is still easy to read, the position is usually sound. If not, shift the print slightly, clean the surface or change the height before the full job starts.
For hires across Durban, Pietermaritzburg, Cape Town, Johannesburg and Richards Bay, that practical check helps set the job up properly from the first carton or pipe. It keeps the print visible, keeps the reading area sensible and gives the operator a fixed routine for the next batch.
- Print one sample on the real surface.
- Read it from the normal viewing distance.
- Confirm drying behaviour before stacking or packing.
- Keep the final position consistent across the batch.