
Start with the surface, not the message
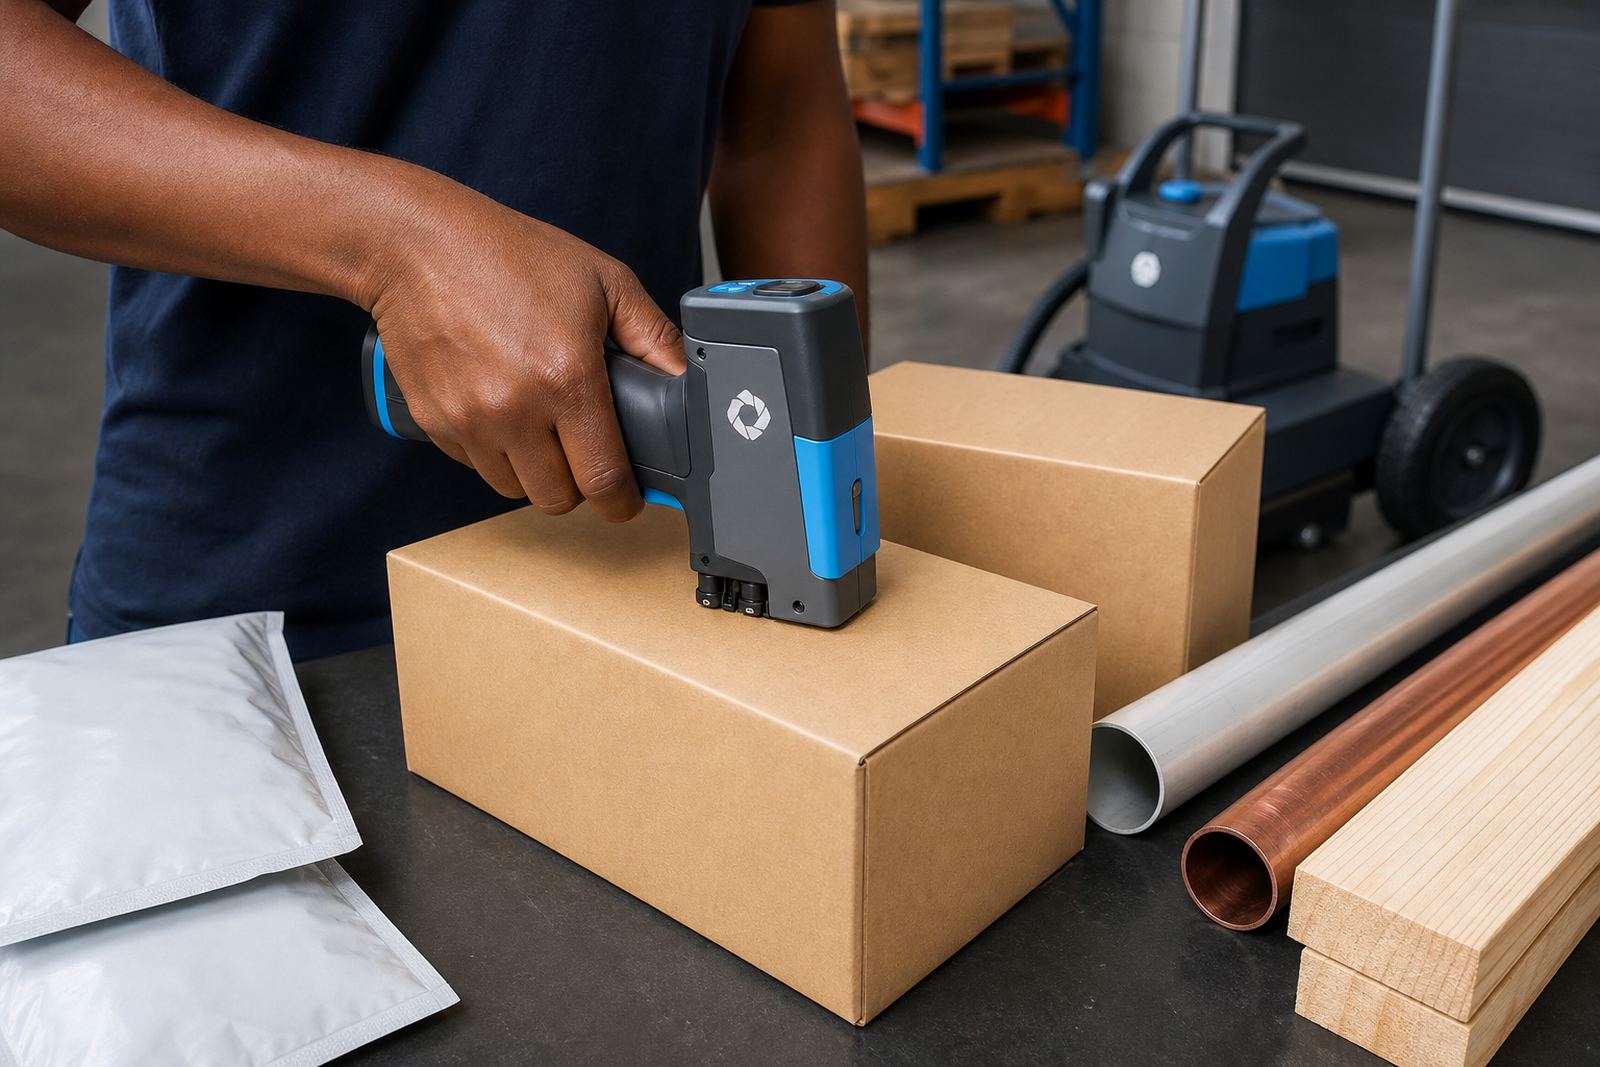
Most poor marks are blamed on the printer, but the surface usually has a bigger role. Dust on timber, mould release on plastic, oily film on steel and damp carton fibres all weaken the edge of a print. A handheld inkjet coder can place a clean mark only when the material gives it a fair chance. On a humid Durban morning, carton board may hold moisture and soften the image, while pipe stock left outside can carry fine grit that scatters the droplets.
Wipe the area where the code will sit, then let it dry before printing. On coated cartons, a light test patch shows whether the ink sits on top or beads away. With timber, a quick pass with a clean cloth removes loose dust that would otherwise break the line of a barcode or date stamp.
- Keep the print zone free of oil, moisture and loose dust.
- Test a small section before starting a full run.
- Match the ink to the surface finish and absorbency.
Pick ink that matches the job, not just the product
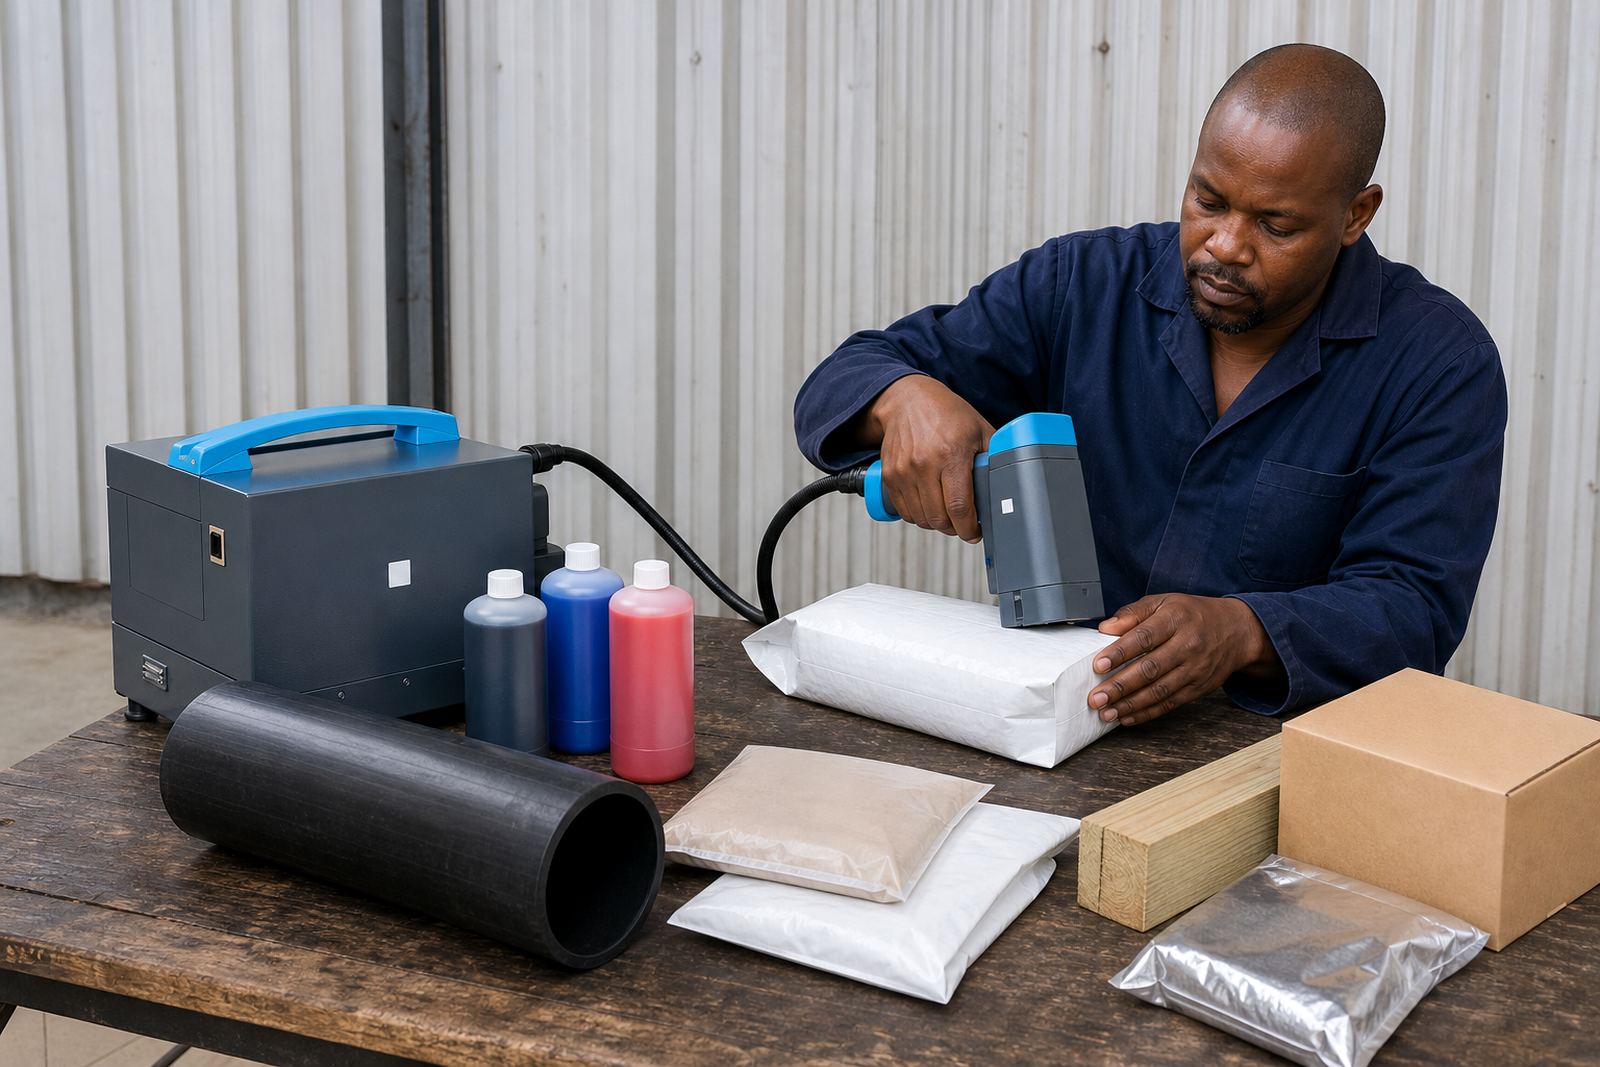
Ink choice changes legibility more than many people expect. Quick-dry ink is useful where the coded item needs to move fast after marking, especially on smoother non-porous surfaces. Water-based ink can work well on absorbent cartons and some timber surfaces where a darker soak-in effect helps the letters settle. Solvent-based ink is often preferred where adhesion and faster surface drying matter on less absorbent materials such as pipes, coated packs and steel.
The wrong ink can fade, feather or rub off before the load reaches dispatch. That becomes a problem when a batch number must stay readable through handling, stacking and transport across provinces. In practice, the ink should suit the surface, the handling conditions and the time available before the item moves on.
- Quick-dry inks help where handling starts soon after printing.
- Water-based inks suit more absorbent materials and tidy carton coding.
- Solvent-based inks are often used for harder surfaces and tougher handling.
Set the print height to suit the eye and the scanner
Print height is not only about how much space is available on the product. A small date mark may be fine on a pouch, but a barcode needs enough height and spacing to read cleanly. If the print is too small, the eye struggles and scanners may miss it. If it is too large for the surface, letters can distort at the edges and the code starts to look crowded.
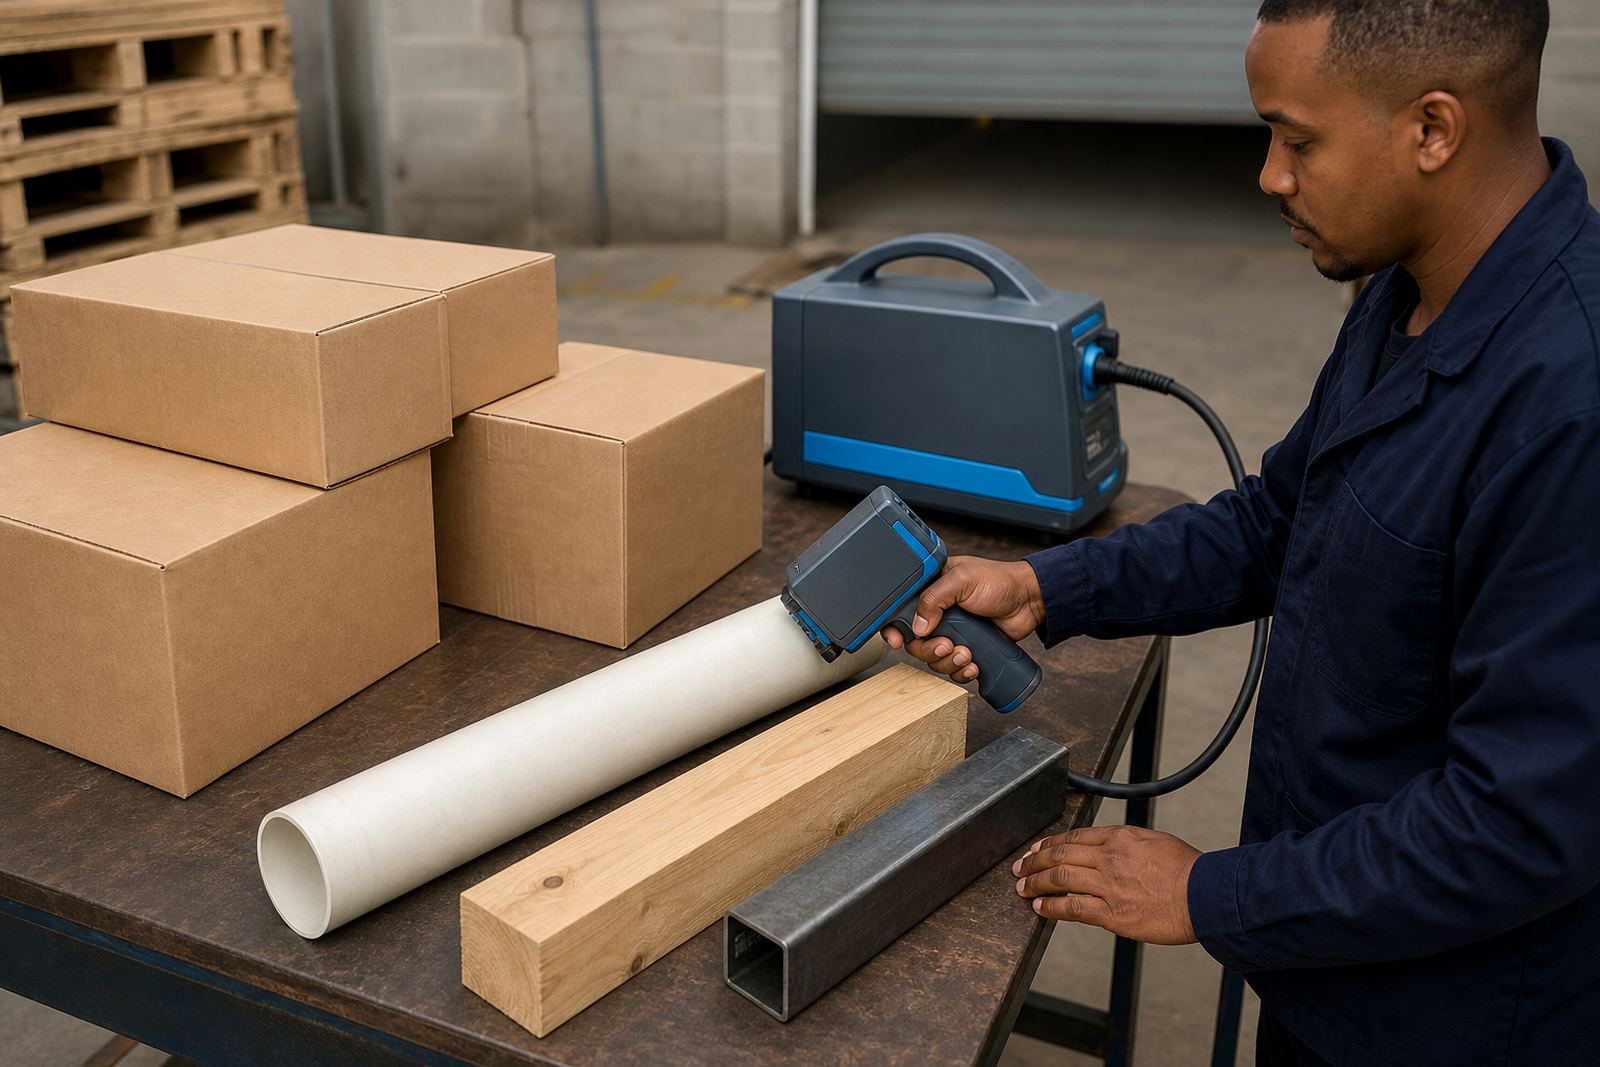
For cartons, a clear date and batch line is usually easier to inspect when the text is kept even and not squeezed against the fold. On timber and steel, slightly larger characters often improve day-to-day checking where the mark is viewed from arm’s length. The goal is not the biggest possible print, but the size that stays sharp on the actual substrate.
- Use taller characters when staff need to read from a short distance.
- Leave enough clear space around barcodes for scanning.
- Keep lettering consistent across each item in the run.
Direction, speed and hand control all change the result
Handheld coding depends on the operator’s movement, so consistency matters. A smooth pass gives a cleaner line than a quick flick or a hesitant stop-start motion. If the unit is moved unevenly, the print may lean, blur or show thick and thin patches. That is where training makes a real difference, especially on longer items like pipes or timber lengths.
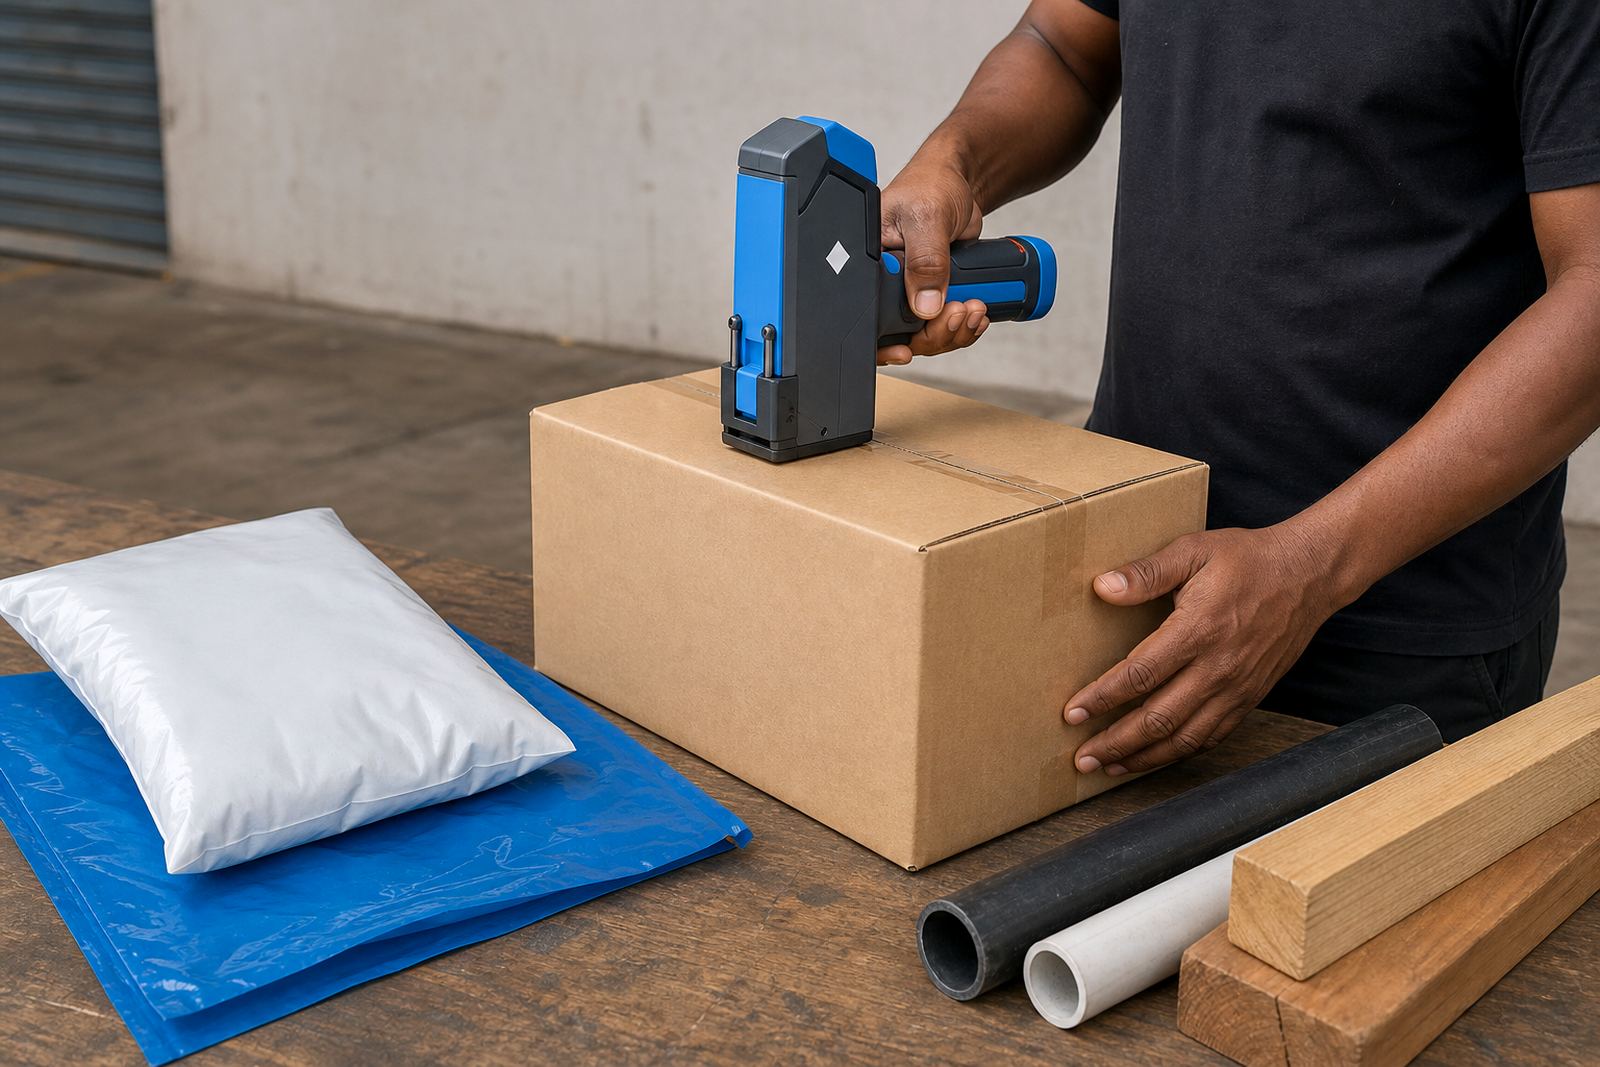
For best legibility, the operator should keep the print head at the recommended distance and maintain a steady pace across each mark. On a job in Pinetown, one team may mark cartons on a packing bench while another codes timber packs at a dispatch bay. The tool is the same, but the hand movement changes with the surface and the working position.
- Hold a steady distance from the target surface.
- Move at a even pace without stopping mid-mark.
- Practise on spare material before the main run starts.
Barcodes need more discipline than plain text
A barcode can look acceptable to the eye and still fail a scanner. That is because spacing, contrast and edge clarity matter more than appearance alone. If the mark is too faint, the bars merge. If it is too heavy, gaps close up. On cartons that travel through warehouses, a barcode should stay readable after handling, dust and minor scuffing.
Before a production run, it helps to test the barcode on the same surface that will be used on the job. A timber pack can take ink differently from a carton sleeve, and a pipe label area may curve slightly under the print. Those differences affect scan reliability. The safest approach is to test, inspect and adjust rather than assume one setting fits every material.
- Check contrast on the exact surface, not just a sample sheet.
- Keep bar width and spacing clean under normal handling.
- Use test scans before releasing coded stock.
A Durban example that shows the difference
A packing line in Durban handling cartons for regional distribution may need dates, batch numbers and a small logo on each case. The cartons often move quickly, and the warehouse can be warm and humid, which affects drying. If the ink is too slow to set, marks smudge when stacked. If the font is too fine, the batch line becomes hard to read once the tape and corrugation start working against it.
The better result usually comes from a simple sequence: clean the carton face, choose an ink that suits the board, print at a height that leaves breathing space and inspect the first few marks before continuing. For timber bundles headed inland or steel pieces stored outside, the same logic applies, though the ink and settings may change. The point is always the same, sharp marks that still make sense after transport and handling.
- Use test prints at the start of each shift change.
- Adjust the setup when the substrate changes.
- Keep spare consumables ready for longer hire periods.
The practical value of hire support on real jobs
Renting by the week or month works well when a site needs coding for a fixed production run, a seasonal order or a temporary line change. That setup suits teams that want a handheld inkjet printer with the right ink, loading support and a spare unit available if the first machine needs attention. On-site setup, remote setup help and operator training all help with legibility because the printer is only one part of the result.
Handheld Printers Rental supports projects from Pinetown, Durban and nearby areas such as Westmead and New Germany, with hire arranged for Durban, Pietermaritzburg, Johannesburg, Cape Town and Richards Bay. The useful part is not just the machine itself, but the matching of ink, message layout, barcode setup, logo placement and test printing to the material on the floor. When those pieces line up, the mark stays clear enough to read, scan and inspect without extra fuss.