
A one-colour logo needs a plain surface and steady handling
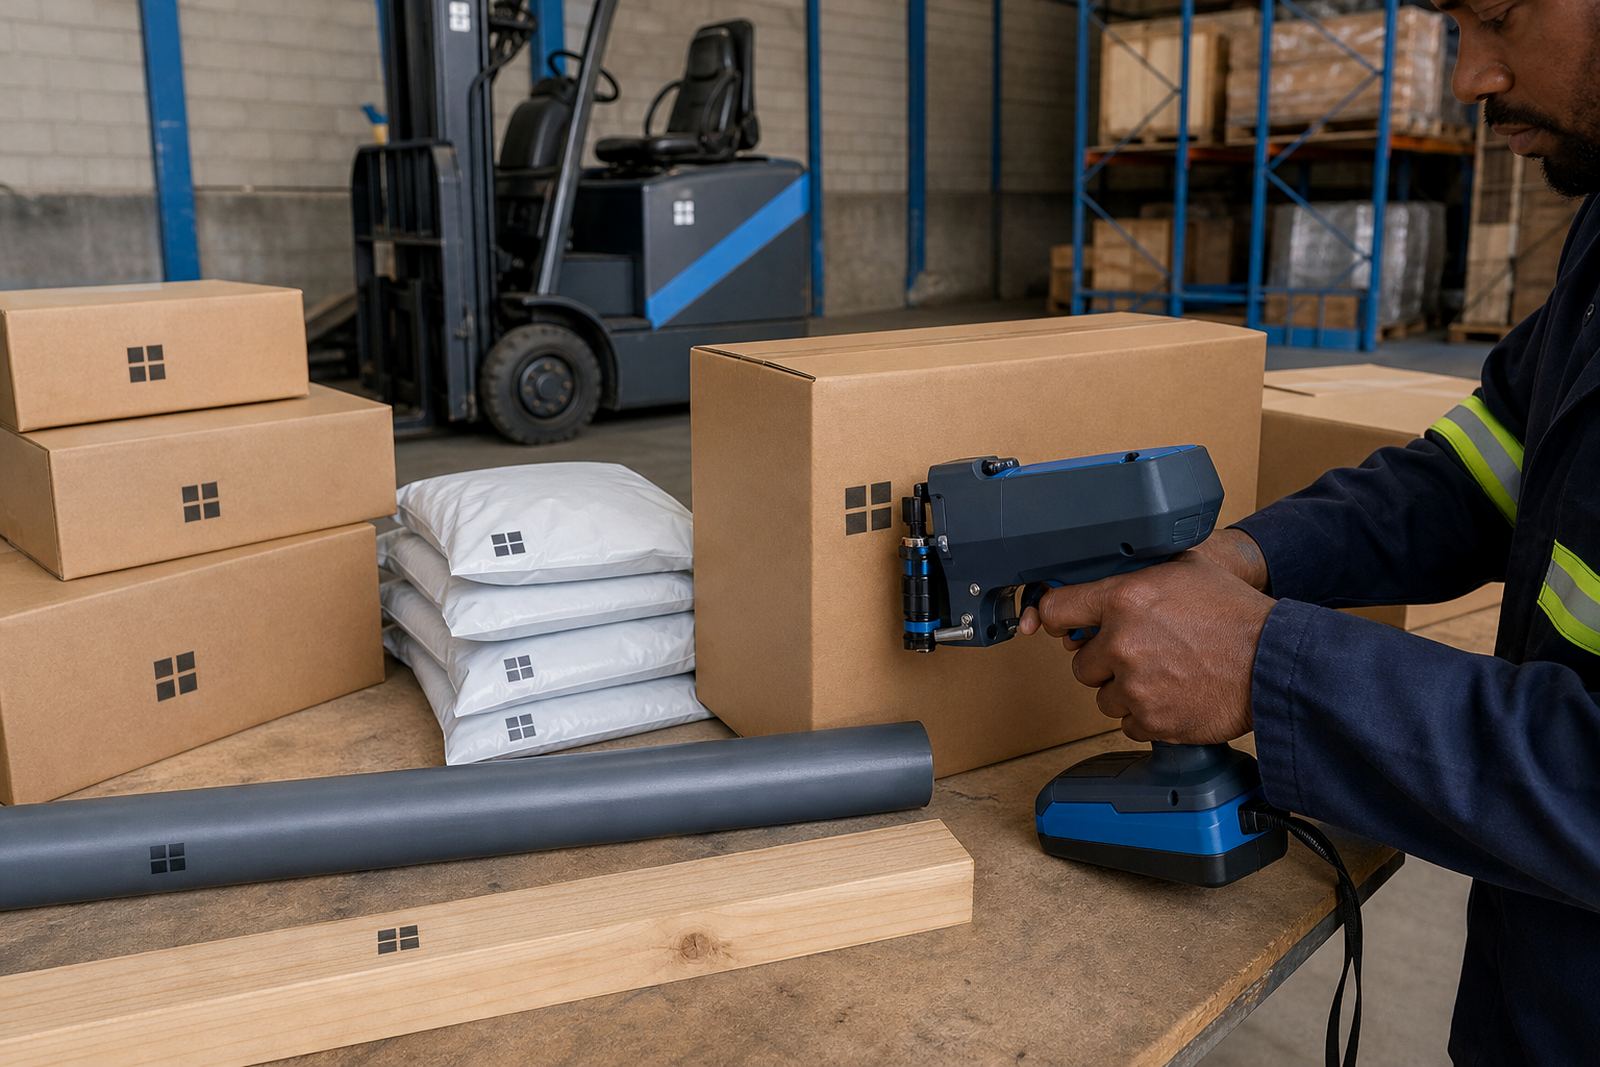
A simple logo sounds easy, yet handheld printing still depends on a few basics. The printer needs a flat enough area, even pressure from the operator and a surface that takes the ink without beading or smudging. On cartons, a clean brown or white board usually prints neatly. On timber, the grain can pull the image slightly, so the logo must be large enough to stay readable. On galvanised steel or coated pipe, the surface prep matters more than the artwork itself.
For hand printing, a logo with one solid colour usually works better than fine shading. Thin lines can break up if the hand moves too quickly or if the height is pushed too large for the nozzle setup. In Durban and Pinetown we often see this on export cartons and pallet labels, where the job needs a clear mark rather than a decorative finish. The goal is a logo that can be read at warehouse distance and still hold its shape on rough handling.
Print height changes the look more than most people expect
Handheld inkjet coders print at set heights, so the logo has to fit the available space. A small logo may sit neatly on a carton flap or pipe end, while a taller mark can spread across a board or bag panel. If the height is too large for the surface, the print can look stretched or the edges can soften. If it is too small, the mark may disappear into the grain or texture.
Before hiring, it helps to think in millimetres rather than just “small” or “big”. A logo for a 40 mm band on a carton is a very different job from a 120 mm mark on timber. One-colour artwork is usually loaded as a clean image or simple text block, then the operator tests placement on the actual surface. That first test often saves material and removes guesswork.
- Keep fine text out of the logo if the surface is rough.
- Allow extra margin around the edges for hand movement.
- Match the height to the widest clean area on the item.
- Test on the real material, not just a sample sheet.
Ink choice must suit the surface and the handling after printing
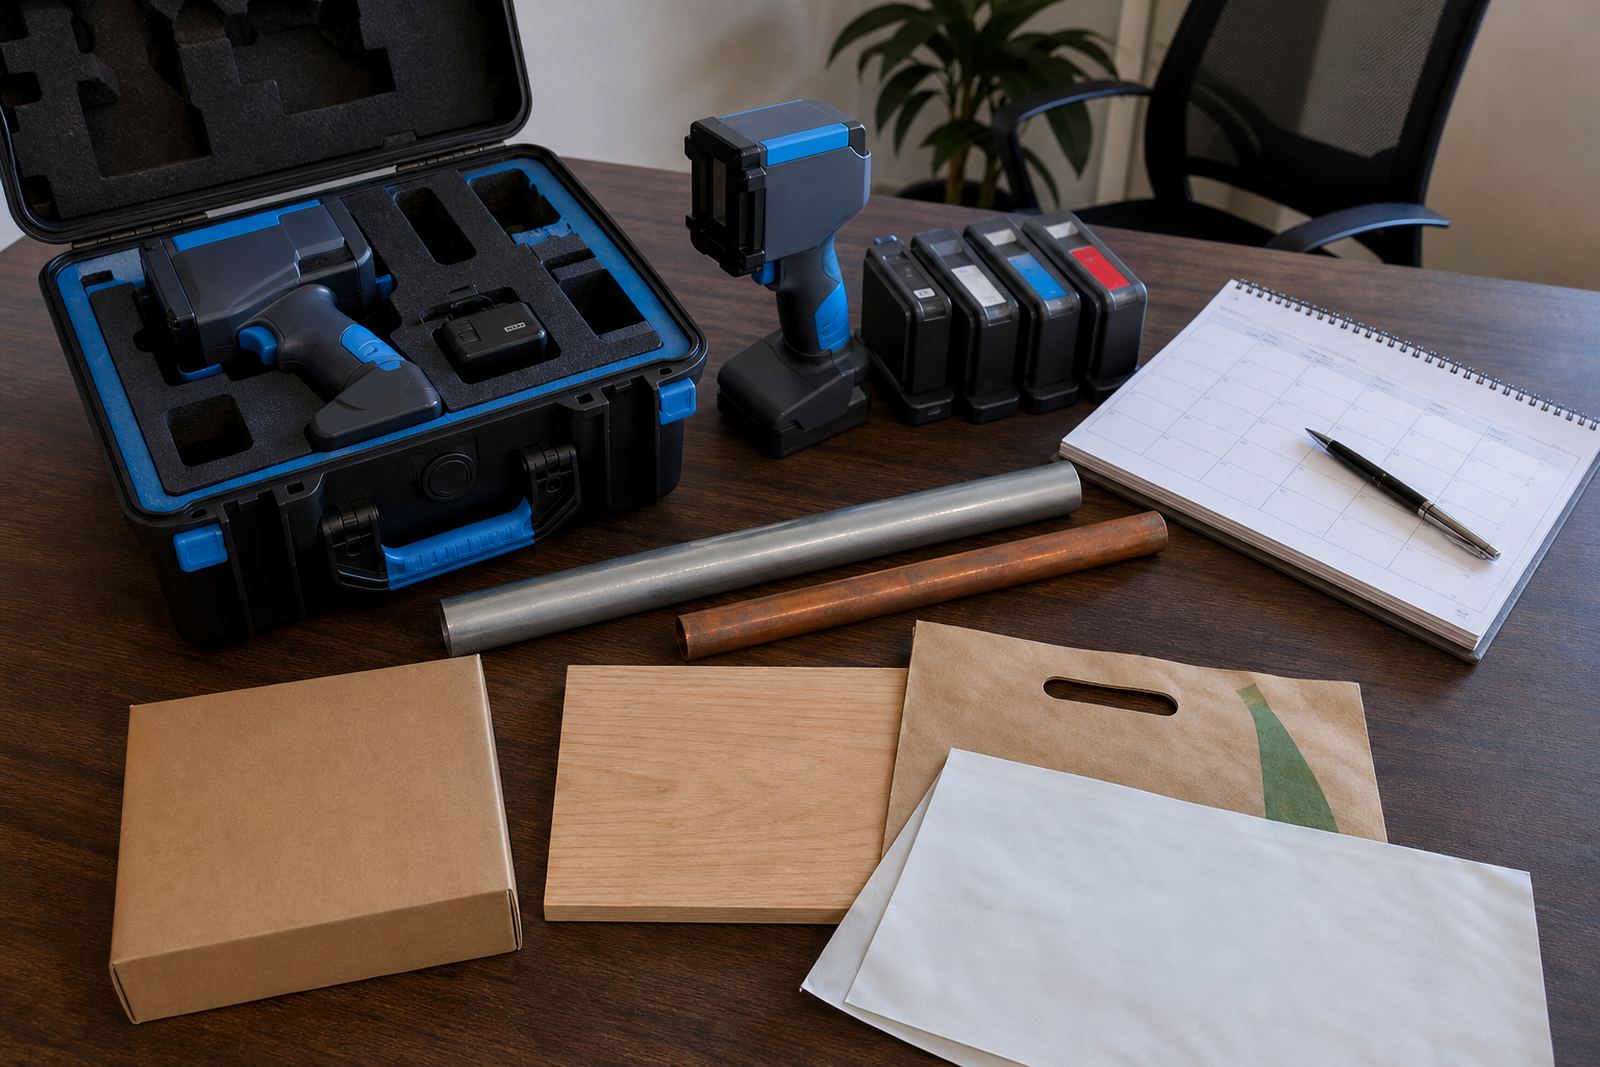
Different inks behave differently on paper, timber, plastic and metal. Solvent inks are often used where faster drying and stronger adhesion are needed on less porous surfaces. Water-based inks suit absorbent materials like cartons and some bags. Quick-dry inks help when the print has to be handled soon after marking, especially on busy packing lines where items move straight to stacking or wrapping.
The wrong ink can leave a print that looks fine at first then smears when touched or rubbed. Coastal humidity in places like Durban and Richards Bay can change how fast a mark dries, so it is worth checking the surface and the handling plan before the job starts. If the carton will sit under stretch wrap or against other boxes, the ink must be dry enough to avoid transfer.
- Absorbent cartons usually suit water-based ink.
- Metal and coated pipe often need solvent-based ink.
- Quick-dry ink helps where handling starts soon after marking.
- Humidity can slow drying on some substrates.
What a clean logo file looks like in practice
For a handheld coder, a logo does not need to be fancy, but it does need to be tidy. Heavy gradients, tiny serif text and broken outlines tend to print poorly. A bold icon, a short line of text and a single block of colour usually hold up better. Black on pale carton board is common, though other dark inks may be used depending on the job and the surface.
When the file is set up properly, the printer can load the image and the operator can check the edges, spacing and size before a full run. If the logo sits next to a batch code or date, the layout should leave enough room so the markings do not crowd each other. That is especially useful when bags or cartons are marked by hand on a loading floor, where the item may not sit perfectly still.
- Use bold shapes and short text where possible.
- Avoid hairline details and tiny gaps.
- Leave space for batch codes and dates near the logo.
- Keep the artwork clean enough to read at a glance.
A Durban packing bay tells the story well
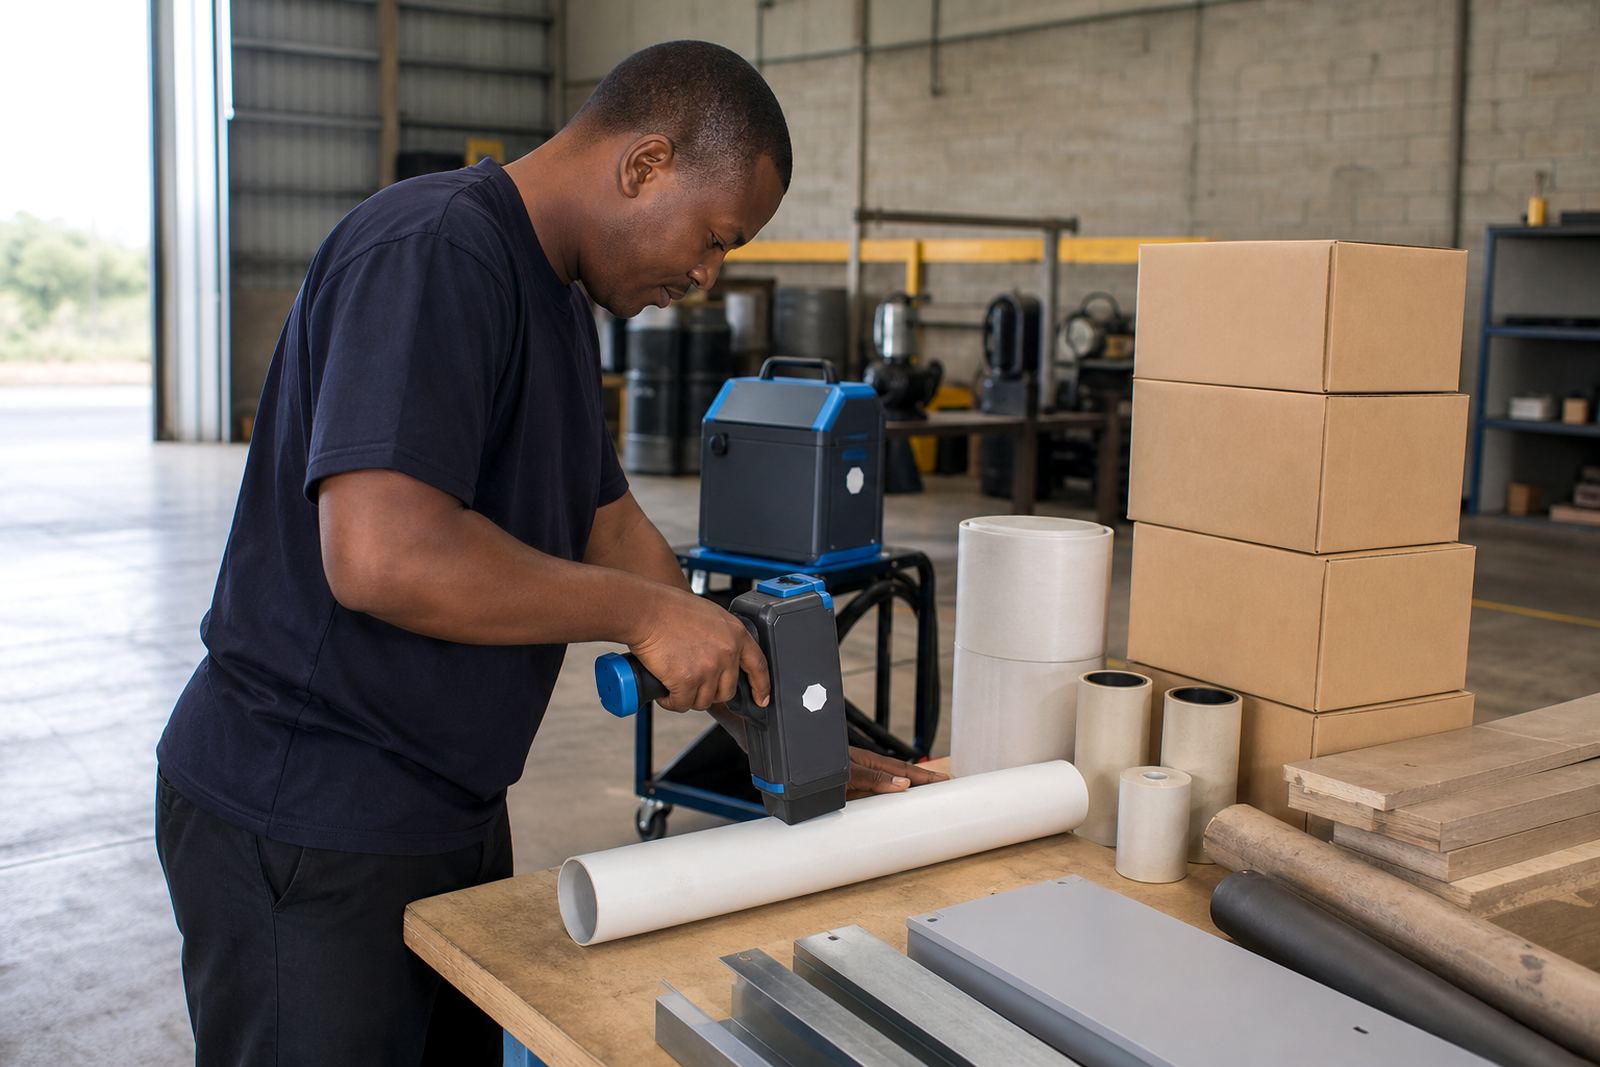
Picture a small packing bay in Pinetown with cartons moving out to Durban harbour and inland depots. The team needs a one-colour logo on each box, plus a date and batch number. The cardboard is ordinary corrugated board, the print area is flat and the boxes move by hand across a bench. In that setting, a handheld printer is practical because it can mark mixed carton sizes without setting up plates or labels for every carton type.
The same job on timber is less forgiving. A rough board may need a slightly larger logo and a slower hand pass to keep the edges clear. On pipe, the curved surface means placement matters more than size, so the operator often tests the angle first. Small changes in wrist movement can alter the whole look, which is why a short test series matters before a full hire period is used up.
Rentals by the week or month suit different print volumes
Short hire terms work well when the logo job is a once-off or seasonal run. Weekly hire suits a short packing project, a stock count period or a small order that needs coding and branding together. Monthly hire is useful where production continues across multiple batches and the same logo keeps returning on cartons, timber or pipe bundles.
With hire, the important pieces are the printer, the right ink, a clear print file and enough support to get the setup working on the actual surface. Delivery and collection can be arranged for areas such as Pinetown, Durban, Pietermaritzburg, Johannesburg, Cape Town and Richards Bay, with setup help available for on-site or remote work. Training matters too, because a handheld unit only prints well when the operator keeps the pass steady and the surface is presented properly. The logo may be simple, but the handling still needs care.
A short checklist before the first logo run
Before the first print, it helps to work through a few practical points. That avoids wasted cartons and keeps the job neat from the start. One-colour logo printing is not difficult, but it does reward a bit of preparation.
- Confirm the surface type, such as carton, timber, pipe or steel.
- Measure the space available for the logo in millimetres.
- Decide whether the mark needs to dry fast or can sit longer.
- Keep the logo simple enough for hand printing.
- Test the print on the real item before full use.
- Allow for any nearby batch code, date or barcode.
For many South African workshops, the final result is less about decoration and more about clear identification. A good one-colour logo should be easy to read, sit neatly on the item and hold up under ordinary handling. When those basics are in place, the print looks deliberate rather than rushed, even if the job is done by hand.