
Start with the surface, not the message
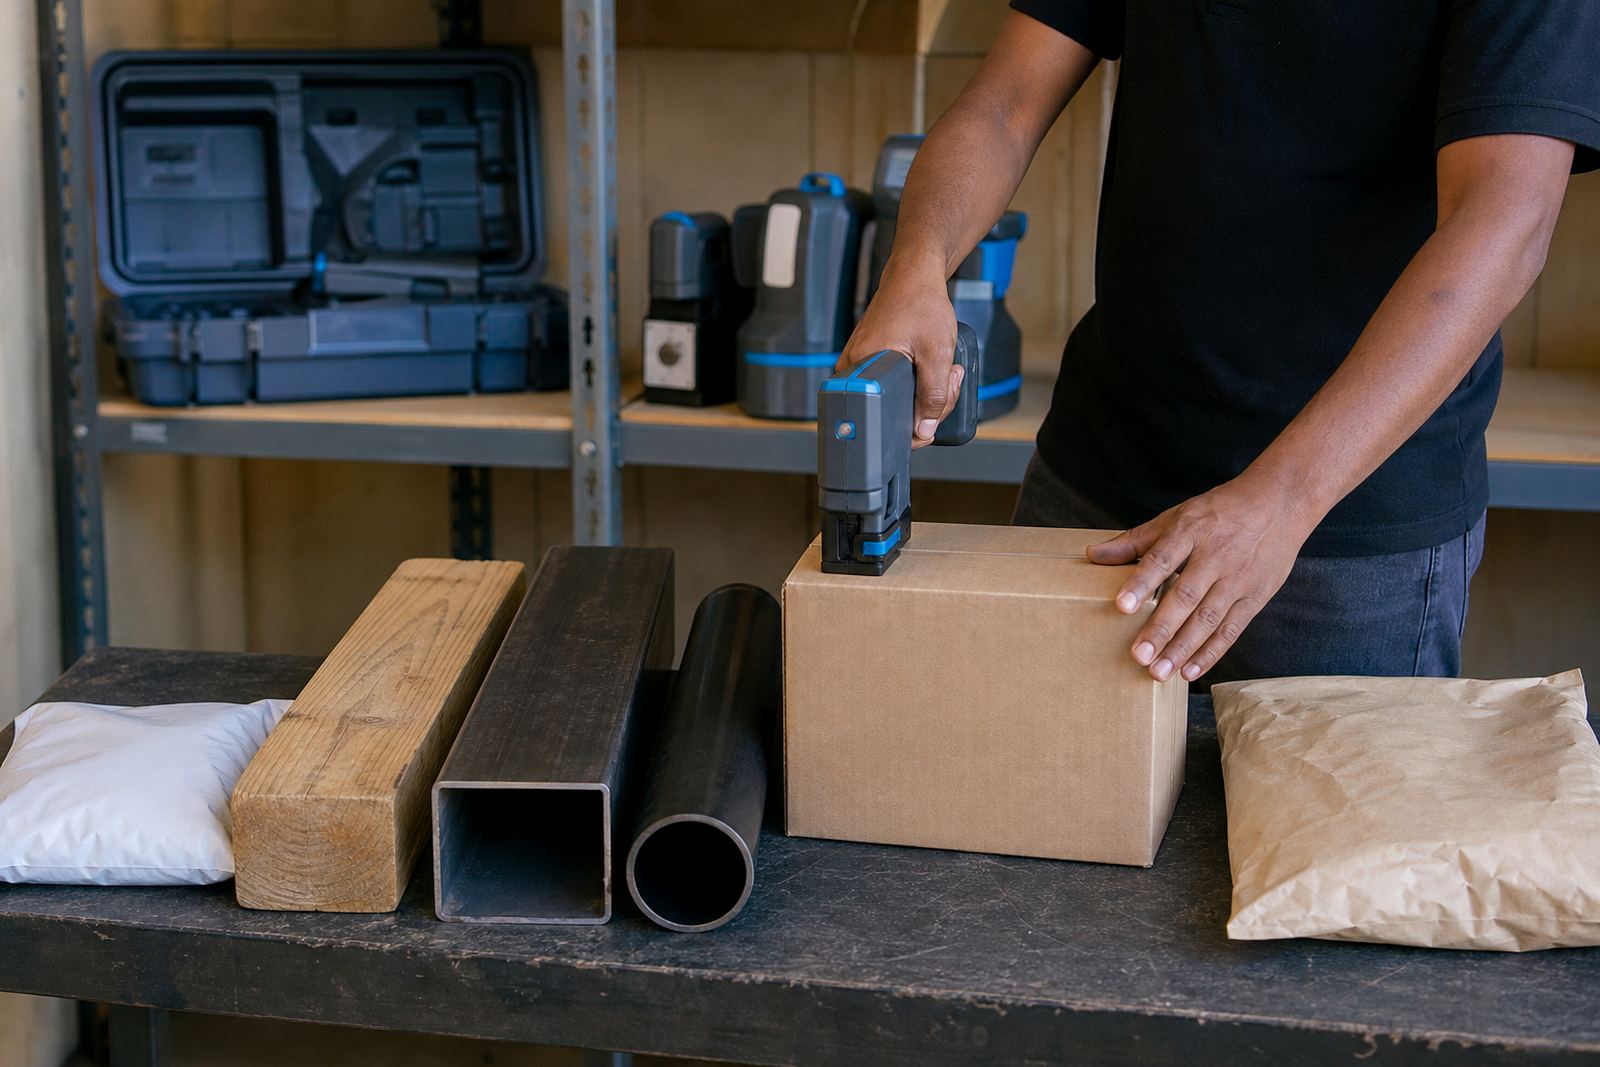
Most printing faults begin with the material, not the coder. A clean carton face behaves very differently from damp timber, glossy pipe, dusty steel or woven bags. If the surface carries oil, dust, loose fibres or condensation, the ink can feather, bead or wipe off before it cures.
Before any coding run, check the surface by hand and eye. Wipe off loose debris, let condensation clear and make sure the print area is flat enough for a steady pass. On timber, a rough grain can break up small text. On steel, surface residue from handling often causes patchy adhesion. Coastal humidity in Durban and Richards Bay can also slow drying, so the same ink that works well indoors may need a quicker-drying option outdoors or in a warm packing area.
- Remove dust, oil and loose fibres before printing.
- Check for moisture, especially on timber and metal.
- Test on the exact surface, not a similar offcut.
- Use a fresh sample if the packaging stock has changed.
Match the ink to the job, not the habit
Ink choice is one of the easiest places to make a costly mistake. A solvent-based ink is often used where speed and adhesion matter on non-porous or mixed surfaces. Water-based ink suits absorbent materials, but it is not the answer for every carton or bag. Quick-dry options can help where handled items move straight into packing, stacking or transport.
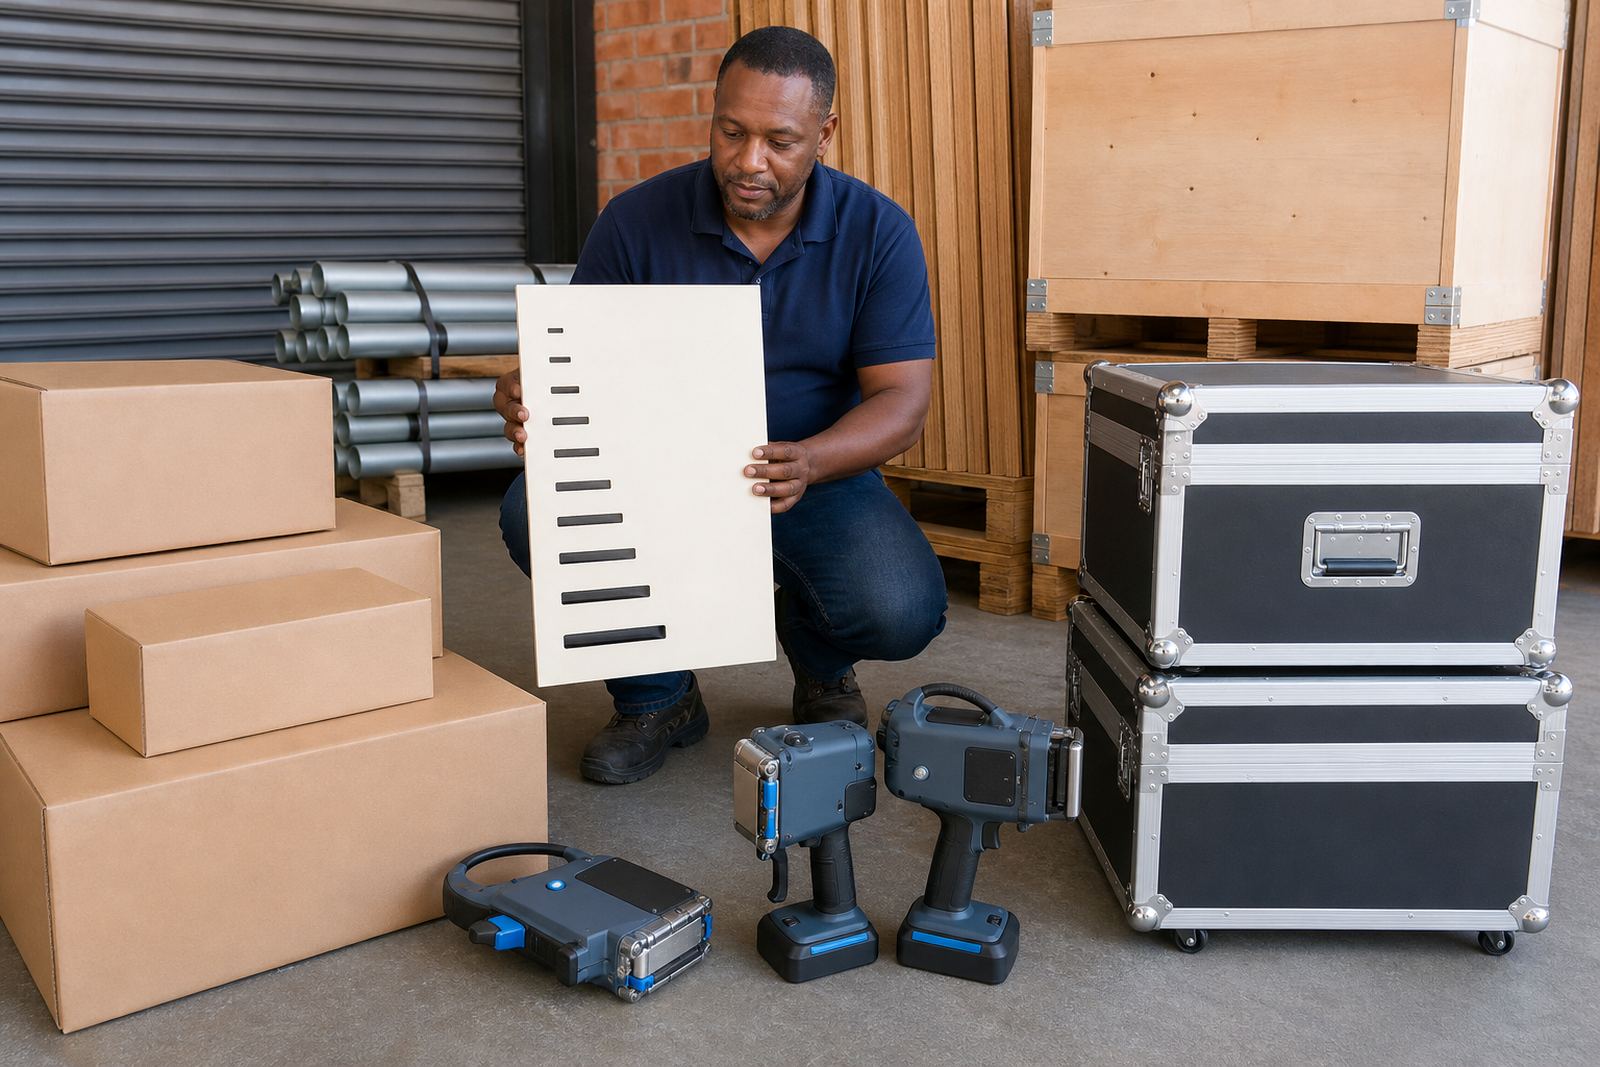
The wrong ink can look fine at first and then fail after rubbing, stacking or moisture exposure. If the job includes both printed cartons and pipe offcuts, one ink may suit one surface and fail on the other. The print height also matters. Small characters can be crisp on a smooth carton, yet too fine for rough timber or uneven steel. A taller print with simpler strokes may read better on those surfaces.
- Use absorbent-surface ink on porous stock where needed.
- Choose a faster drying option where handling starts immediately.
- Confirm the print height suits the size of the code.
- Keep a spare cartridge or supply ready for longer runs.
Barcode problems usually begin with sizing
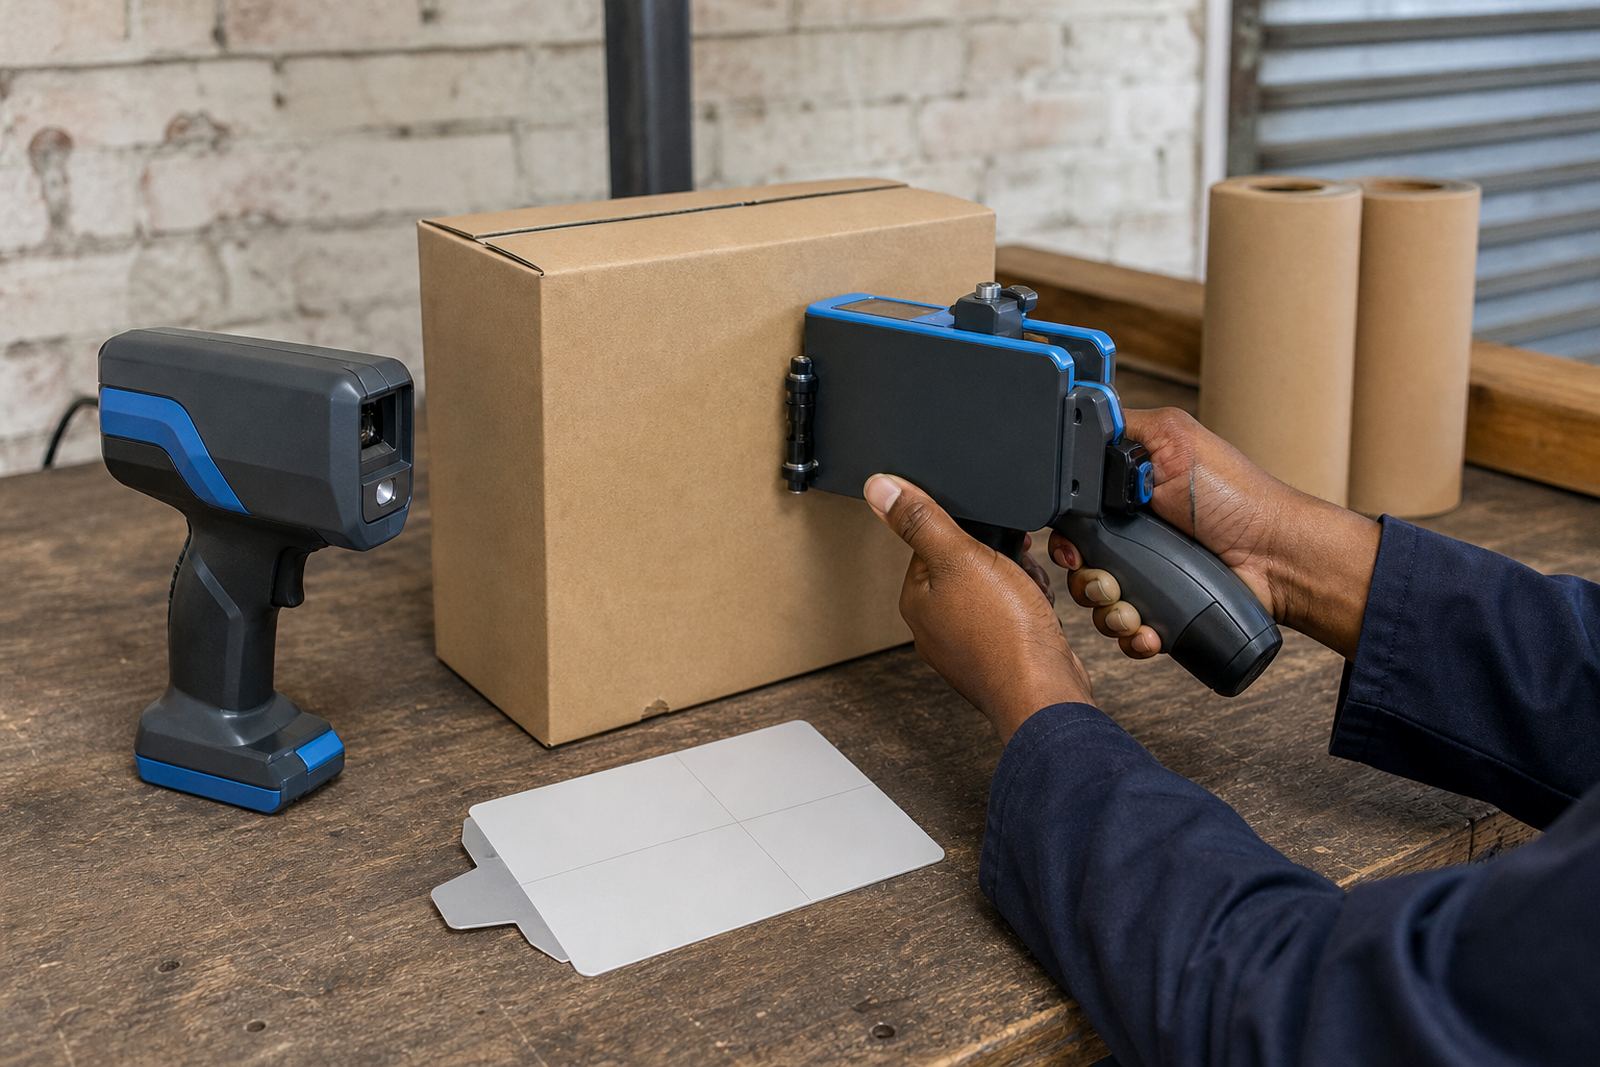
Barcode work needs a steady hand and the right layout. If the symbol is too small, too close to an edge or printed on a curved surface, scanners may struggle. A barcode that scans cleanly on a test carton can fail on a bag seam or a pipe with a slight bend. The issue is often not the printer itself, but the placement.
Leave enough clean space around the barcode and avoid printing across joins, labels or damaged sections. Keep the print path level and maintain a consistent distance from the surface. For handheld coding, short practice passes help operators see how the head tracks over the material before the full run starts. If the printer wanders, the bars can thicken on one side and narrow on the other, which affects scanning.
- Keep barcodes away from seams, folds and joins.
- Test scan the code on the actual product shape.
- Allow clear space around the barcode edges.
- Check alignment before starting a large batch.
Date and batch codes need clear spacing
Date and batch marking is often treated as the easiest part of the job, yet hurried formatting causes a lot of avoidable errors. A code packed too tightly can be hard to read after handling. Missing separators, inconsistent line breaks or a message that is too long for the print area will create messy results. On cartons and bags, this becomes a real issue when the code sits close to a fold or glue seam.
Keep the message short and practical. Use a consistent date format across the whole job, and make sure the batch number is set out in a way staff can read without guessing. If the product range changes from day to day, recheck the message before each run. A small typo at setup stage can travel through an entire pallet if no one notices it early.
- Use one date format across the full job.
- Leave space between the code and the edge.
- Check for missing characters before printing starts.
- Review the first few pieces before continuing.
Test printing saves time later
A proper test print is not wasted time. It shows whether the ink bonds, whether the message is positioned correctly and whether the operator can keep a steady motion. On steel or timber, a test can reveal poor contrast straight away. On cartons, it may show that the print is too light to read from a working distance. Small adjustments to print height, speed or message length often solve the issue before the full batch starts.
We also see setup mistakes when the operator assumes the first sample is good enough. One test on a clean piece is not enough if the rest of the stock varies in texture or moisture. For mixed loads, test on more than one sample and keep the approved piece nearby as a reference. That helps when several people handle the hire unit during the week.
Training, setup and backup checks that cut down mistakes
Good setup support makes a real difference, especially when the team is new to handheld coding or moving between sites in Durban, Pietermaritzburg, Johannesburg, Cape Town or Richards Bay. A short walk-through on message loading, ink selection and surface handling prevents most of the errors that later become production delays. Weekly or monthly hire works best when operators know how to clean the head, check the print, and spot the first signs of drift or blockage.
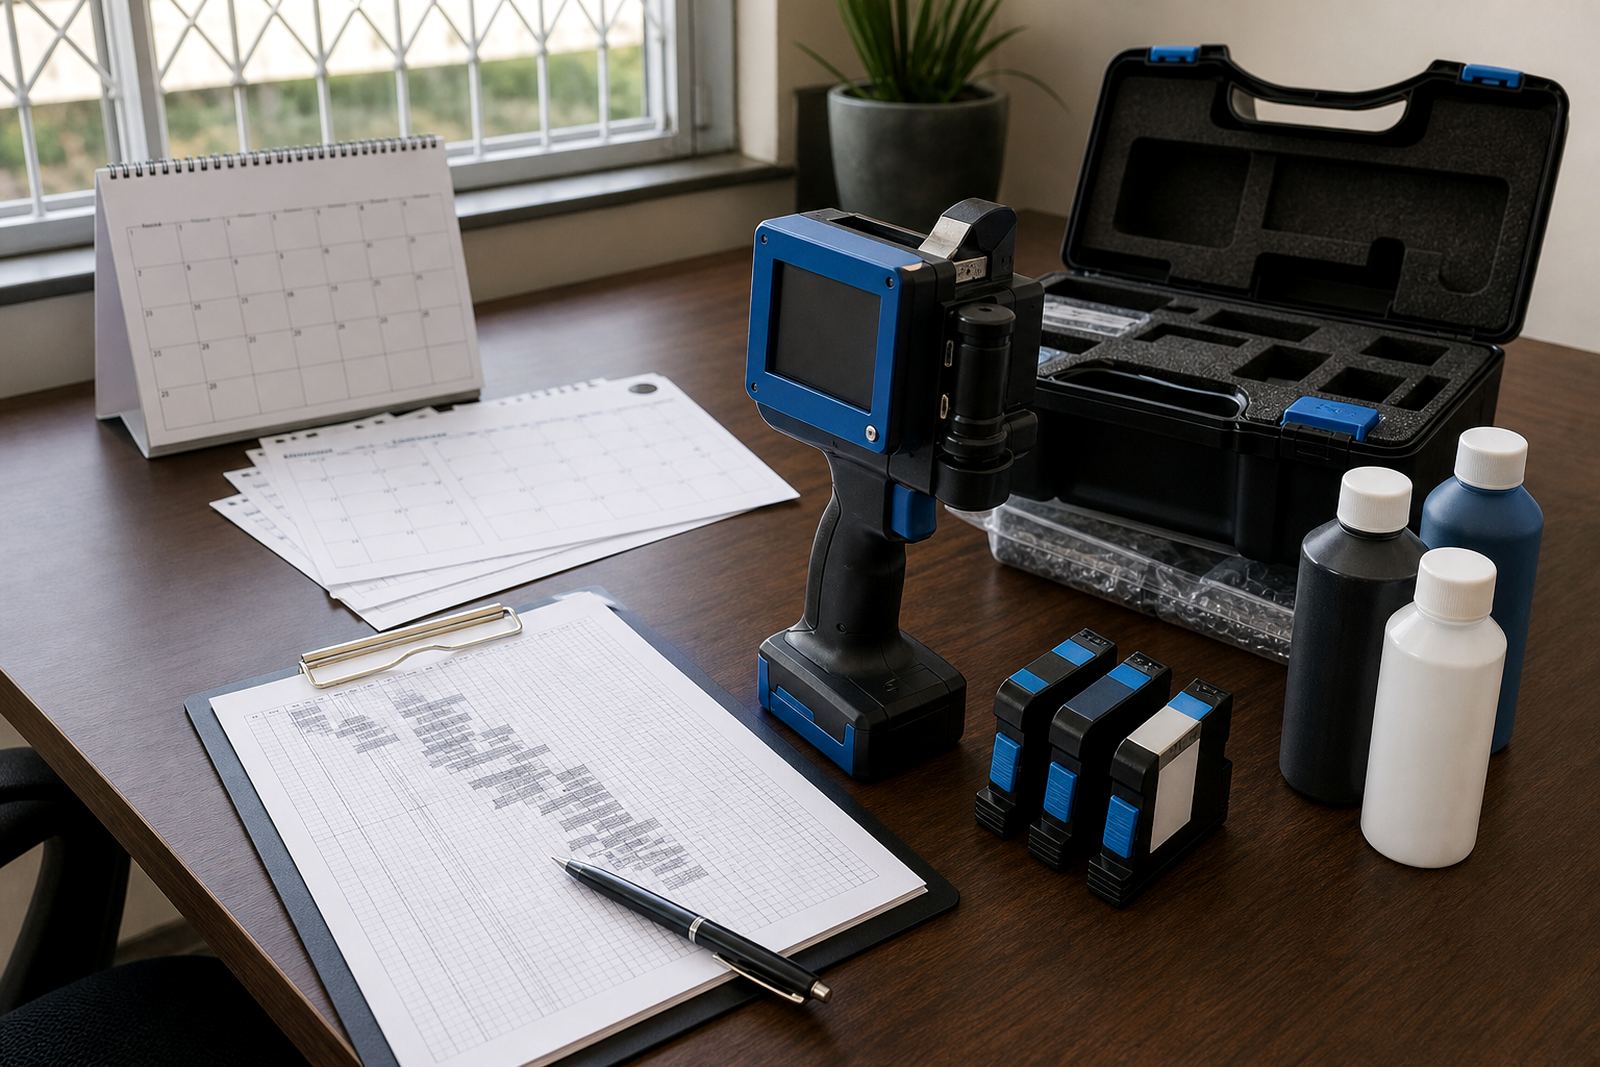
Where a job runs across different products, it helps to keep a simple checklist near the unit. That way the operator checks the message, surface, ink and print height before each run, not after the cartons have already been marked. Backup unit support also matters when a site cannot pause for long. If one coder needs attention, the spare unit keeps the work moving while the issue is sorted out.
- Load the correct message before the shift begins.
- Confirm the ink type for the day’s material.
- Keep cleaning materials close to the workstation.
- Use a backup unit when the schedule is tight.
A short checklist before the first full run
Run a final check before the main batch starts. It is quicker to correct a setup issue on the first ten pieces than to relabel a full stack later. If the surface, ink and print height all match the job, handheld coding is much easier to control.
- Surface clean, dry and ready for marking.
- Message loaded with the correct date, batch or logo.
- Print height suitable for the material and code size.
- Ink selected for the surface and drying conditions.
- First test print legible and properly placed.
- Barcode scans correctly where barcodes are required.
- Operator knows how to pause and recheck if print quality changes.
For handheld printer hire in Pinetown, Durban and across South Africa, the goal is not just to supply a unit. It is to leave you with a setup that prints clearly on the material in front of you, with fewer surprises during the run.