
Pick a barcode size that suits the carton or pipe
Start with the space you have on the product, then work backwards to the scanner. A barcode that is too small may print neatly but scan badly, while one that is too large can wrap around a pipe or crowd the edge of a carton.
For handheld inkjet coders, the usable print height matters as much as the barcode width. Most jobs need enough clear margin around the code so the bars do not touch text, date marks or pack seams.
- Leave a clean border around the barcode on all sides.
- Keep the code flat on cartons where possible.
- Check that the print height matches the code size, not just the logo size.
- On pipes, place the code where the curve is least severe.
Set the print height before you load the message
Barcode setup begins with the print head height and the surface texture. A low height can cut off the top or bottom of the bars, while a high setting may soften the edges and make the code harder to read.
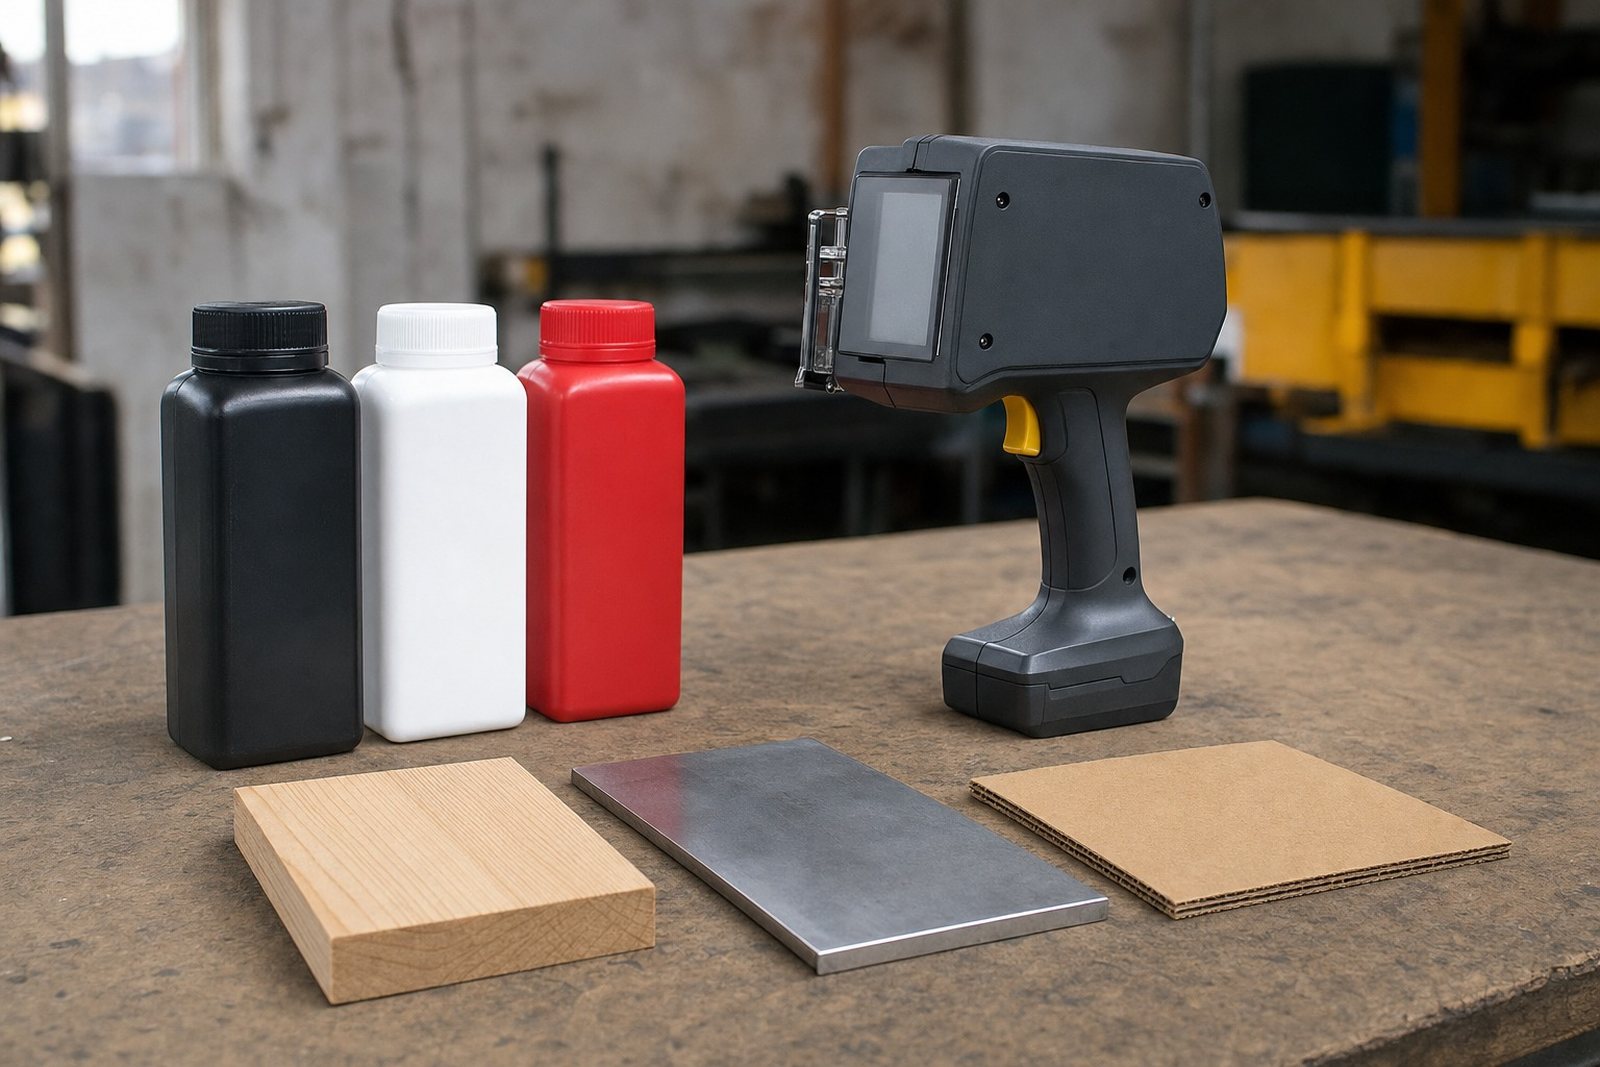
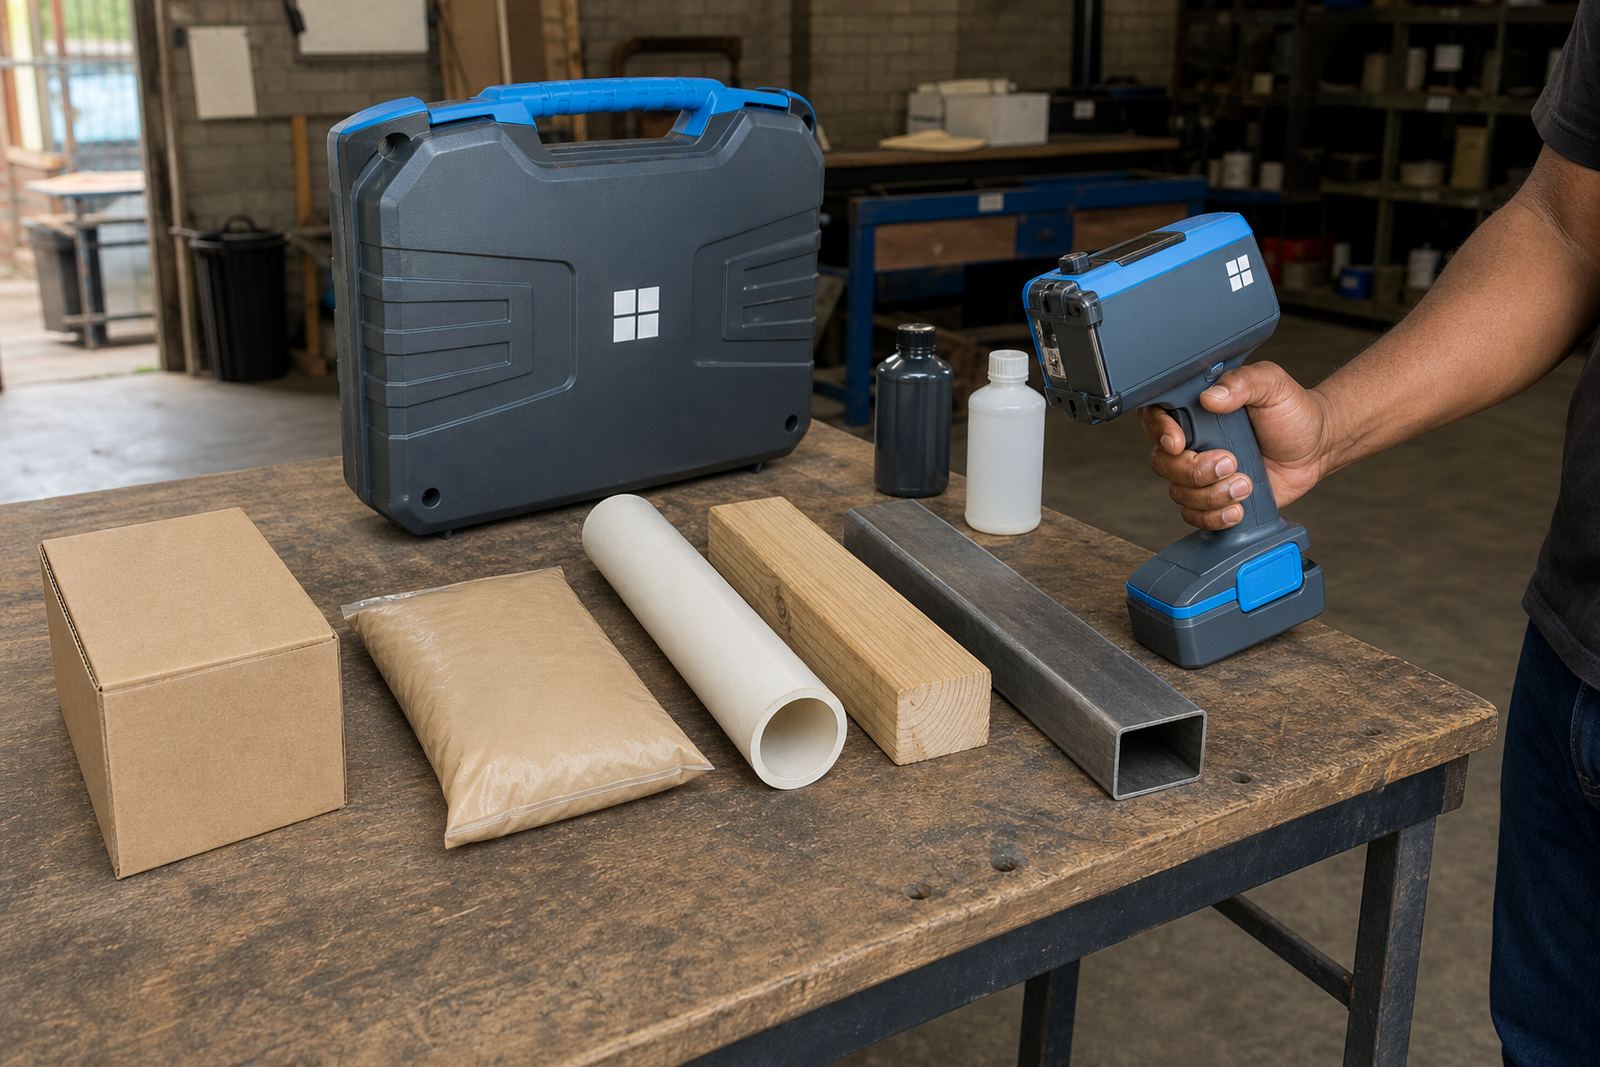
On timber, bag material, coated cartons and steel, the surface changes the way ink sits. Quick-dry ink helps on smoother or less absorbent surfaces, while water-based ink can work well on porous cartons and timber. Solvent ink is often used where the surface needs stronger grip and quicker fixing.
- Match the ink type to the surface, not only to the product name.
- Check the print height on the actual item, not a sample board only.
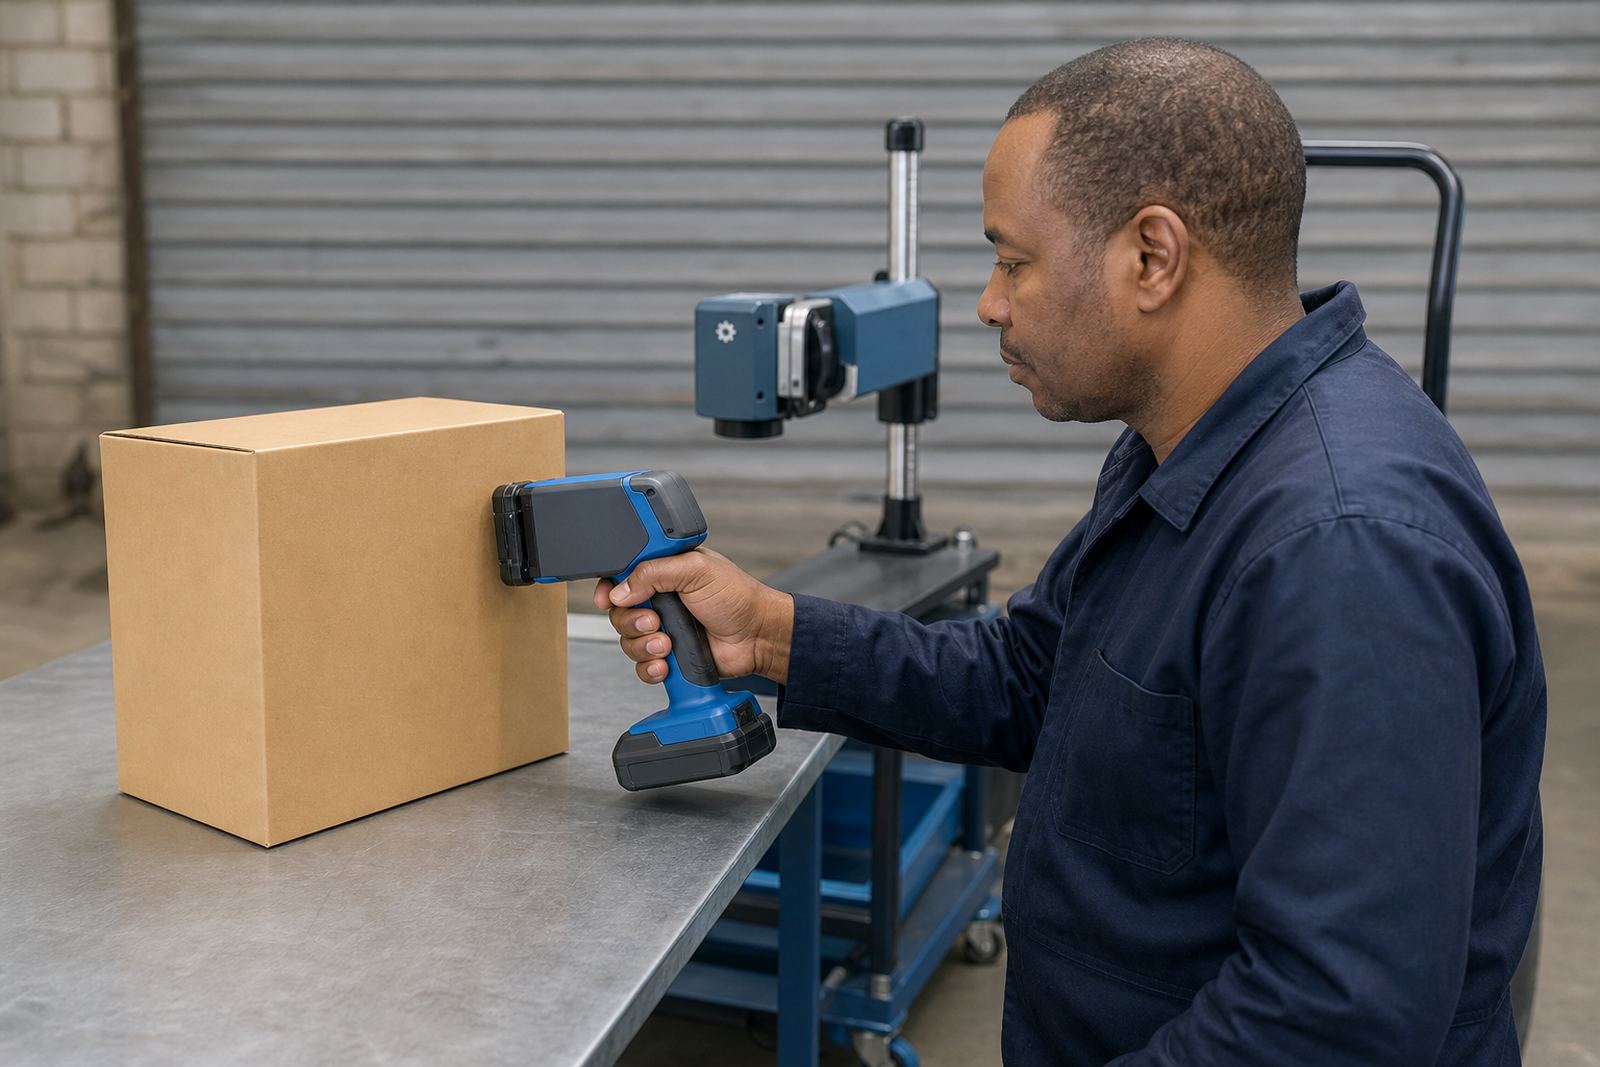
- Keep the head steady while printing across each code.
- Use a test strip before starting the full run.
Quiet space matters more than people expect
Barcode setting works best in a calm area with good light and a flat packing table. Noise is not the issue, but distraction is. When operators rush, the code drifts, the message lands too close to the edge and the scanner has to work harder.
For weekly or monthly hire, we often suggest a small setup point near the packing line. That keeps the coder, the spare ink and the test pack together, and it makes checks easier before the first batch moves out.
- Use one place for setup, testing and message loading.
- Keep loose boxes away from the print area.
- Store the coder where dust and grit will not settle on the head.
- Make sure the operator can see the full print zone clearly.
Scanner checks that tell you whether the code will hold up
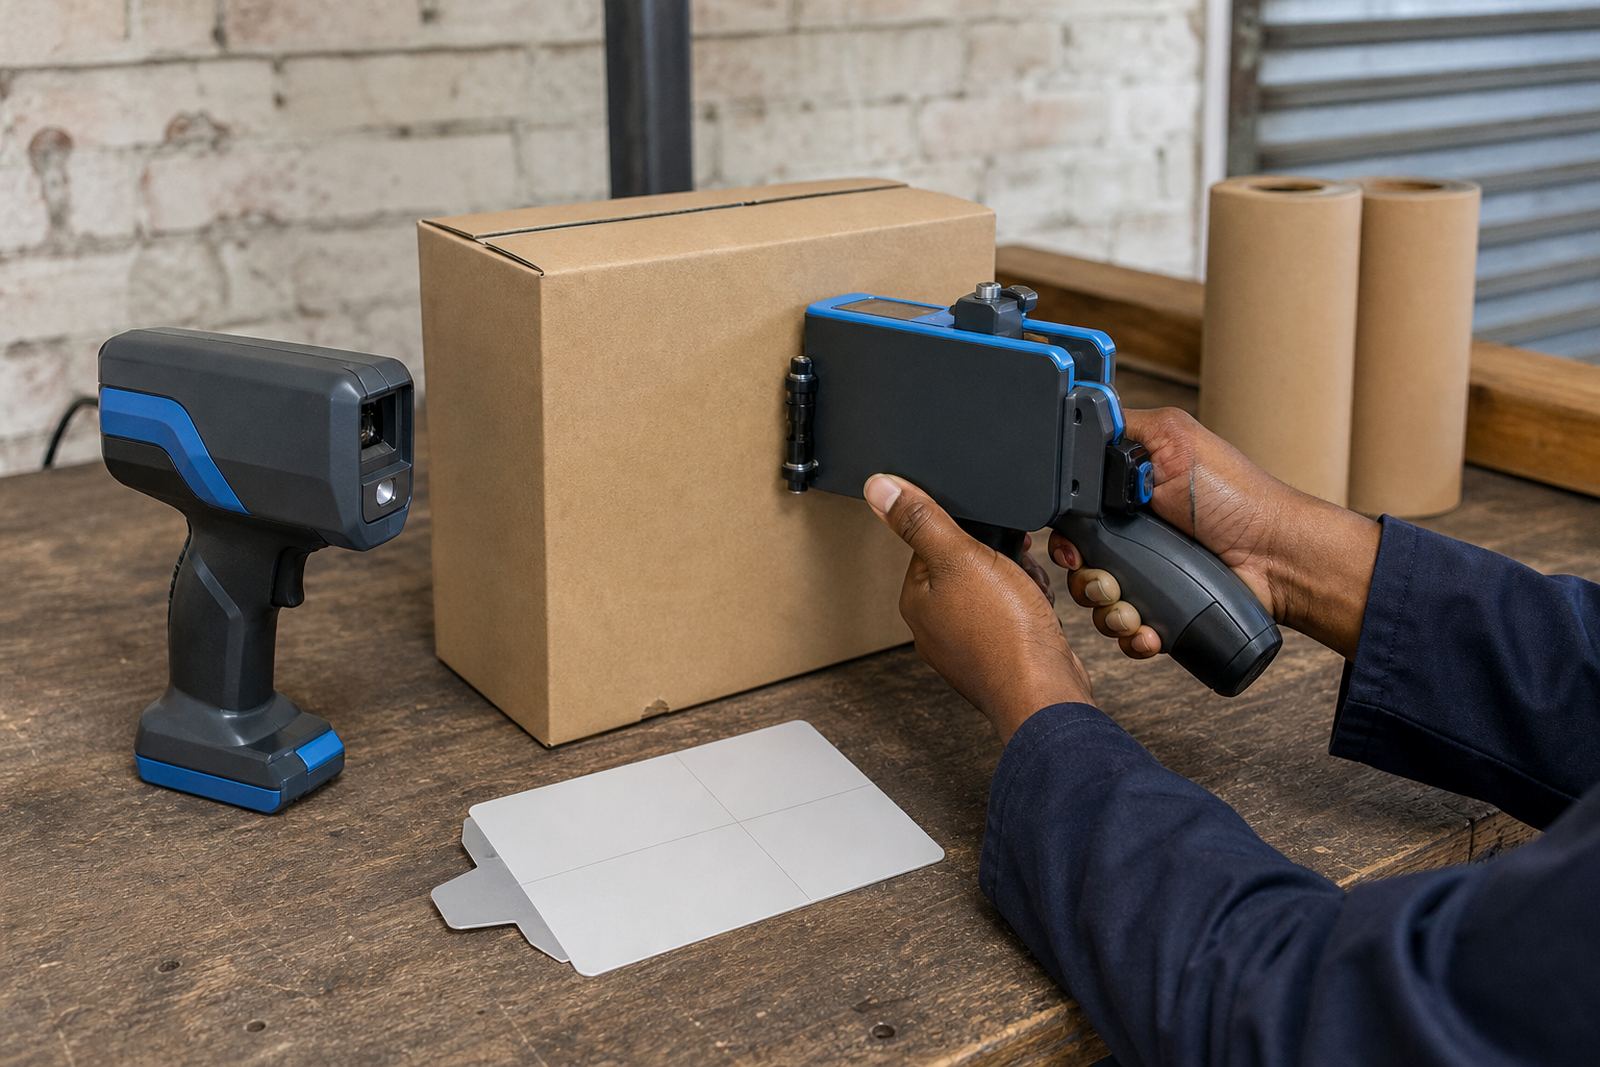
Before a full run, scan the barcode with the same type of reader used at dispatch or receiving. A code may look sharp to the eye but still fail when the bars are too tight, too pale or broken by a rough surface.
Test the printed code in real handling conditions. If the carton is cold, damp or slightly curved, that can affect the final scan more than the printer setting does. It is worth checking a few samples from the start, middle and end of the run.
- Scan the first print before production starts.
- Check a mid-run sample to confirm consistency.
- Test the last item in the batch too.
- Compare the scan on a clean surface and on the actual product.
Message loading for dates, batch numbers and logo lines
Most barcode jobs sit next to other information, such as dates, batch numbers or a small logo. The message needs enough spacing so the barcode is not crowded by extra text. When the layout gets tight, the scanner can still fail even if the printer has done its part.
We help with message loading, barcode setup and logo setup for cartons, bags, pipes, timber and steel. The aim is to keep the code readable while the rest of the mark stays neat and in the right position.
- Keep barcode data separate from date codes where possible.
- Use clear character spacing in any human-readable text.
- Place logos away from the quiet zone around the barcode.
- Confirm the final layout before the batch starts moving.
Hiring a unit for a short run or regular dispatch work
Some teams only need a handheld printer for a short production change, while others need it for regular dispatch work. Flexible weekly or monthly terms suit both patterns, and the choice usually depends on how often the code changes and how many surfaces must be marked.
From our Pinetown base in Durban, we support hire across Durban, Pietermaritzburg, Johannesburg, Cape Town and Richards Bay. Delivery and collection, on-site setup, remote setup help and operator training are all part of the support side, along with ink selection help, consumables supply and backup unit support when needed.
- Weekly hire works well for short projects or seasonal lines.
- Monthly hire suits repeating packing work with steady dispatch volumes.
- Ask for test printing if the surface is new or unusual.
- Use backup support when the line cannot pause for long.