

Start with the surface, not the message
Most print faults begin before the trigger is pulled. Dust, oil, condensation, wax, loose fibres and rust can all break the ink film, so the mark looks patchy or weak even when the message file is correct.
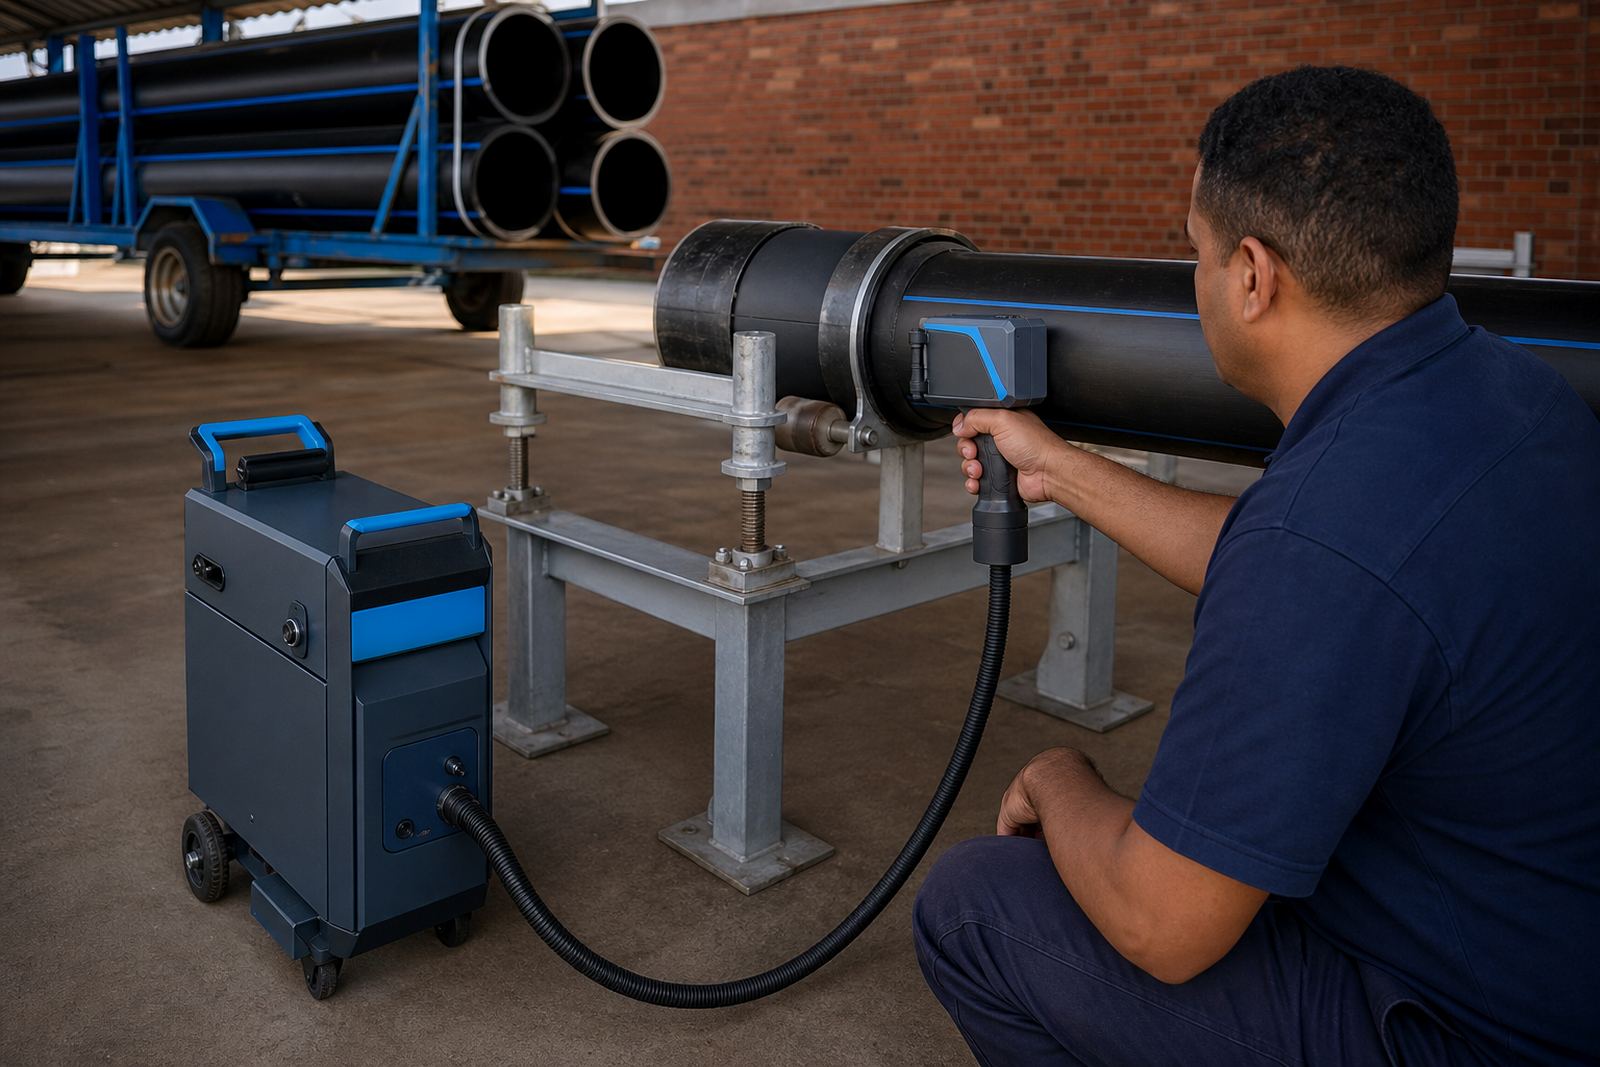
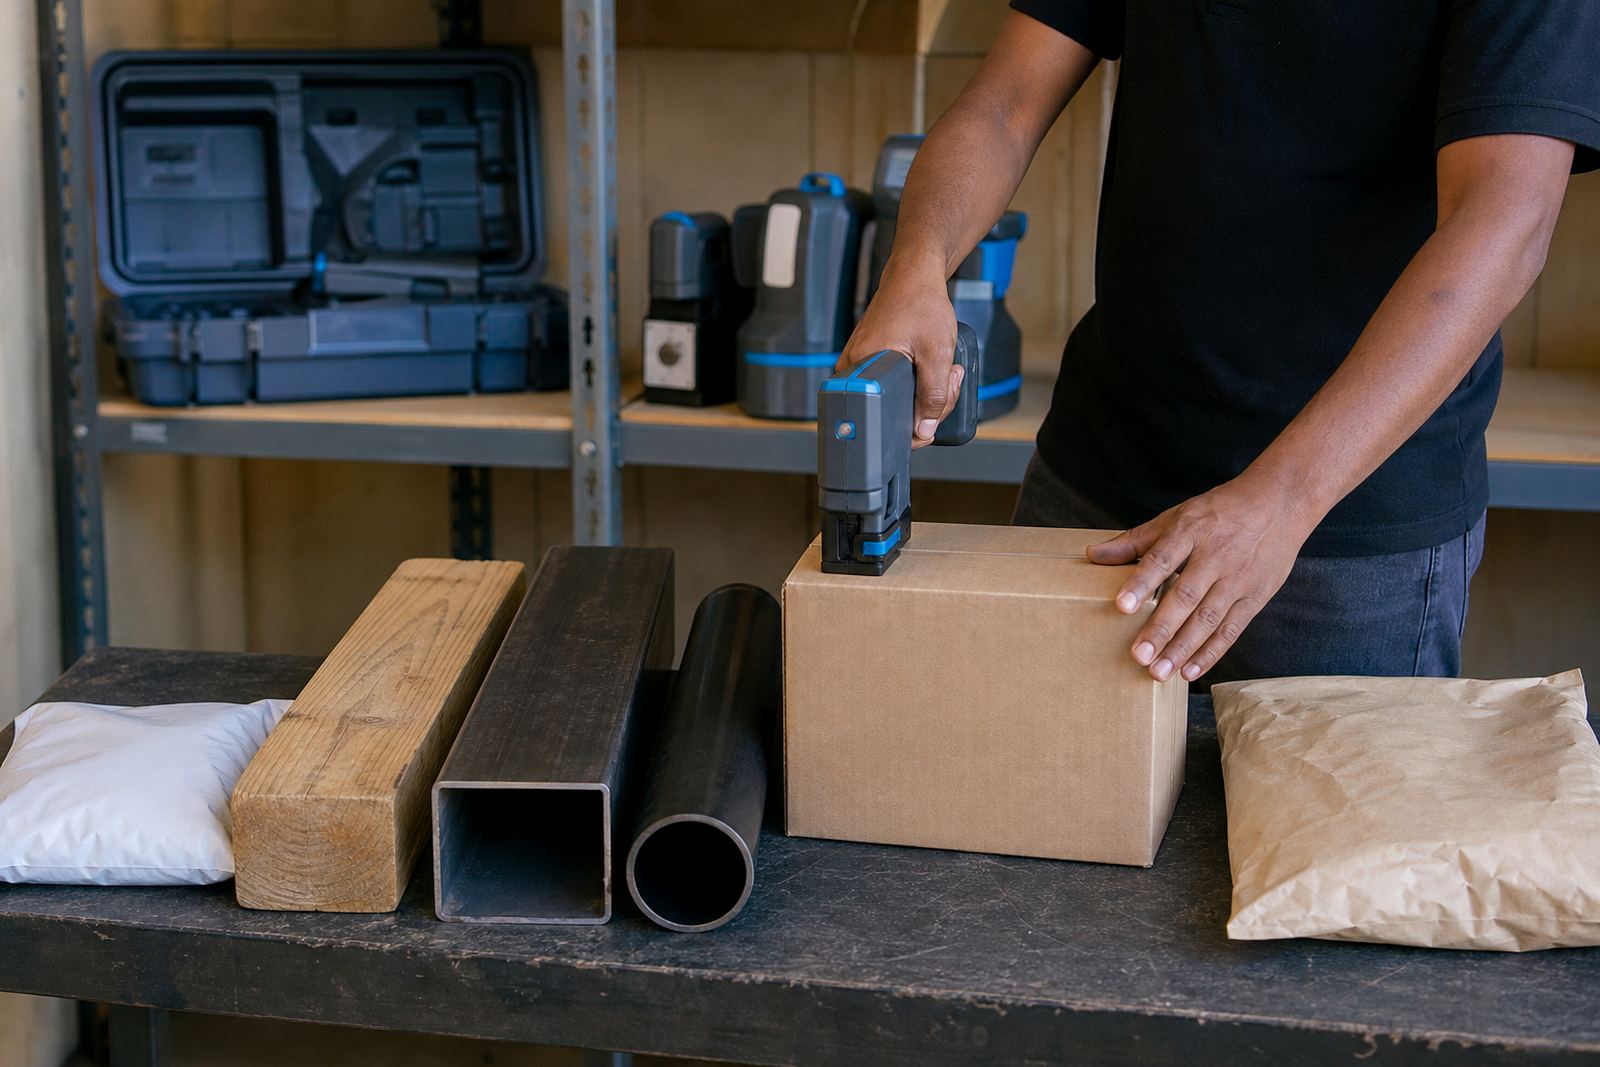
Cartons need flat contact and dry corrugate, while timber often needs a lighter touch because grain and resin pull ink unevenly. Pipes and steel usually need a surface wipe first, especially in coastal conditions where moisture and fine salt can leave a thin film that changes how the ink sits.
- Wipe smooth surfaces with a clean, lint free cloth.
- Let damp stock dry before printing, even for a short run.
- Test on a spare offcut when the material changes.
- Watch for dust from cutting, sawing or bag filling.
Match the ink to the material and the drying window
Ink choice changes the whole result. Solvent based inks suit many non-porous and mixed surfaces because they bite fast and dry quickly, while water based inks can work better on porous cartons and timber where the fibres absorb the mark. Quick dry options help when the item moves straight back into handling or stacking.
Colour matters too. A dark substrate may need stronger contrast, while pale cartons may print cleanly with a lighter load and a smaller drop. On glossy film, painted metal or powder coated pipe, the ink must dry fast enough to avoid smearing during handling.
- Use solvent based ink for harder, smoother surfaces where fast set matters.
- Use water based ink for porous stock that can absorb the mark.
- Ask for ink that suits the exact print face, not just the product type.
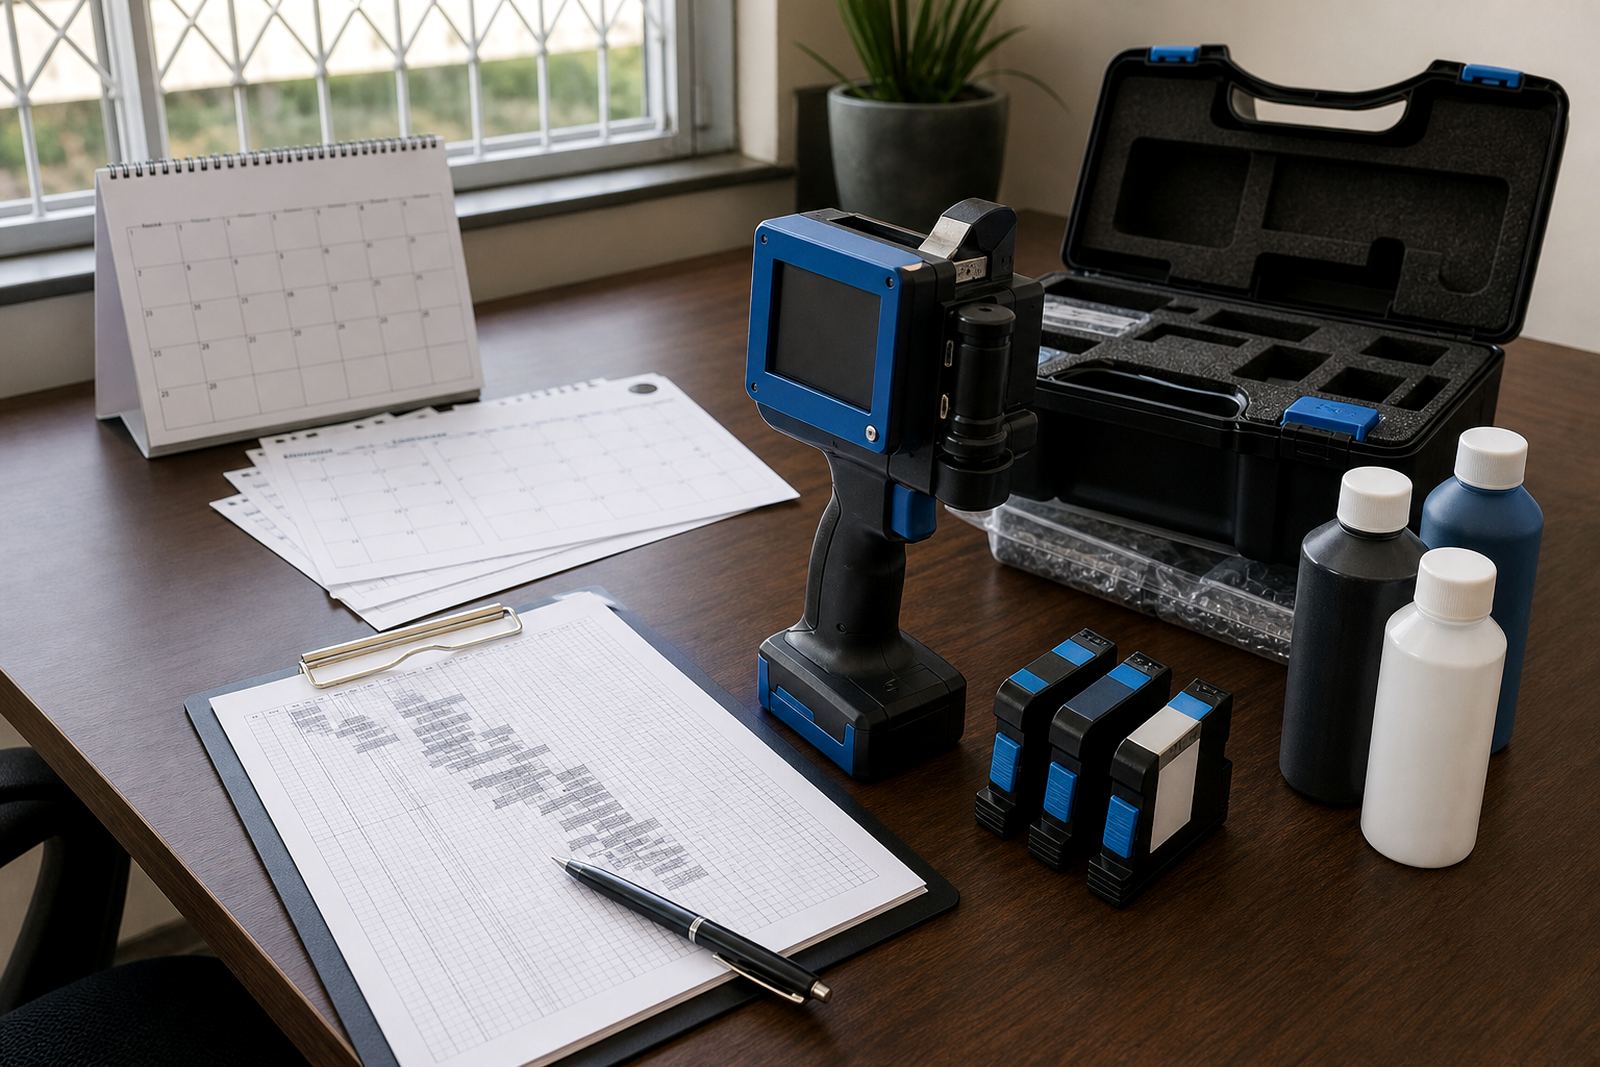
- Store cartridges or bottles upright and sealed when not in use.
Set print height before chasing contrast
Print height affects how clean the code looks. A tall message is easier to read from a distance, but if the coders sits too far from the surface the edges feather and small details start to lose shape. A shorter print can look sharper on rough timber, narrow pipe, or uneven carton tops.
Barcode clarity depends on the same setting. If the bars blur or break, scanners struggle even when the code looks acceptable to the eye. For logos, small text and batch details, keep the characters large enough for the substrate and the print head distance, then test the final size before a longer run starts.
- Check the gap between print head and surface first.
- Reduce height on rough timber and curved pipe.
- Increase size only when the material can hold the detail.
- Print a short sample and inspect it at arm’s length.
Keep the handheld motion steady
A handheld printer rewards a smooth, even pass. If the operator moves too fast, the message can stretch or fade at one end. If the movement slows or jerks, the code may overlap and the repeat pattern changes from item to item.
Training helps here because grip, angle and travel speed all affect the mark. A steady hand, a level sweep and a consistent start point are usually better than extra pressure. On cartons and bags, guide the unit in a straight line. On pipes and round timber, keep the motion aligned with the surface so the print remains even.
- Hold the unit level from start to finish.
- Use one smooth motion instead of short stops.
- Keep the same travel speed for each item.
- Practise on scrap stock before full production.
Load the message cleanly and test before the run
Sharp print depends on the file as much as the surface. Dates, batch codes and job numbers should be set with clear spacing, proper line breaks and the right character height. Barcodes need clean quiet zones and correct proportions, or the scanner may reject them even when the print looks tidy.
Test printing removes guesswork. A small sample shows whether the ink density is right, whether the code sits in the correct position and whether the logo remains legible at production speed. For multi-line messages, check alignment carefully because a slightly tilted message becomes obvious on long cartons or narrow pipe sections.
- Keep dates and batch codes in a clean, readable format.
- Leave enough space around barcodes and logos.
- Confirm message placement before the full hire run starts.
- Reprint the sample if the first mark looks uneven.
Routine care that protects repeat consistency
Consistent results need regular cleaning and sensible handling. Ink build-up on the print head can weaken contrast, while dried residue around the nozzle can leave small gaps in the mark. A quick wipe with the right cleaning method keeps the output cleaner and reduces the chance of blocked jets.
For weekly or monthly hire, it also helps to keep spare ink on hand and note any change in surface, temperature or handling method. If the same unit must print on cartons one day and coated steel the next, the settings may need adjusting before production resumes. Our team in Pinetown, Durban supports deliveries, setup, training and backup units across Durban, Pietermaritzburg, Johannesburg, Cape Town and Richards Bay when the job calls for it.
- Clean the print head at the end of each shift.
- Replace or top up ink before it runs too low.
- Record the settings that worked on each surface.
- Check barcode read quality after any material change.