Pipe lengths, joins and the marks that matter
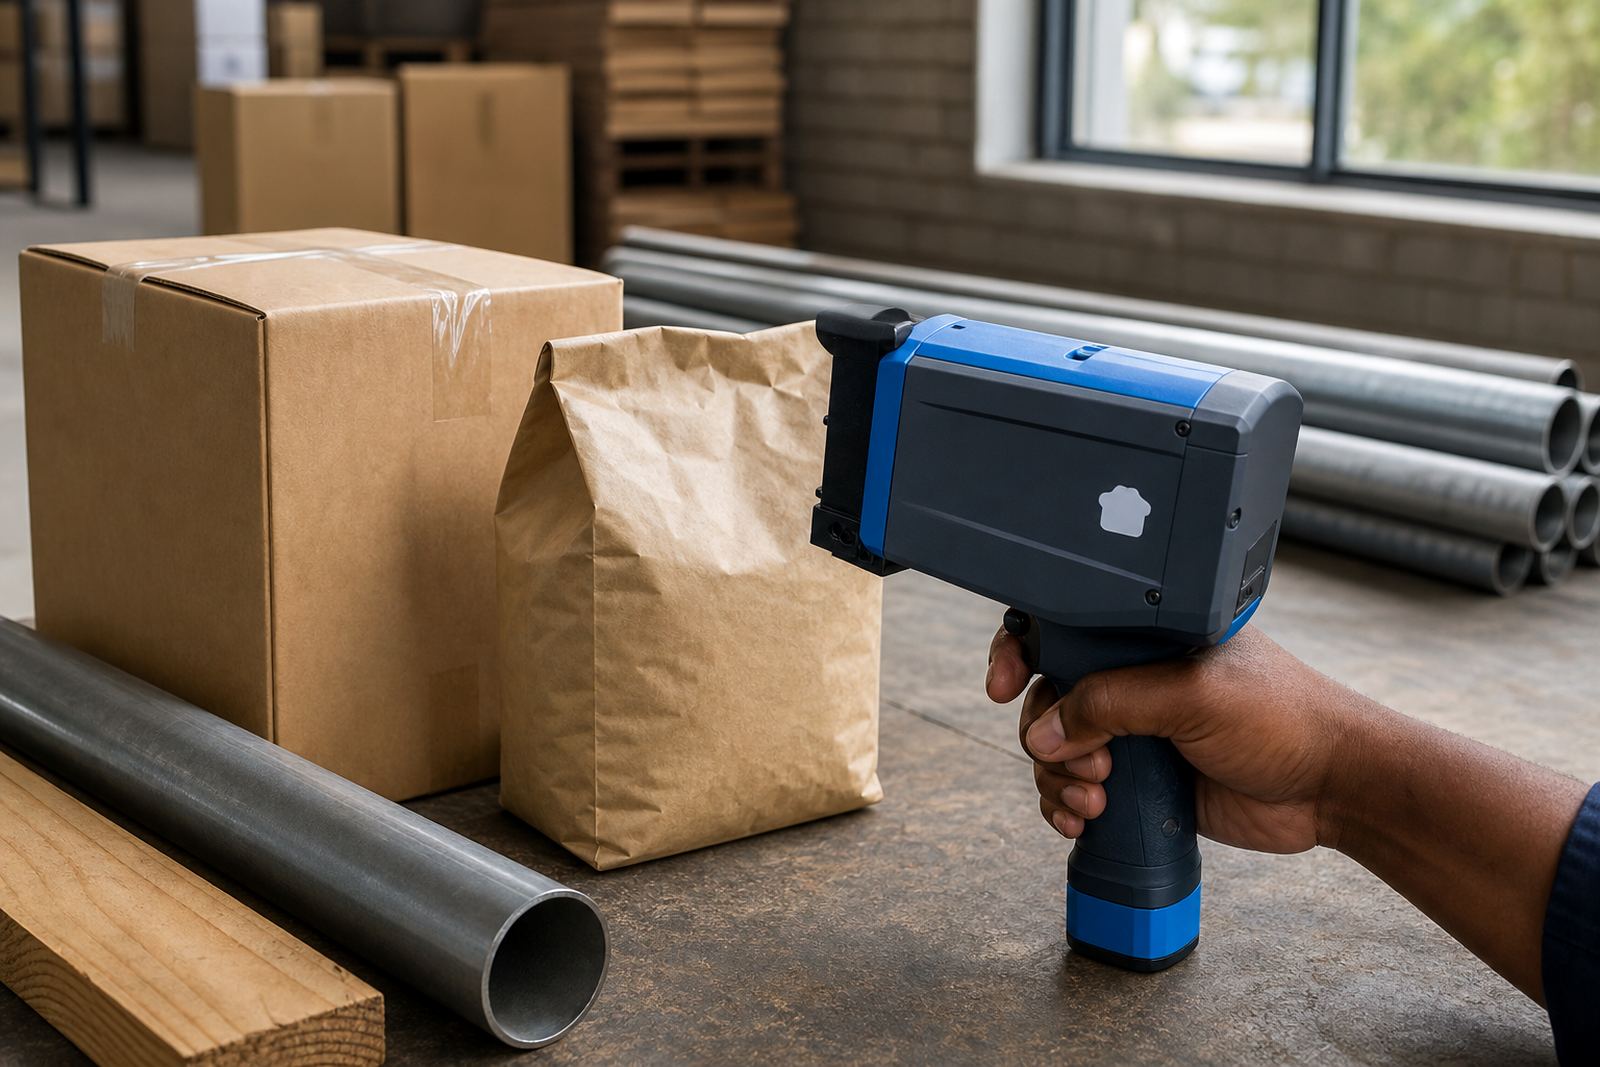
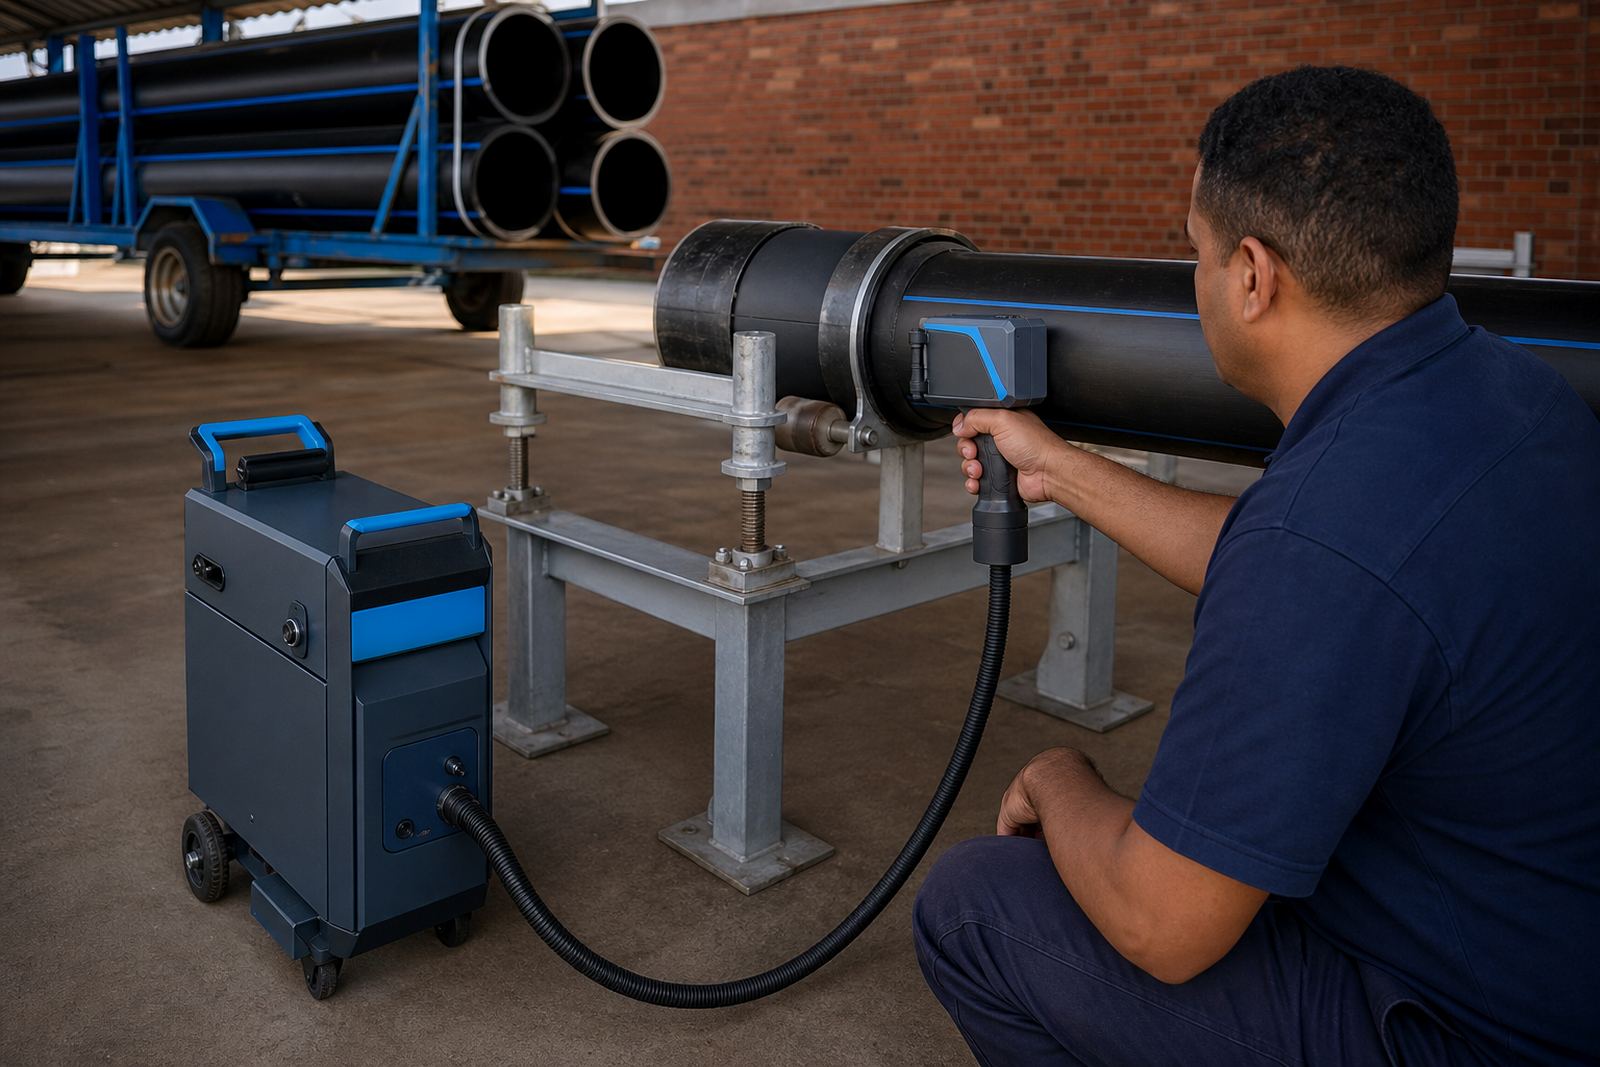
Pipe marking is usually tighter than carton coding because the surface moves under the hand and the code often sits near a socket, weld, bevel or cut end. For that reason the print should be planned before the unit is switched on. Decide whether you need a date, batch number, job reference, size line, direction mark or logo, then decide where each item sits on the pipe length.
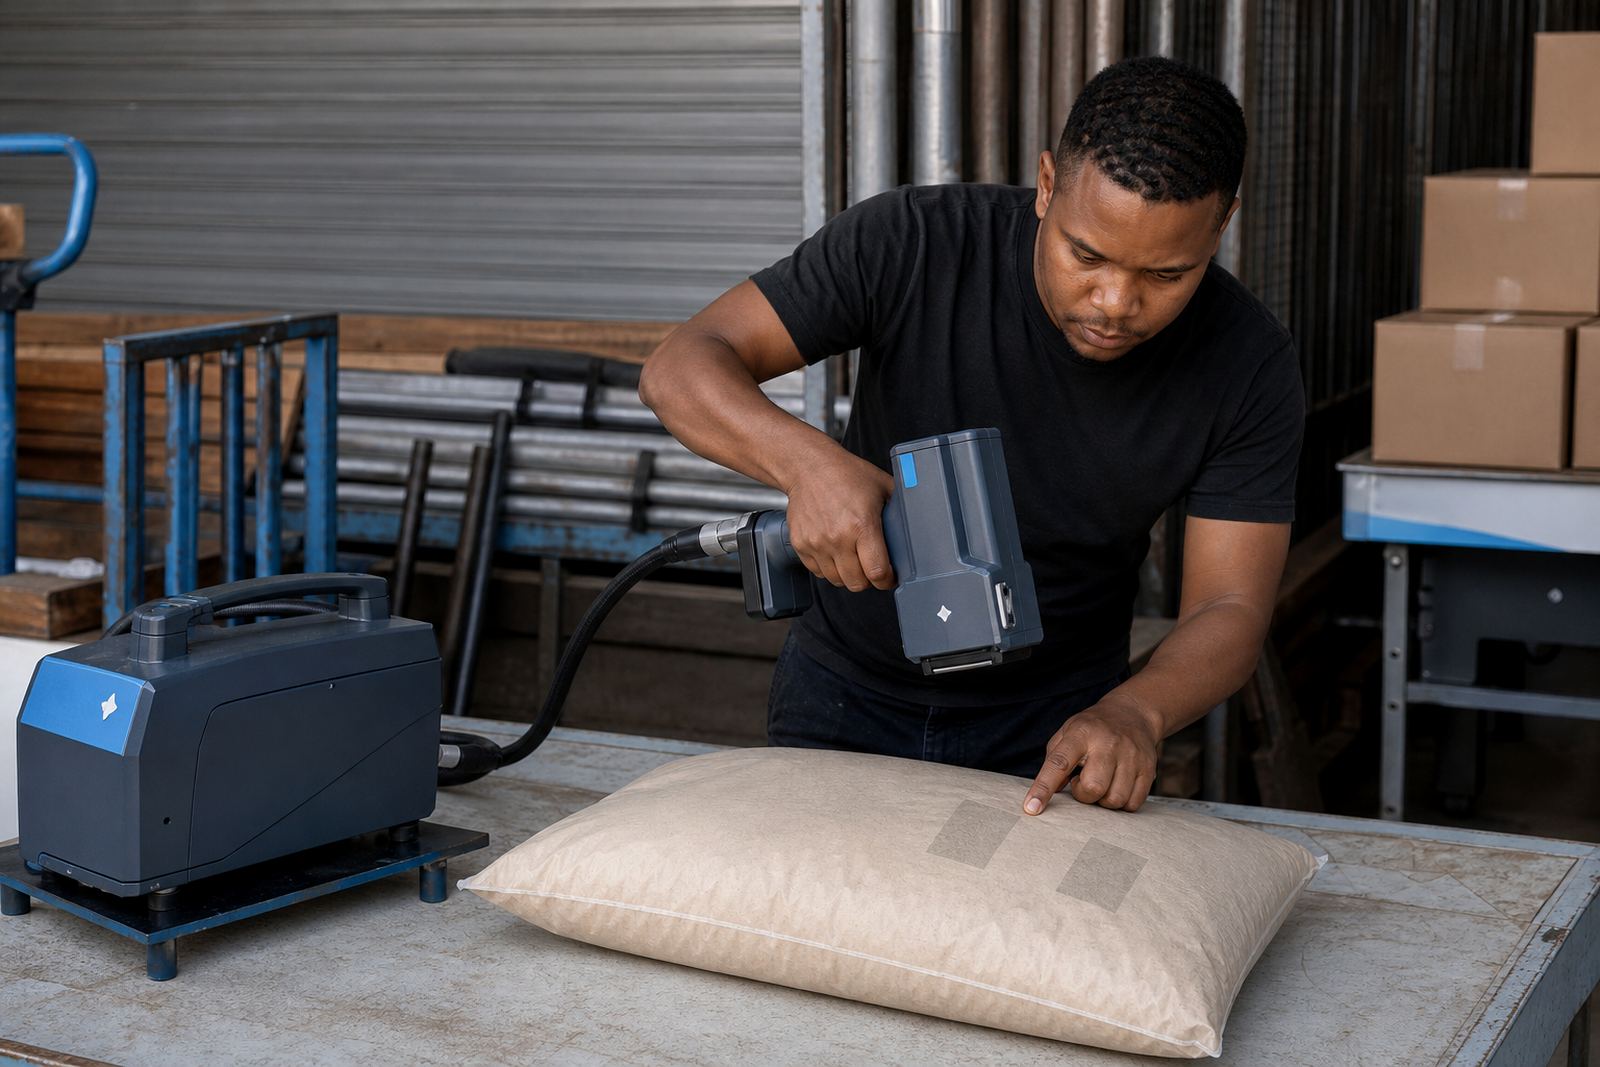
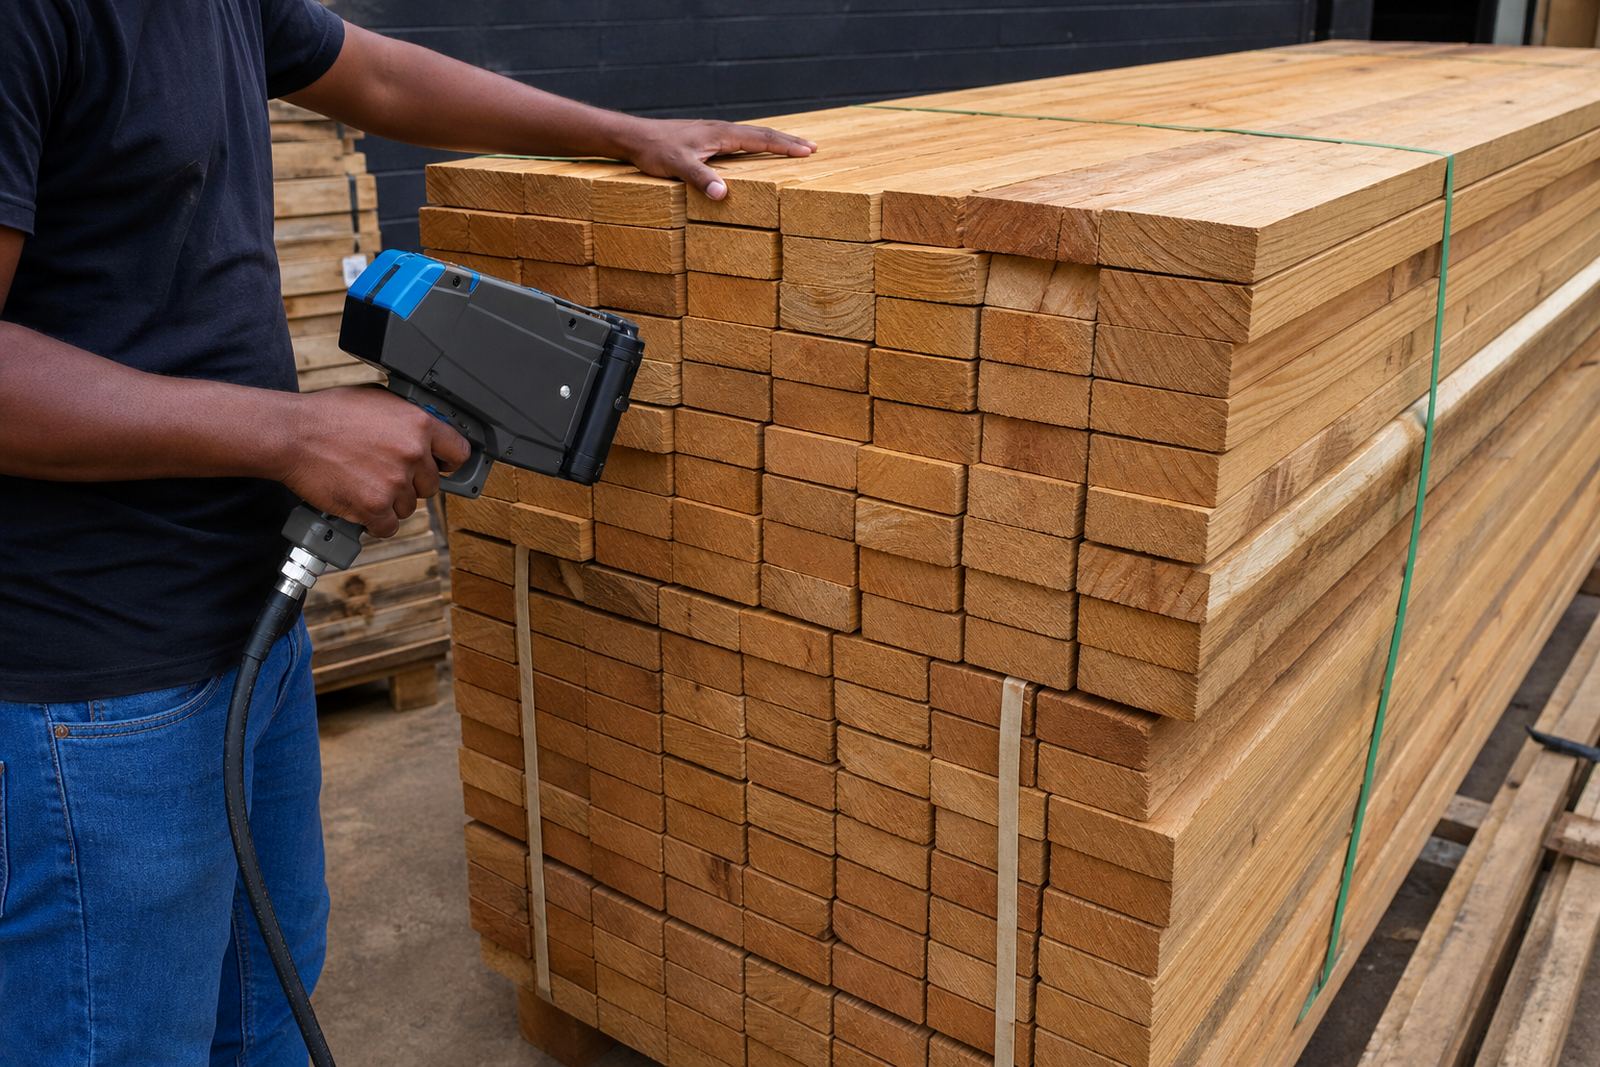
On smooth PVC, steel or coated pipe, a handheld inkjet coder can place neat text and barcodes in short runs. On rougher timber or dusty sections, the mark needs a slightly stronger ink choice and a slower, steadier pass. Keep the print head aligned to the curve and leave enough room for the operator to read the line without twisting the pipe too much.
- Mark one side only when the pipe will be strapped tightly.
- Leave space away from threaded ends and weld zones.
- Use the same position on every section for easier checks.
- Test the code on an offcut before starting the batch.
Ink choice for steel, PVC and timber sections
Ink selection affects the whole job. Solvent based ink is often used where the surface is less forgiving, such as coated steel, oily patches or outdoor stock that may move through a yard. Water based ink can work well on more absorbent surfaces and cleaner indoor handling areas. Quick dry ink is useful where the pipe must be moved or stacked soon after marking.
Print height matters as well. A smaller character height suits batch details and short pipe labels. Larger text helps with job identification from a distance, especially on bundles or mixed lengths. Barcode sizing needs careful handling, because a code that appears fine on screen can fail if the bars are too close for the scanner or if the pipe curve distorts the print.
- Match the ink to the pipe material and handling conditions.
- Check adhesion on smooth, glossy or powdery surfaces.
- Keep spare cartridges or bottles near the work area.
- Confirm the required character height before loading the message.
Setting up a handheld coder for curved surfaces
Before a full run, load the message, set the print height and confirm the spacing between date, batch and logo elements. A good setup also checks the trigger behaviour and the speed of the hand movement. On pipes, the aim is steady coverage across the top arc without drift to the side.
If the pipe is lying on trestles, turn it only as much as needed for the mark to face the right direction. If it is bundled, work on the most readable face and keep the unit level. For timber packs used with pipe spacers or crating, the same coder can carry the job marking when the contact surface is dry and clean enough for the ink.
- Load the full message before the batch begins.
- Set the height to suit the smallest required detail.
- Check the first few prints under normal handling light.
- Keep cloths close by for wiping dust from the surface.
Week or month hire for project pipe runs
Week-long hire suits short production bursts, maintenance shutdowns and pipe dispatches that need a run of consistent marks over a few days. Monthly hire fits larger projects, mixed site work and regular movement between yard, workshop and loading point. The unit can travel with the job, which helps when pipe lengths are split across different stores or sites.
Hire terms also work well when the marking list changes often. One day it may be batch numbers for 6 metre sections, the next day it may be size codes for short cut lengths or logos for packed bundles. The equipment can be set up for one message, then adjusted for the next with the right ink and print settings.
- Weekly hire suits short production windows.
- Monthly hire suits repeated pipe coding work.
- Delivery and collection can be arranged for site use.
- Backup unit support helps if a unit is needed in reserve.
Checklist before the first pipe leaves the line
A short checklist saves rework. Make sure the pipe type is known, the print position is agreed and the message file is loaded correctly. Then check the surface condition. Dust, cutting oil and moisture all affect how the ink sits on the pipe, so a quick wipe or dry-down can help more than a second print attempt.
Training also matters. The operator should know how to hold the unit, keep a straight pass and clean the print head without forcing it. Where there are multiple staff members, a single agreed method keeps the batch looking consistent from one shift to the next.
- Pipe material confirmed.
- Message loaded and checked.
- Ink matched to the surface.
- Print height and barcode size confirmed.
- Test print approved on a sample piece.
- Operator trained on cleaning and handling.
Pinetown support for pipe marking across South Africa
From Pinetown, we supply handheld inkjet printers for pipe coding work in Durban, Pietermaritzburg, Johannesburg, Cape Town and Richards Bay. Support can include message loading, barcode setup, logo setup, test printing, consumables supply, remote setup help, on-site setup and troubleshooting support. When the work needs a reserve unit, backup unit support can be arranged as part of the hire.
The team includes Sibusiso Moagi, Nokuthula Kotze, Jared Rademeyer, Anele Vermaak, Priya Pillay and Morne Oosthuizen. Their work covers field setup, training, administration and hire coordination, with a practical focus on pipe lengths, bundle marks and site handling. Pipe marking questions can go straight into the contact form.