
Bag coding starts with the surface, not the message
Filled bags move, sag and pick up dust, so the print plan has to suit the surface first. Woven polypropylene, paper sacks, laminated bags and stitched cloth all take ink differently, and the wrong choice can leave a fuzzy mark or a code that rubs off when the bag is stacked.
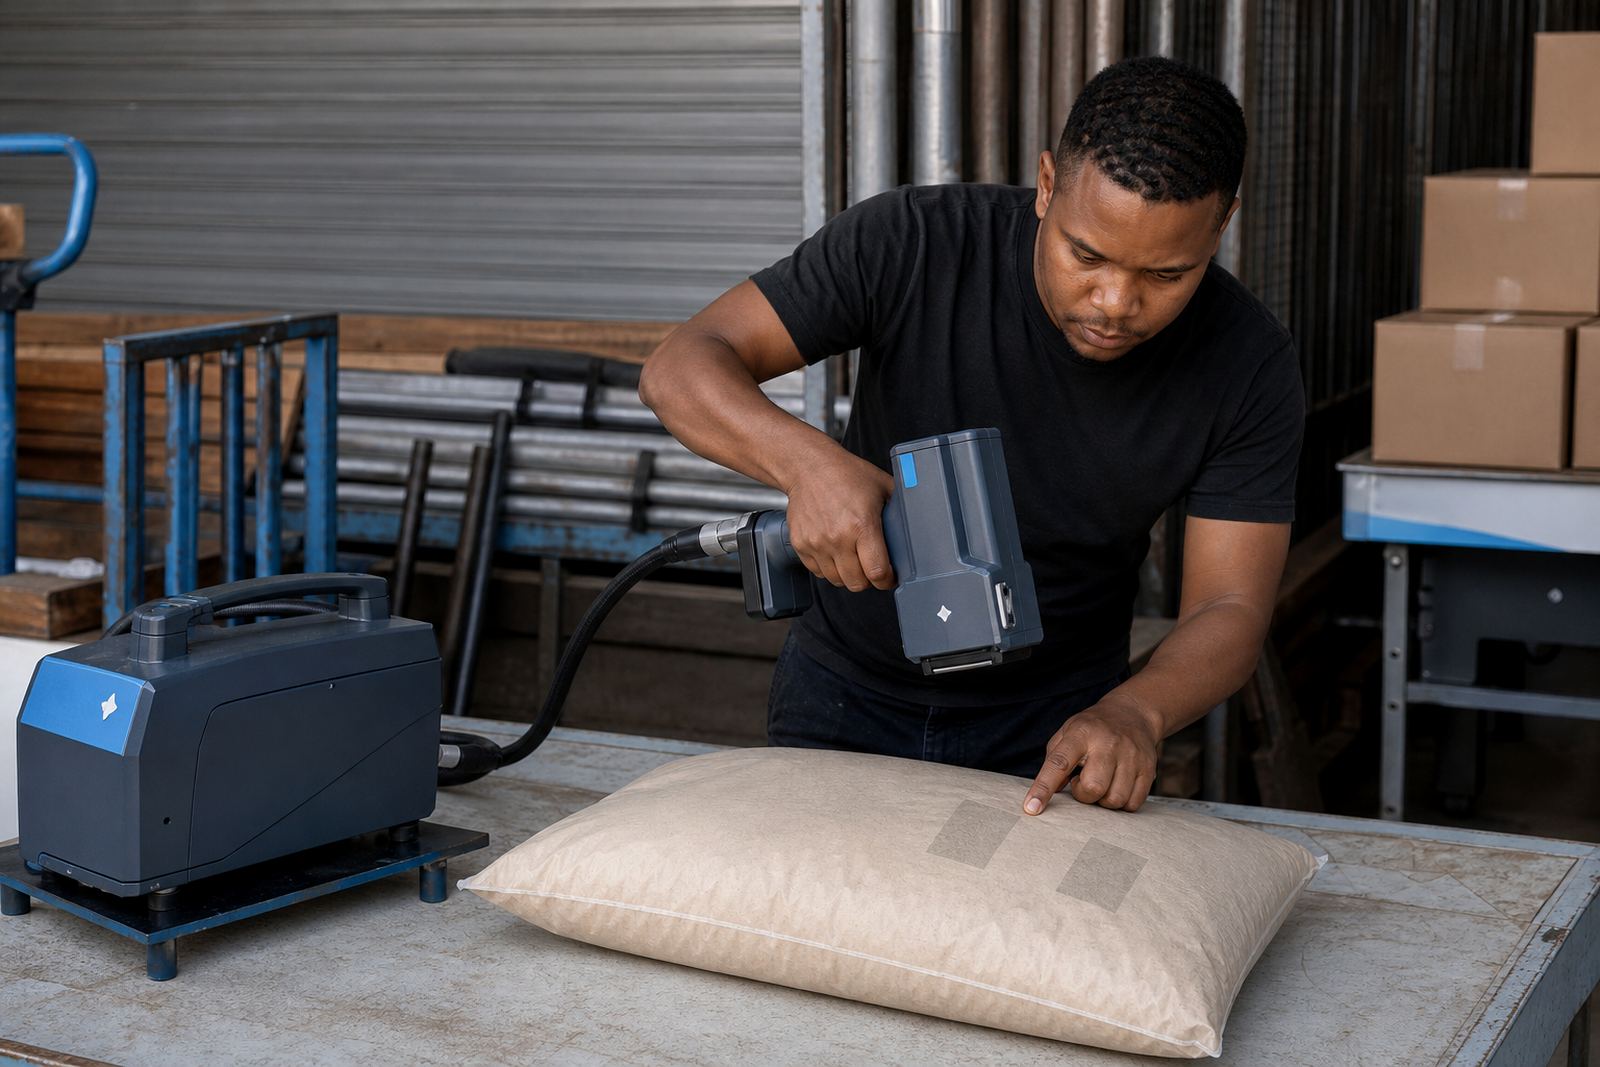
For bag work, handheld inkjet coders are usually best when the marking position changes through the day. They let an operator print on the front, side gusset or top panel without setting up a fixed line, which helps when bags are filled in different places or packed in mixed batches. The printer should be set to suit the text height, the scan size for any barcode and the amount of surface movement at the point of marking.
Choose the ink for the bag material
Ink choice matters as much as the code itself. On absorbent paper sacks, water-based ink can work neatly when the surface is dry and the print head is kept close enough to avoid feathering. On coated bags, woven sacks and many plastic-backed packs, solvent ink or quick-dry ink is usually better because the mark needs to sit on the surface and cure fast enough for stacking.
Humidity around Durban and Richards Bay can slow drying on some materials, especially when bags are filled and closed soon after coding. If the bag will be handled a lot, or passed through a dusty pack area, quick-dry ink is often the safer choice. The colour must also be checked against the bag colour. Black is common, but white or other light inks may be needed on dark sacks.
- Paper sacks: use a clear, crisp print and avoid over-saturating the fibres.
- Woven sacks: keep the print height large enough to bridge the weave.
- Laminated bags: test adhesion before full production starts.
- Dark bags: check contrast before barcode setup.
Set the print size for readable codes
Bag coding usually needs a larger print than a carton mark, because the surface bends and the bag face is rarely perfectly flat. Dates and batch numbers often print well at 10 mm to 20 mm high, while logo marks may need more height if the artwork has fine lines. Barcodes need enough quiet space around them, and the bars must not be squeezed into a corner where the bag creases.
When the message is short, the temptation is to print it tiny. That causes trouble on a filled bag because the film of the sack can flex under the hand. A slightly larger code is easier to read at the receiving point, and easier to check during packing. For traceability, keep the layout plain: product line, batch code, date and any internal mark needed by stores or dispatch.
- Use a bold font for batch numbers.
- Keep the barcode away from folds and seams.
- Place logos where the bag stays flatter after filling.
- Leave enough margin so the print does not run into stitching.
Marking the bag without chasing wrinkles
Good placement is mostly about choosing a stable patch on the bag. The best spot is often the upper flat area, before the bag is dragged, lifted or tied off. If the bag is already filled, support it on a firm surface and let the operator hold the printer square to the face. Angling the unit too much can distort the code or blur the ends of a barcode.
For sacks that shift under pressure, a test print is worth doing on the same material and fill level. A filled 10 kg bag can behave differently from a full 50 kg bag, and stitched tops can pull the print area slightly off line. The aim is a mark that stays legible once the bag has been handled, stacked and moved across a yard or store room.
Steps that keep the batch legible
A short method helps keep bag coding steady across a run. The operator should first confirm the message, then test the height and contrast, then mark a few bags before the full batch moves ahead. If the bag surface changes through the order, for example from plain paper sacks to woven sacks, the settings should be checked again rather than carried over unchanged.
With handheld units, setup help matters because the print direction, trigger timing and message spacing all affect the finished mark. That is especially useful where one bag carries a date and batch number, while another also needs a logo or barcode. A clean print on bag stock is usually about repeatable handling, not only about the printer itself.
- Check the bag material before loading the message.
- Print a sample on the same fill level.
- Inspect the first few marks for contrast and alignment.
- Recheck settings if the surface type changes.
- Keep spare ink and cleaning material nearby.
Hiring terms that suit short runs and regular packing
Weekly hire works well for a short contract, a seasonal packing rush or a trial on a new bag line. Monthly hire suits teams that mark bags every week and want the same unit available through several dispatch cycles. The rental can include ink selection help, message loading, barcode setup, logo setup, test printing and troubleshooting support, which keeps the bag code process moving without a fixed installation.
Delivery and collection are arranged across Pinetown, Durban, Pietermaritzburg, Johannesburg, Cape Town, Richards Bay, Westmead and New Germany. For a bagging line that runs across more than one site, backup unit support can matter when one printer is already out on hire or being cleaned. The aim is to keep the batch mark readable and the pack schedule under control.
What to send with your bag coding enquiry
When asking about bag coding, it helps to share the bag type, the colour, the fill weight, the message text and whether the mark must include a barcode or logo. A photo of the bag face also helps the team judge where the code should sit and which ink is more likely to hold. If the bags are for food, animal feed, cement, grain or industrial goods, mention that too, because each surface behaves a little differently.
Handheld Printers Rental works from Pinetown in Durban and supports operators through the enquiry form on the contact page. The team includes Sibusiso Moagi, Nokuthula Kotze, Jared Rademeyer, Anele Vermaak, Priya Pillay and Morne Oosthuizen, with hire, training and setup support handled across the bag coding job from first sample to regular run.
- Bag type and colour
- Expected print position
- Text, date and batch format
- Barcode or logo needs
- Hire period and delivery area