
Start with the carton itself, not the print head
Outer cartons vary more than many packing teams expect. A corrugated carton with a rough kraft finish absorbs ink differently from a coated carton or a recycled board with loose fibres, and that changes how dark the print looks. If the carton has a glossy patch, tape, dust or condensation from a cold room, the mark may feather or smear.
Before hiring equipment, look at the actual carton that will be printed in the packing area. Check whether the carton is flat enough for a clean pass, whether the print lands on one panel only, and whether the code must sit near a seam, flap fold or tape line. Those small details affect spacing more than the message itself.
- Confirm the carton material and surface finish.
- Check for dust, moisture or wrapping film on the print area.
- Measure the usable print panel in millimetres.
- Mark the height and position before production starts.
Match print height to the message you need
Handheld inkjet coders usually work with several print height options, which helps when the pack line needs a small date code one day and a larger logo or barcode the next. A short batch number may fit neatly in a narrow band, while a barcode or logo often needs a taller print area and more room around it. If the message is squeezed too tightly, scanning can suffer and the code may look uneven.
For carton coding, keep the message practical. Date, batch and line code usually need enough height to stay readable from normal handling distance. Logos are best used as a simple mark rather than a detailed image, especially on rough board. When a barcode is involved, test the size at the actual carton speed and viewing angle.
- Use a small height for short text codes.
- Allow more height for barcodes and logos.
- Leave clean space around the printed field.
- Test readability from the handling side of the carton.
Choose ink for the board, not only for the wording
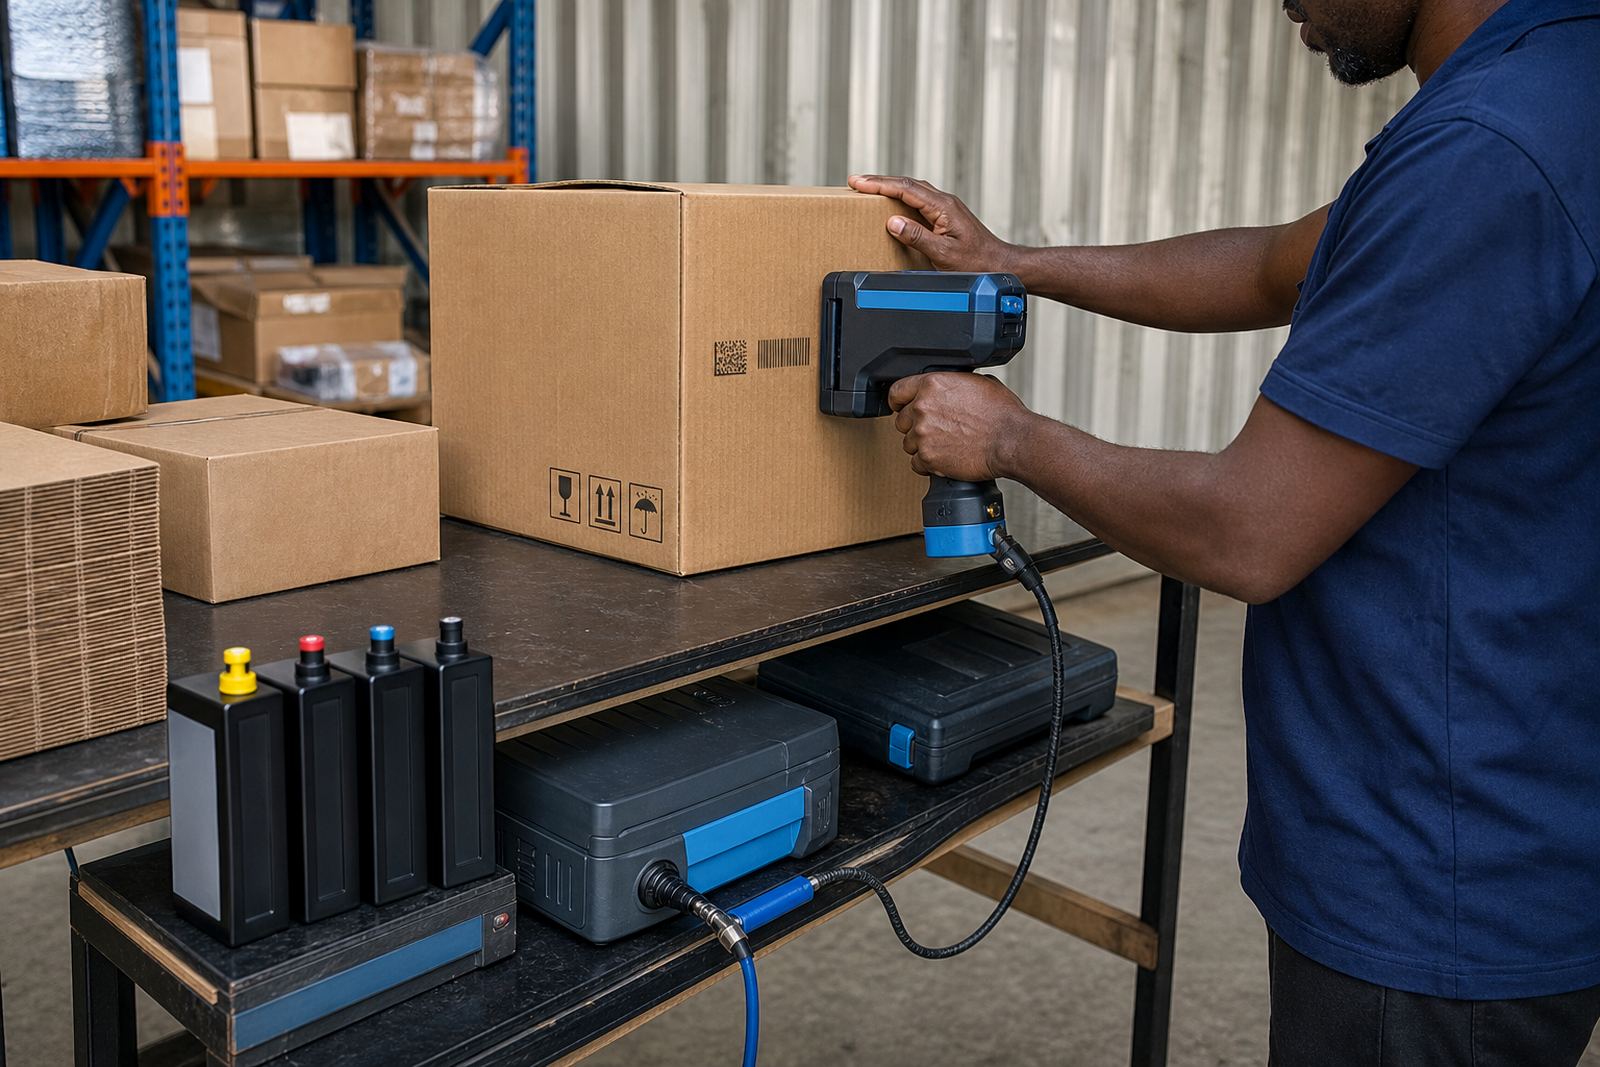
Ink choice matters as much as the printer setting. Solvent inks are often used where faster drying and stronger adhesion are needed on non-absorbent or difficult surfaces. Water-based inks suit some porous cartons and lighter packing tasks where the board takes ink well. Quick-dry options help where cartons are moving through a busy packing bay and stacks are handled soon after marking.
In Durban and coastal areas, humidity can slow drying on some boards, so a test on the exact carton stock is worth doing. If cartons are stored near loading doors or in cooler stores, moisture can also change the way the print sits on the surface. The right ink keeps the mark legible without turning the outer carton into a trial piece.
- Use solvent ink for more demanding surfaces.
- Use water-based ink where the carton absorbs well.
- Choose quick-dry ink for fast moving packing lines.
- Test on the same carton stock used in production.
Set up the message file before the first shift starts
Message loading is easier when the packing team knows the code format in advance. Decide whether the date will be written as day, month and year or in another fixed order used by the operation. Set batch numbers the same way every time and keep the logo size consistent so the carton range looks tidy in storage and transit. If the business prints barcodes, confirm the data source and the scan direction before production begins.
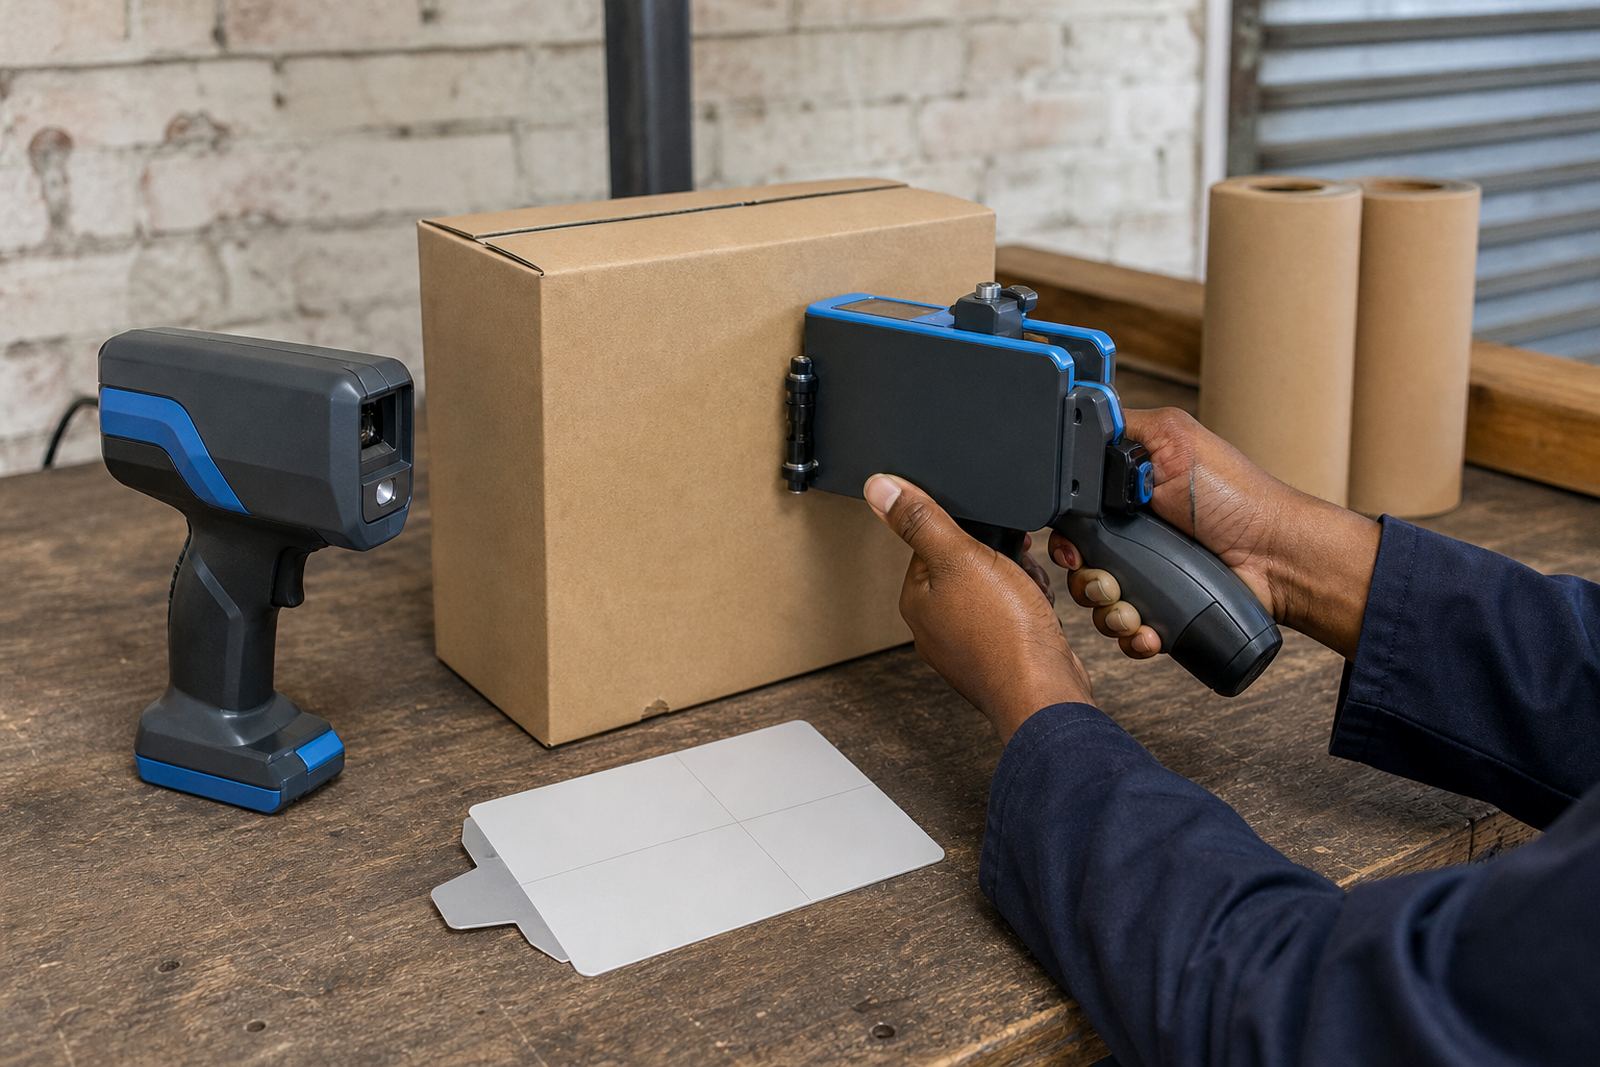
Handheld coders are useful when carton sizes vary, but they still need a clear setup. A short test panel should show the full message, the correct spacing, and a mark that does not lean or break apart. One poorly set file can follow a whole pallet of cartons, so the first sample matters more than the second or third.
- Fix the date format and batch format in writing.
- Check logo size against the carton width.
- Test barcode legibility with the scanner used on site.
- Save a sample print for future reference.
Plan the packing area around the print movement
A handheld coder works best when the operator can reach the carton face without twisting around stacks, tape reels or filled pallets. Keep the print zone free of loose strapping, dust and offcuts. On narrow packing benches, allow enough room for the carton to be turned, printed and placed down without rubbing the wet mark.
If the line runs in shifts, think about who handles setup, who checks the first print and who tops up consumables. Remote setup help can guide the message load where needed, but a clean packing area still makes the job easier. On-site setup is useful when the carton range changes or the packers need a proper walk-through.
- Clear a stable print zone at the bench.
- Keep spare cartons nearby for test marks.
- Store ink and wipes away from the main stack.
- Assign one person to check the first good print.
Build a practical hire plan for weekly or monthly use
Hiring for a week suits short runs, seasonal packing and jobs where carton codes change often. Monthly hire fits steadier production where the same carton format keeps moving through the warehouse or factory. A backup unit can help when the main coder is already in use or when a packing job cannot stop for maintenance.
Consumables supply is worth sorting at the same time as the hire term. If the operation uses several carton grades, it helps to keep the right ink on hand and not mix products meant for different surfaces. Delivery and collection, operator training and troubleshooting support all matter when the equipment is moving between sites in Pinetown, Durban, Pietermaritzburg, Johannesburg, Cape Town and Richards Bay.
- Pick weekly hire for short or variable runs.
- Pick monthly hire for repeat packing work.
- Keep spare ink and cleaning items with the unit.
- Arrange training before the first production shift.
Check the finished carton before it leaves the bay
A good carton code is easy to read, well placed and dry enough to handle without marking the next carton. Check a few samples from the start, middle and end of the run. Look for light print, broken barcode bars, overspray, blurred edges or a logo that sits too close to a fold. If the carton is stacked warm, make sure the top layer does not touch the printed face.
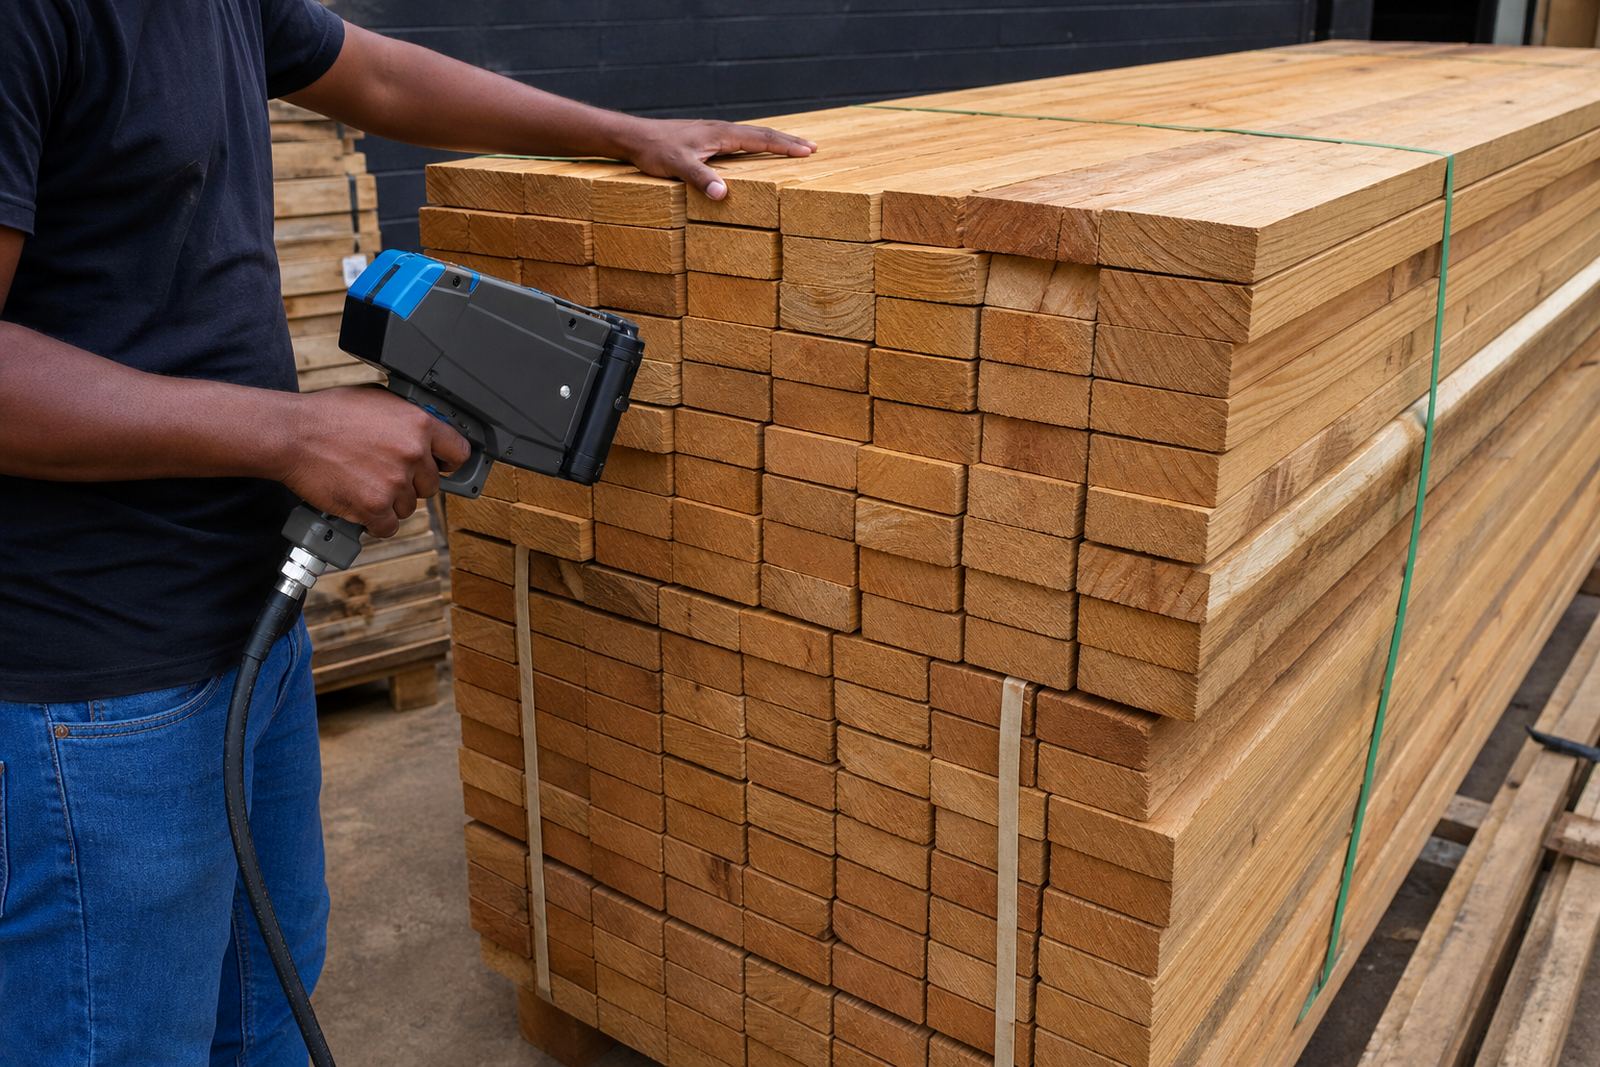
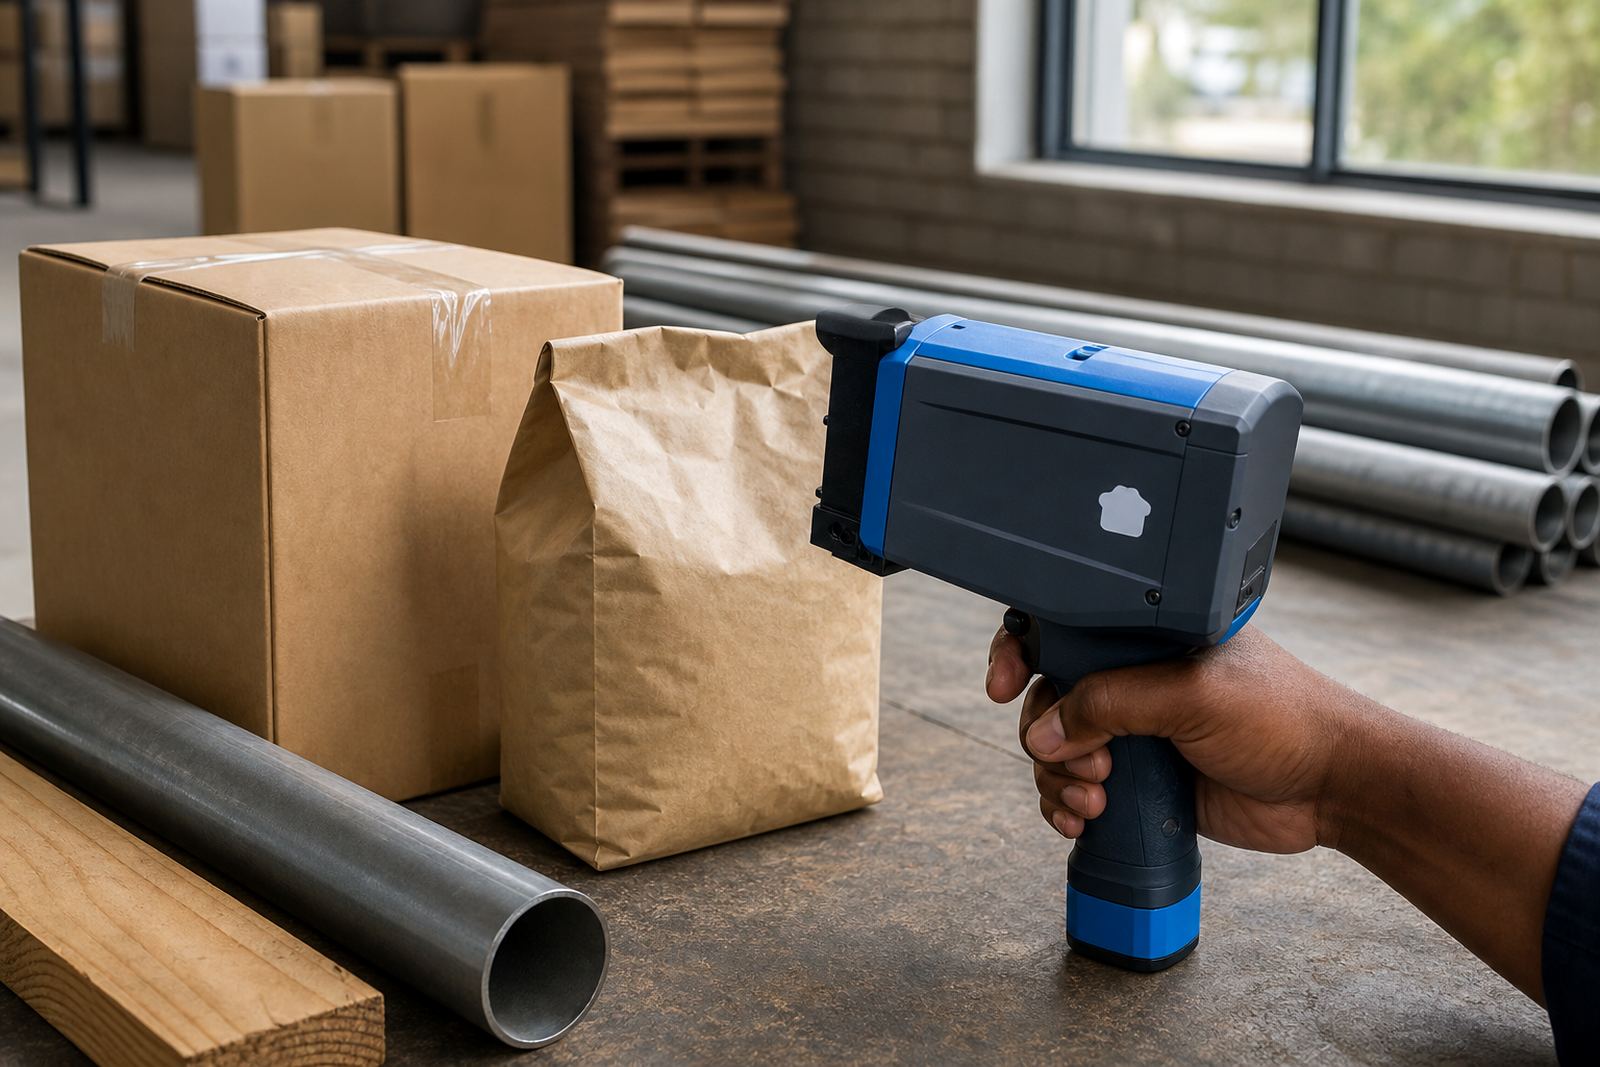
Field setup, test printing and troubleshooting support are useful when a job changes from cartons to pipes or timber, but carton work has its own habits. Once the message and ink are right, the rest is about steady handling and consistent placement. That is what keeps the packing area calm when the pallets start moving.