Start with a logo that can survive a small print head
Handheld inkjet coders work best with plain artwork that reads clearly at the print height you plan to use. A logo with fine shading, thin outlines or tiny type often loses detail when it is reduced for cartons or packaging sleeves.
For one-colour marking, keep the design simple and flat. Solid shapes print cleaner than gradients, while bold letters stay legible on uneven surfaces such as timber, bag film or lightly textured board. If a logo has more than one colour in the original file, it still needs to be flattened into a single shade for this type of marking.
Set the print height before the artwork is loaded
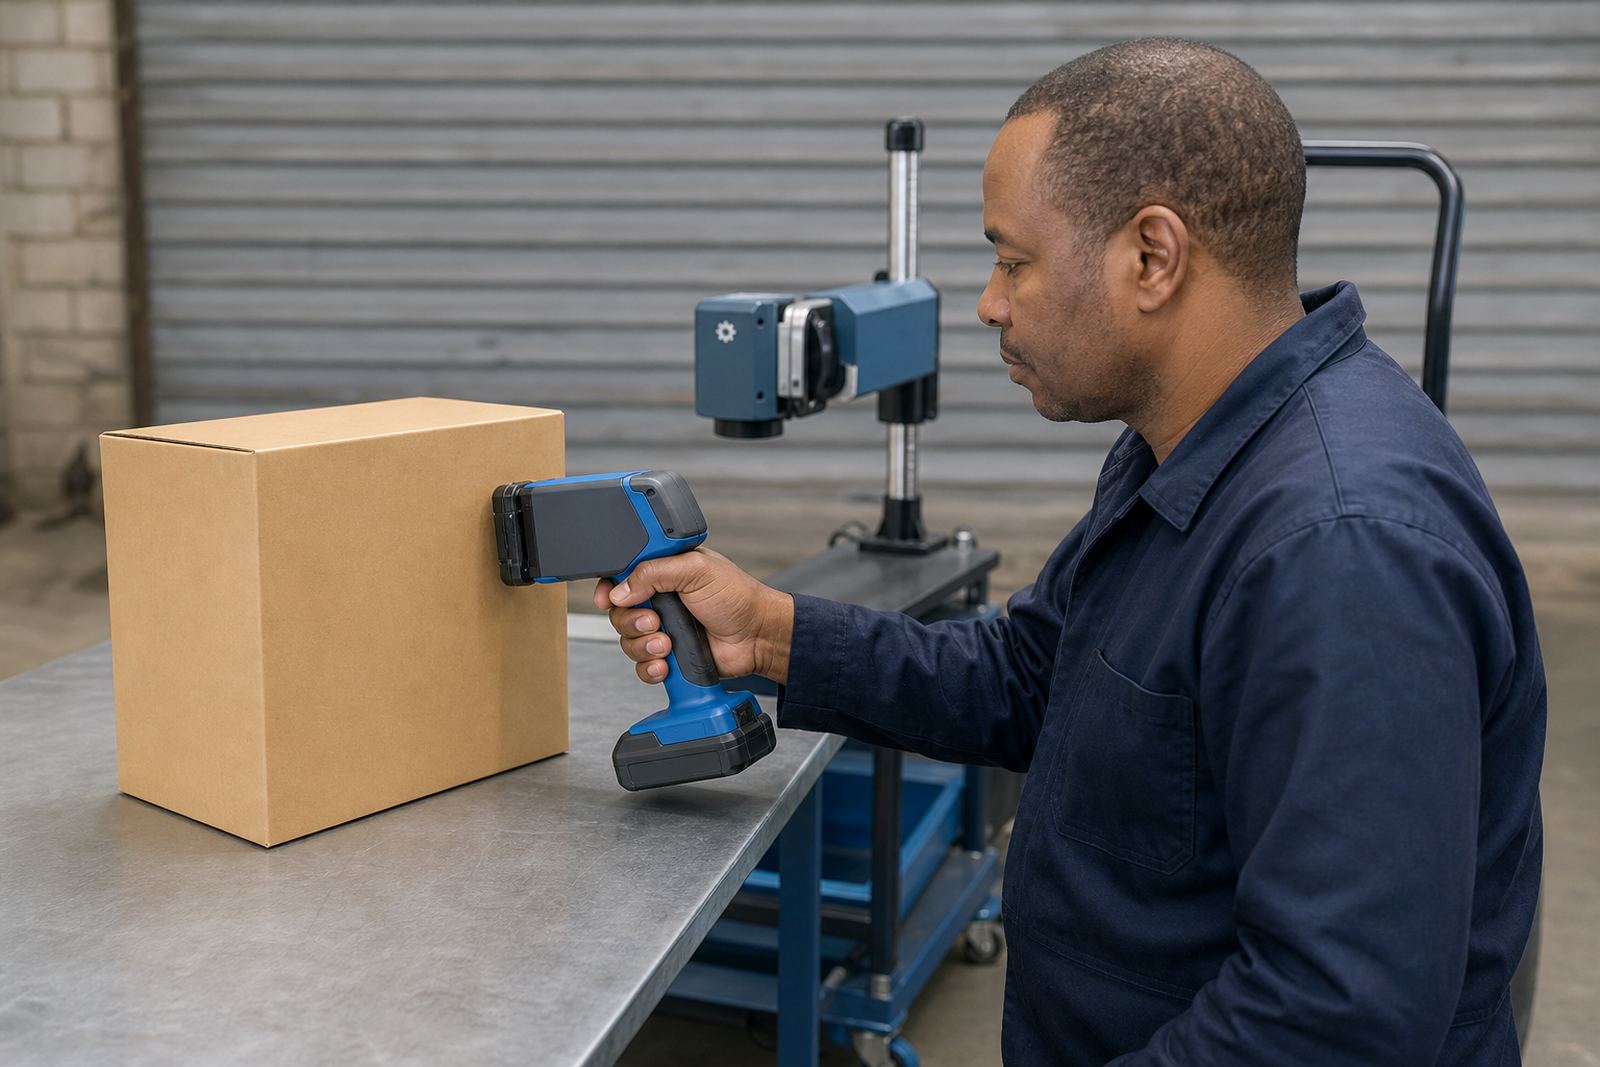
Most handheld coders print in a narrow vertical band, so the logo must fit that band without crowding. A short mark on a carton flap may only need a small print height, while a name block on a pipe or timber pack can use a taller setting for clearer reading.
- Choose the print height first, then scale the logo to suit.
- Leave a little margin around the edges so nothing clips at the sides.
- Keep strokes thick enough to show up on rough or porous material.
- Avoid tiny text inside the logo unless it is part of a batch mark.
If the logo is stretched to force it into a space, the result looks uneven and the edges can break up. A better fit usually comes from trimming the artwork or printing it in a more suitable position on the pack.
Match the ink to the surface you are marking
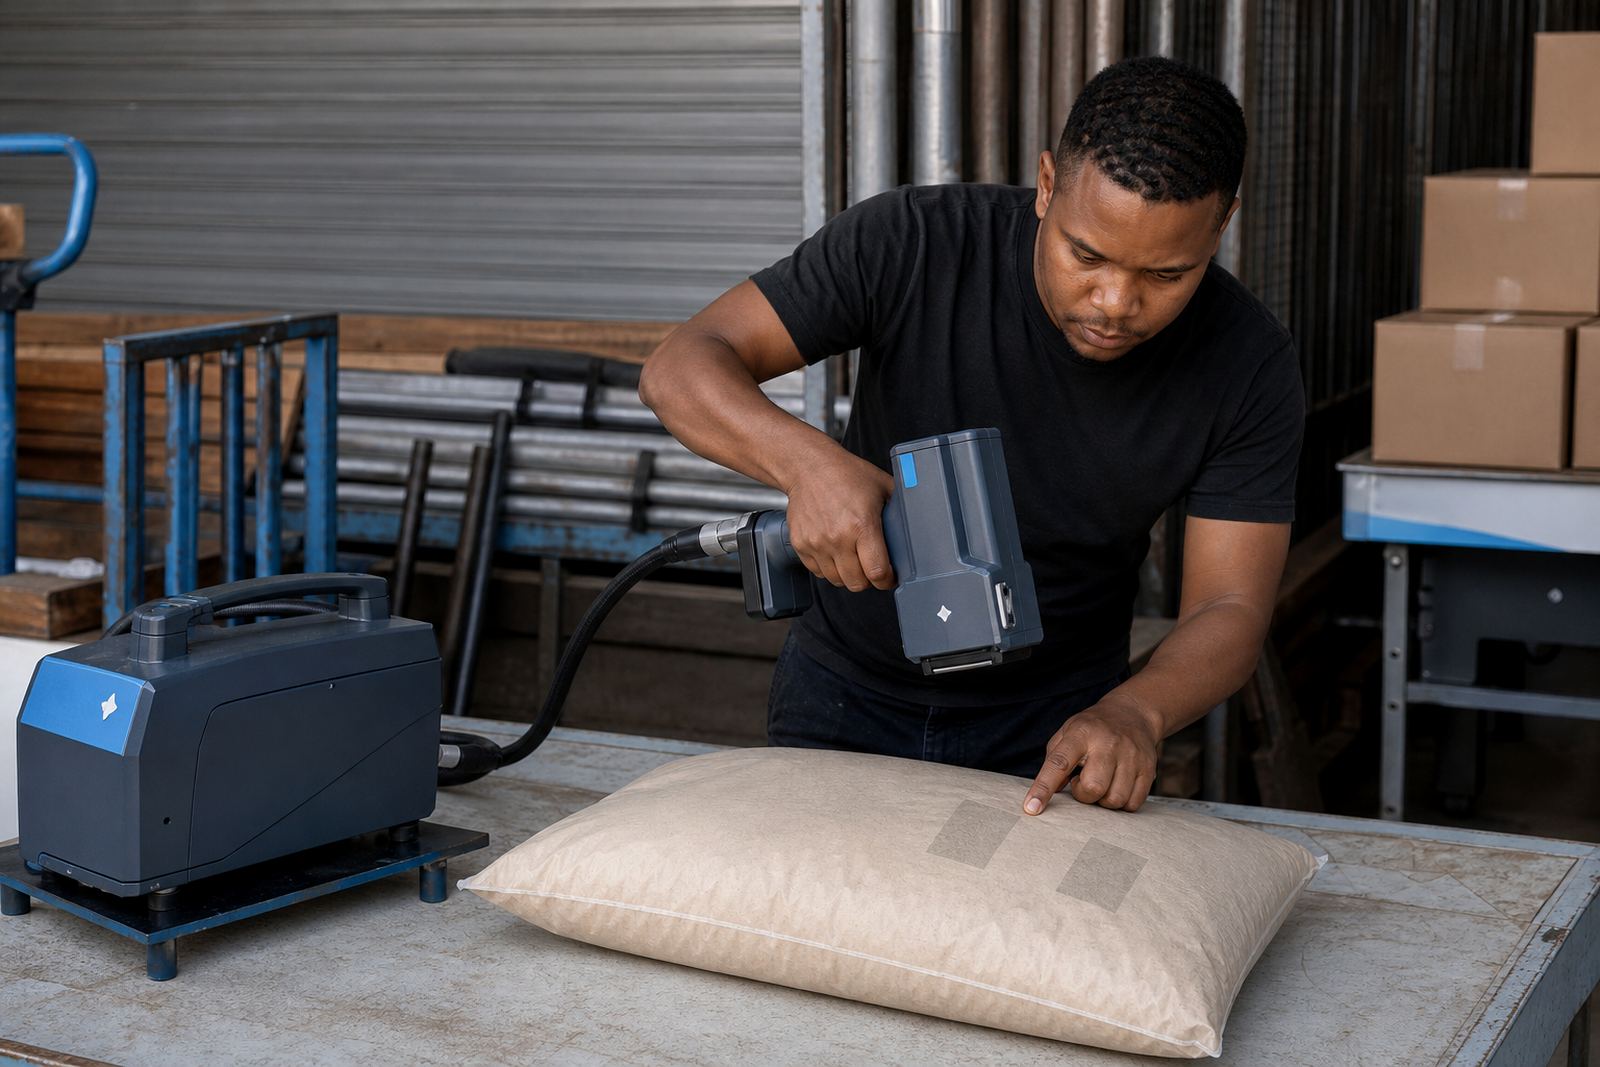
Logo printing on cartons, bags, pipes and steel depends on the surface as much as the image itself. Water-based inks suit absorbent board and many paper sacks, while solvent inks are often better on non-porous or lightly sealed surfaces. Quick-dry inks help where marks must be handled soon after printing.
Coastal humidity in Durban, Richards Bay and nearby areas can change how a print dries on certain materials, especially on coated packs or smooth pipe surfaces. That is why a test print matters before a full run. The same logo can behave differently on timber than it does on polypropylene bags or painted steel.
Prepare the file so the coder reads it cleanly
A handheld printer does not need a fancy artwork package. It does need a file that is neat, clear and easy to load into the message setup. Black on white is usually the easiest starting point for one-colour logos, especially when the logo will be combined with a date, batch code or barcode.
- Use a clean, high-contrast version of the logo.
- Remove tiny details that will not show at print size.
- Keep the background plain and free of extra marks.
- Save only the version that will actually be printed.
- If a barcode sits beside the logo, leave enough space for both elements.
When a logo forms part of a packaging mark, the space around it is as important as the artwork. Cramped logos can blur into the date line or batch code, which makes the whole mark harder to read.
Do a test print on the actual pack or pipe
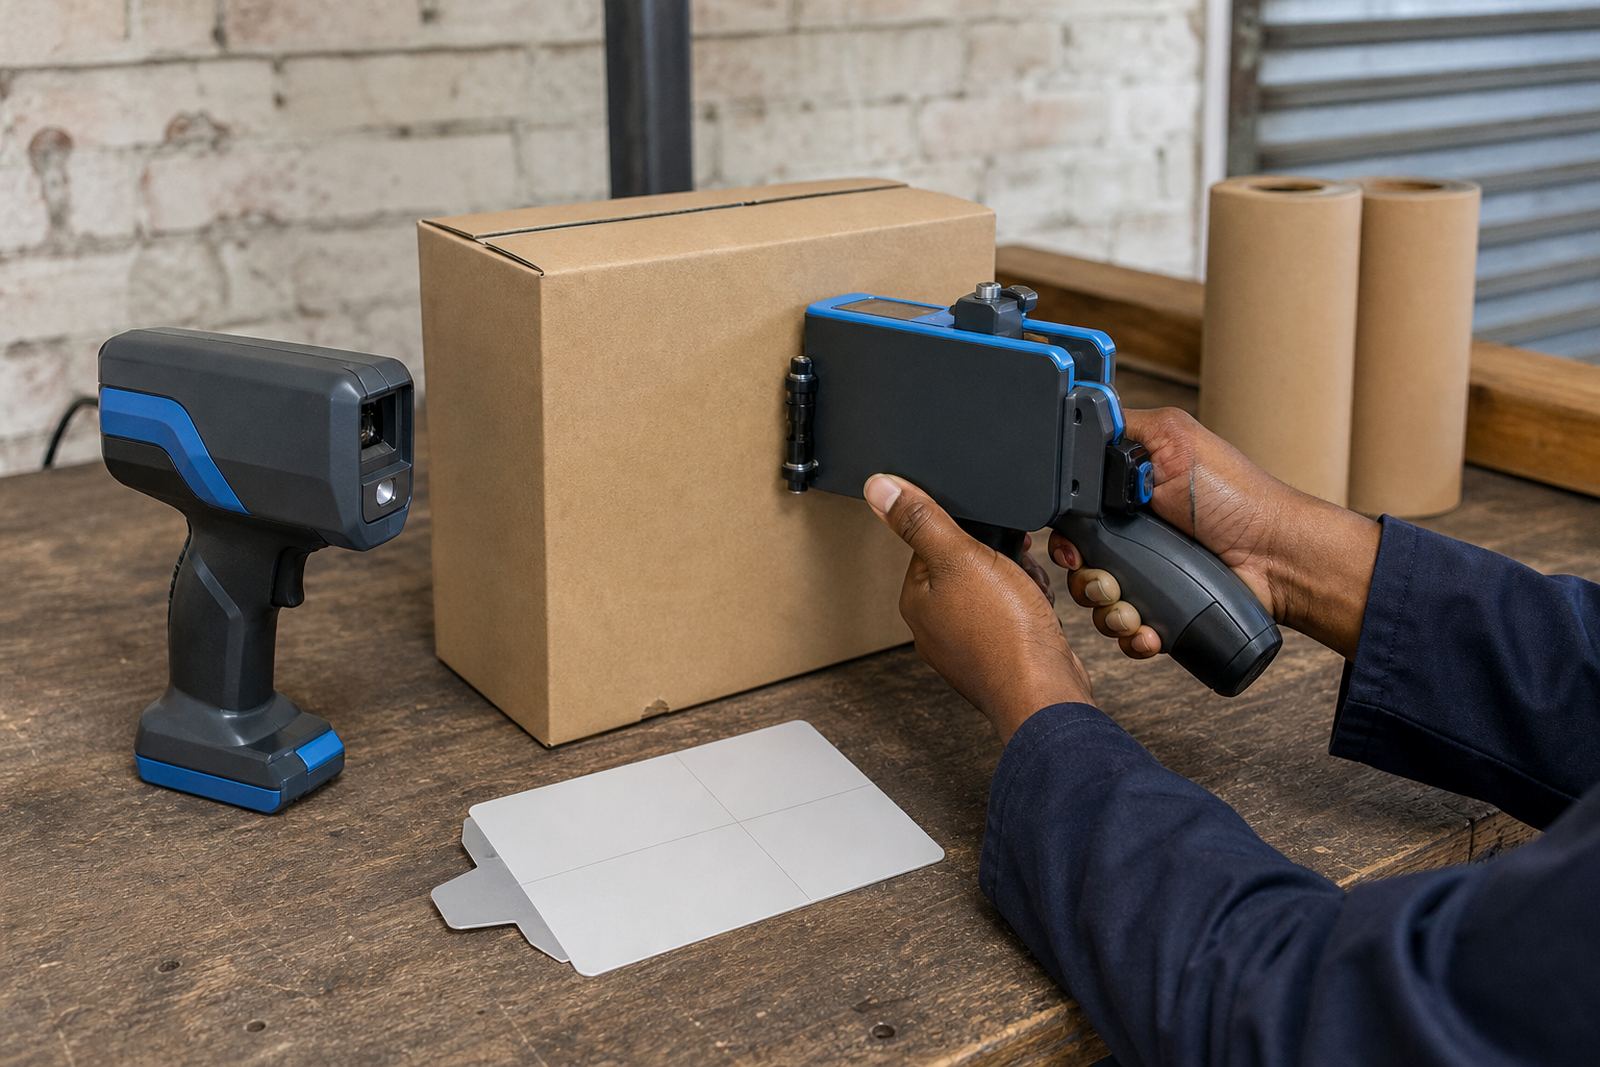
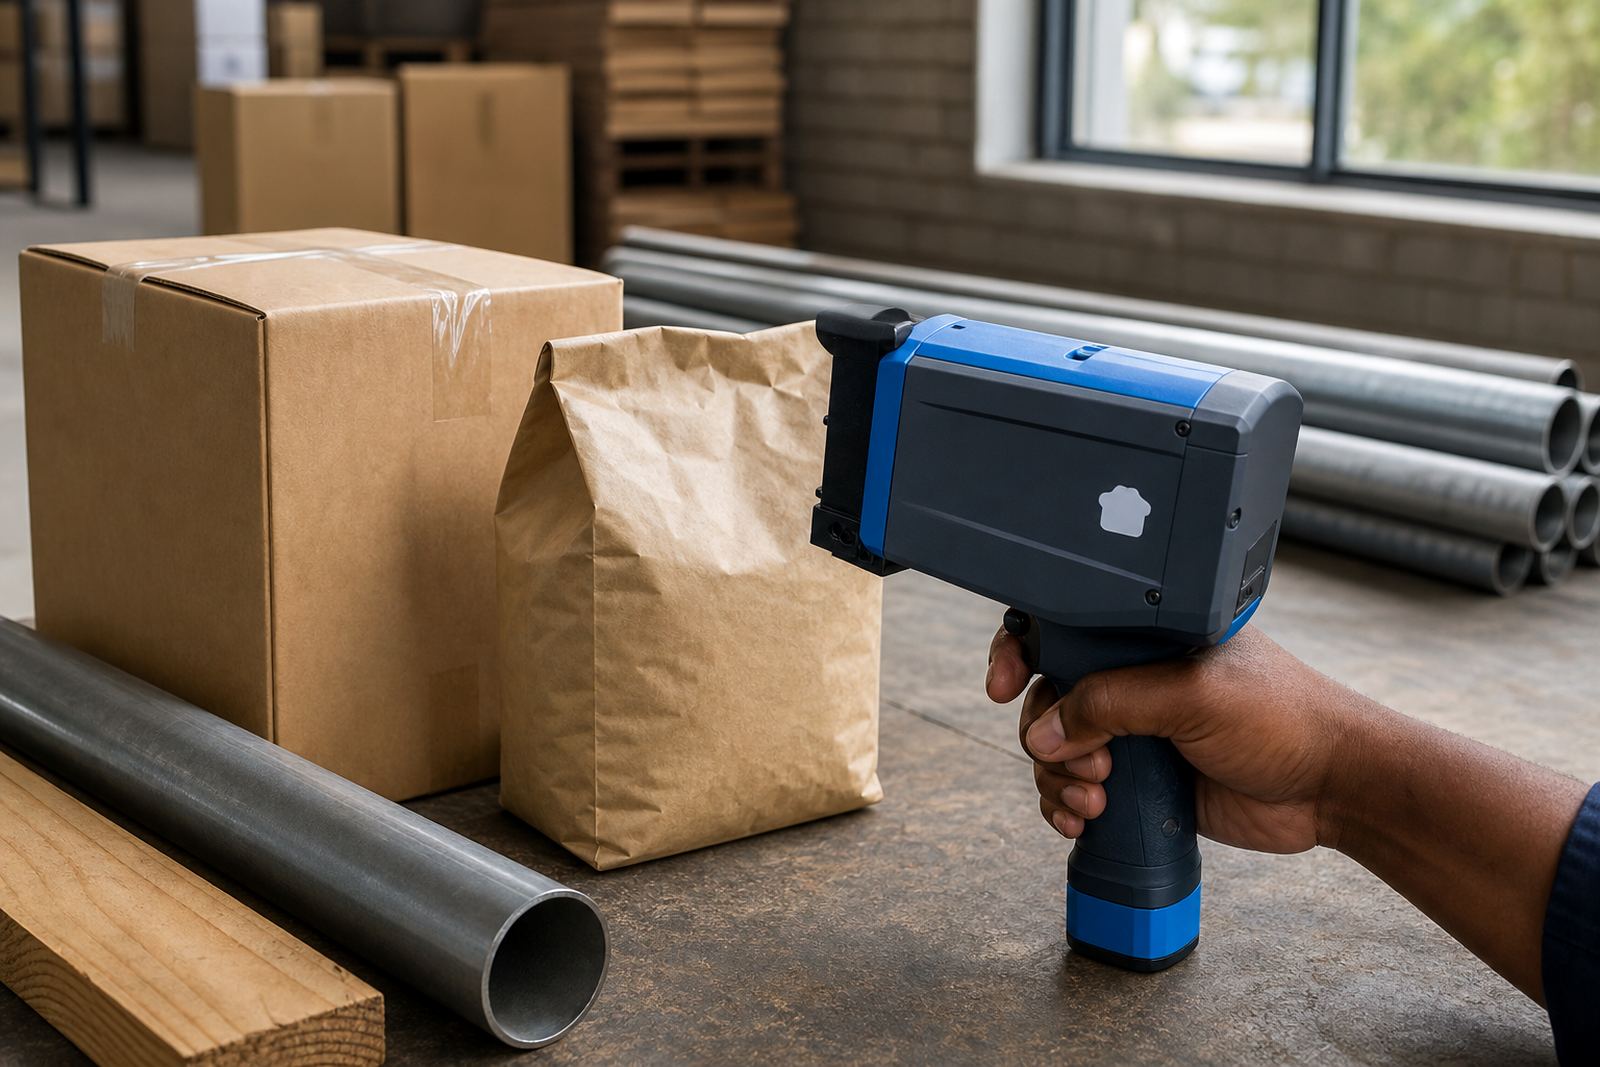
Test printing is the fastest way to see whether the logo needs resizing or a different ink. A carton can accept more detail than a dusty timber board, while a curved pipe may need the logo placed where the printer can hold steady. One good test on the real surface tells you more than several guesses on paper.
Check the edges, the fill of solid areas and the clarity of any text within the logo. If the logo looks weak, the usual fixes are a taller print height, stronger contrast, or a cleaner surface. On rough timber, a bolder mark usually performs better than a delicate outline.
Hire terms that suit a short run or a longer schedule
Logo setup is often linked to weekly or monthly hire, especially when a site needs cartons, timber packs or pipe bundles marked in a repeating format. Delivery and collection can be arranged for Durban, Pinetown, Pietermaritzburg, Johannesburg, Cape Town and Richards Bay, with setup help where the job needs it.
The hire often includes message loading, barcode setup, logo setup, consumables supply and troubleshooting support. Backup unit support can matter on busy packing lines, while remote setup help is useful when the coder is already on site and the artwork just needs correcting.
- A one-week rental suits short projects and trial runs.
- Monthly hire works better for regular dispatch or production marking.
- On-site setup helps when the surface is awkward or the message is complex.
- Operator training keeps the printer moving without repeated errors.
A practical checklist before the first logo run
Before the first production run, check the logo size, the ink type, the print position and the surface finish. Make sure the message does not crowd the barcode or batch code, and keep a spare sample ready so the operator can compare the first few marks against the approved version.
For simple one-colour logo marking, the best results usually come from plain artwork, the right ink and a careful test on the real pack. If the mark needs to travel across cartons one day and timber or pipe the next, the logo should be set up with enough flexibility to hold its shape on each surface.
Setup help, consumables and hire details can all be requested on the contact form.