
Start With The Real Surface, Not A Close Guess
When a handheld inkjet coder is being tested, the surface matters as much as the message. A carton that feels smooth in the yard may behave differently once the corrugation, dust, tape and moisture from Durban air are all in play.
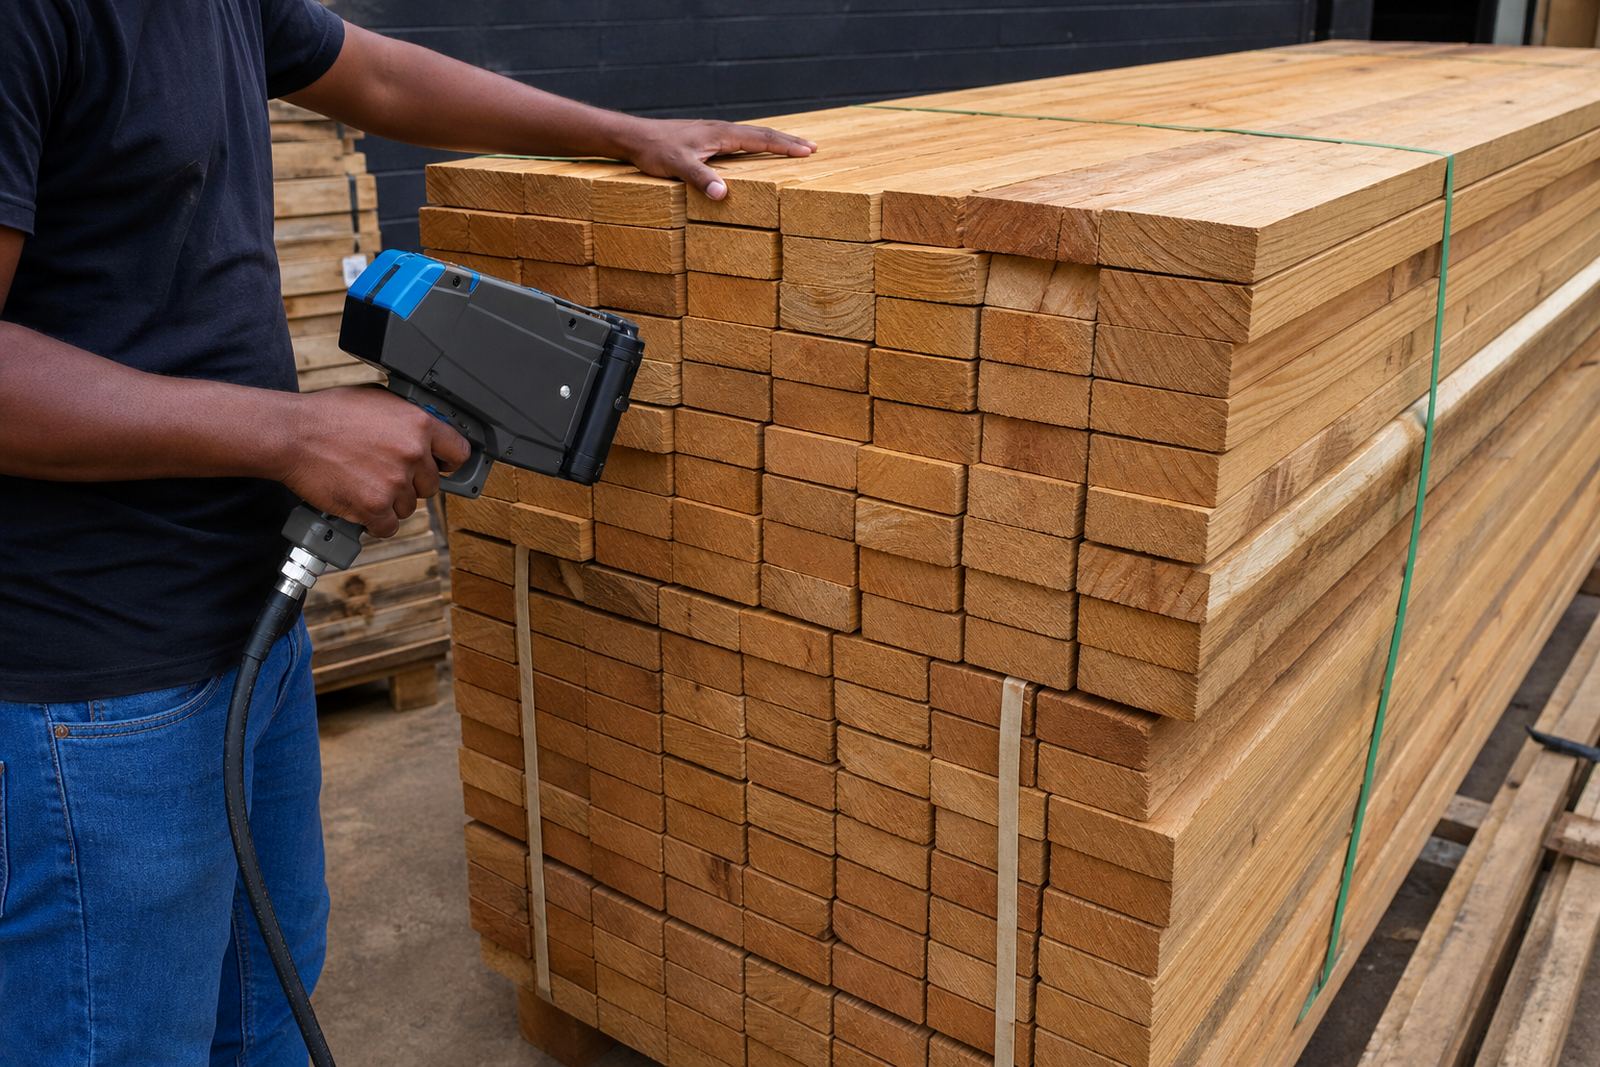
Send samples that match the actual job as closely as possible. If the printing will happen on plain cartons, include the same carton grade. If the job is on timber, send offcuts from the same species and finish. For pipes, include the same wall material and the same diameter where you can, because curvature changes how the print lands.
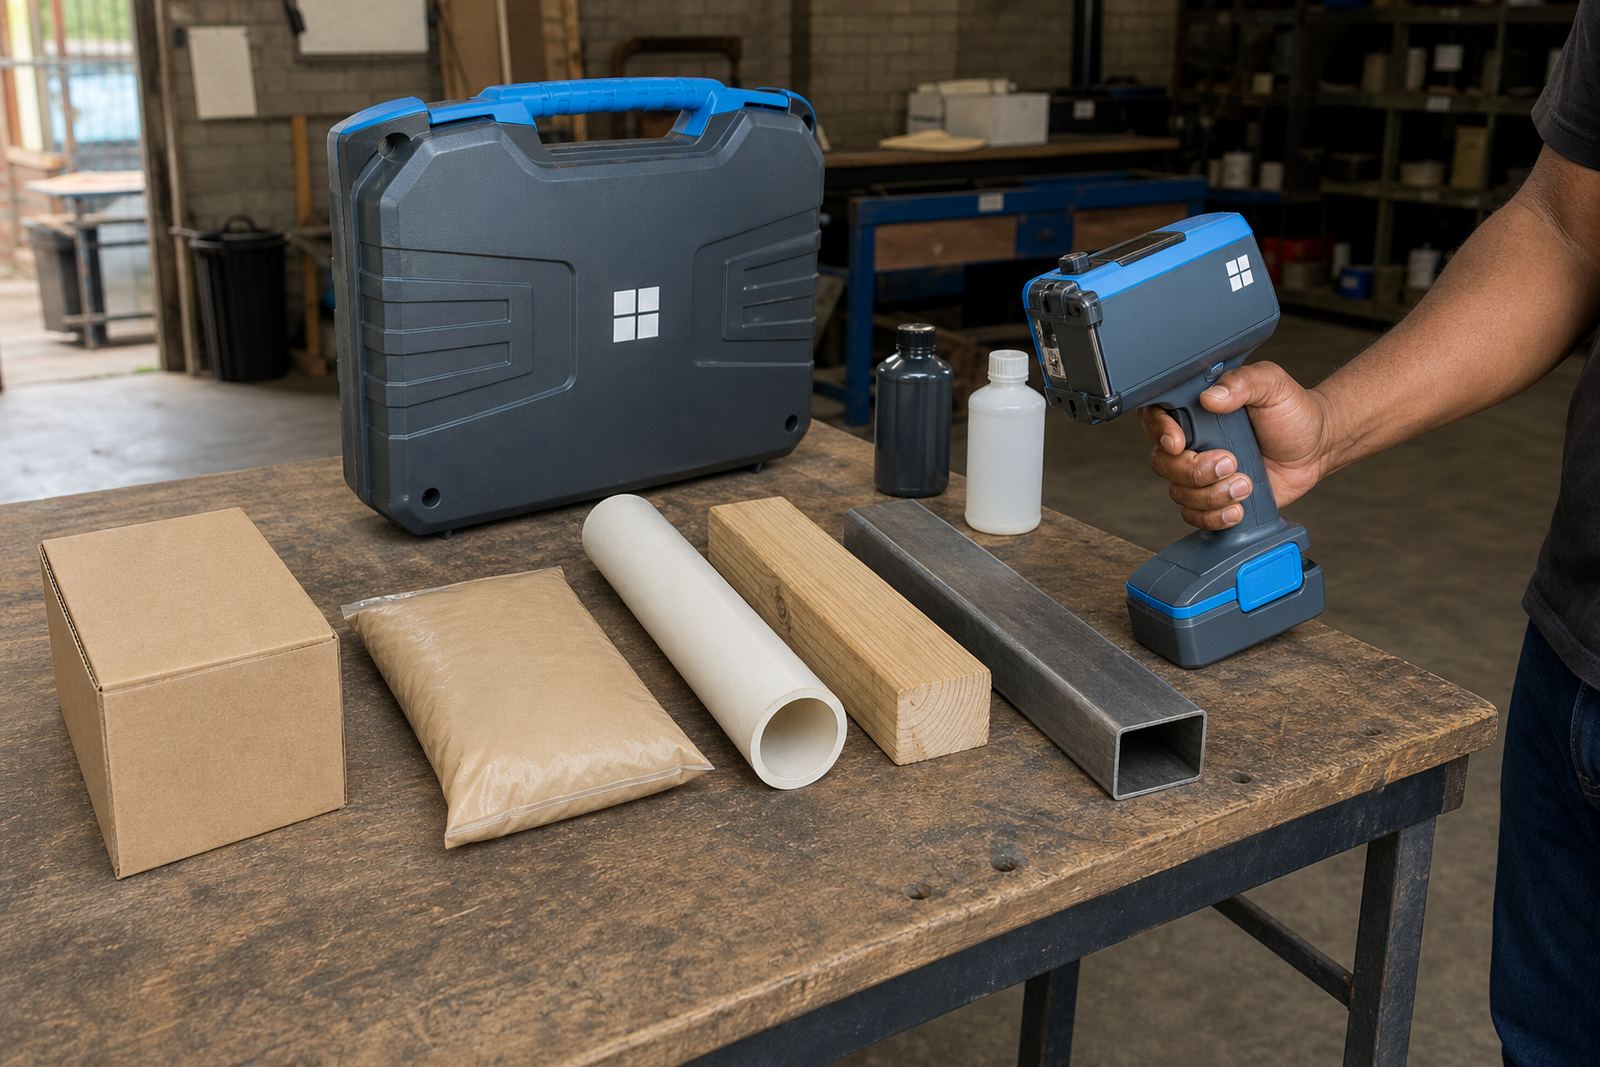
Sample Types Worth Packing Into The Test Set
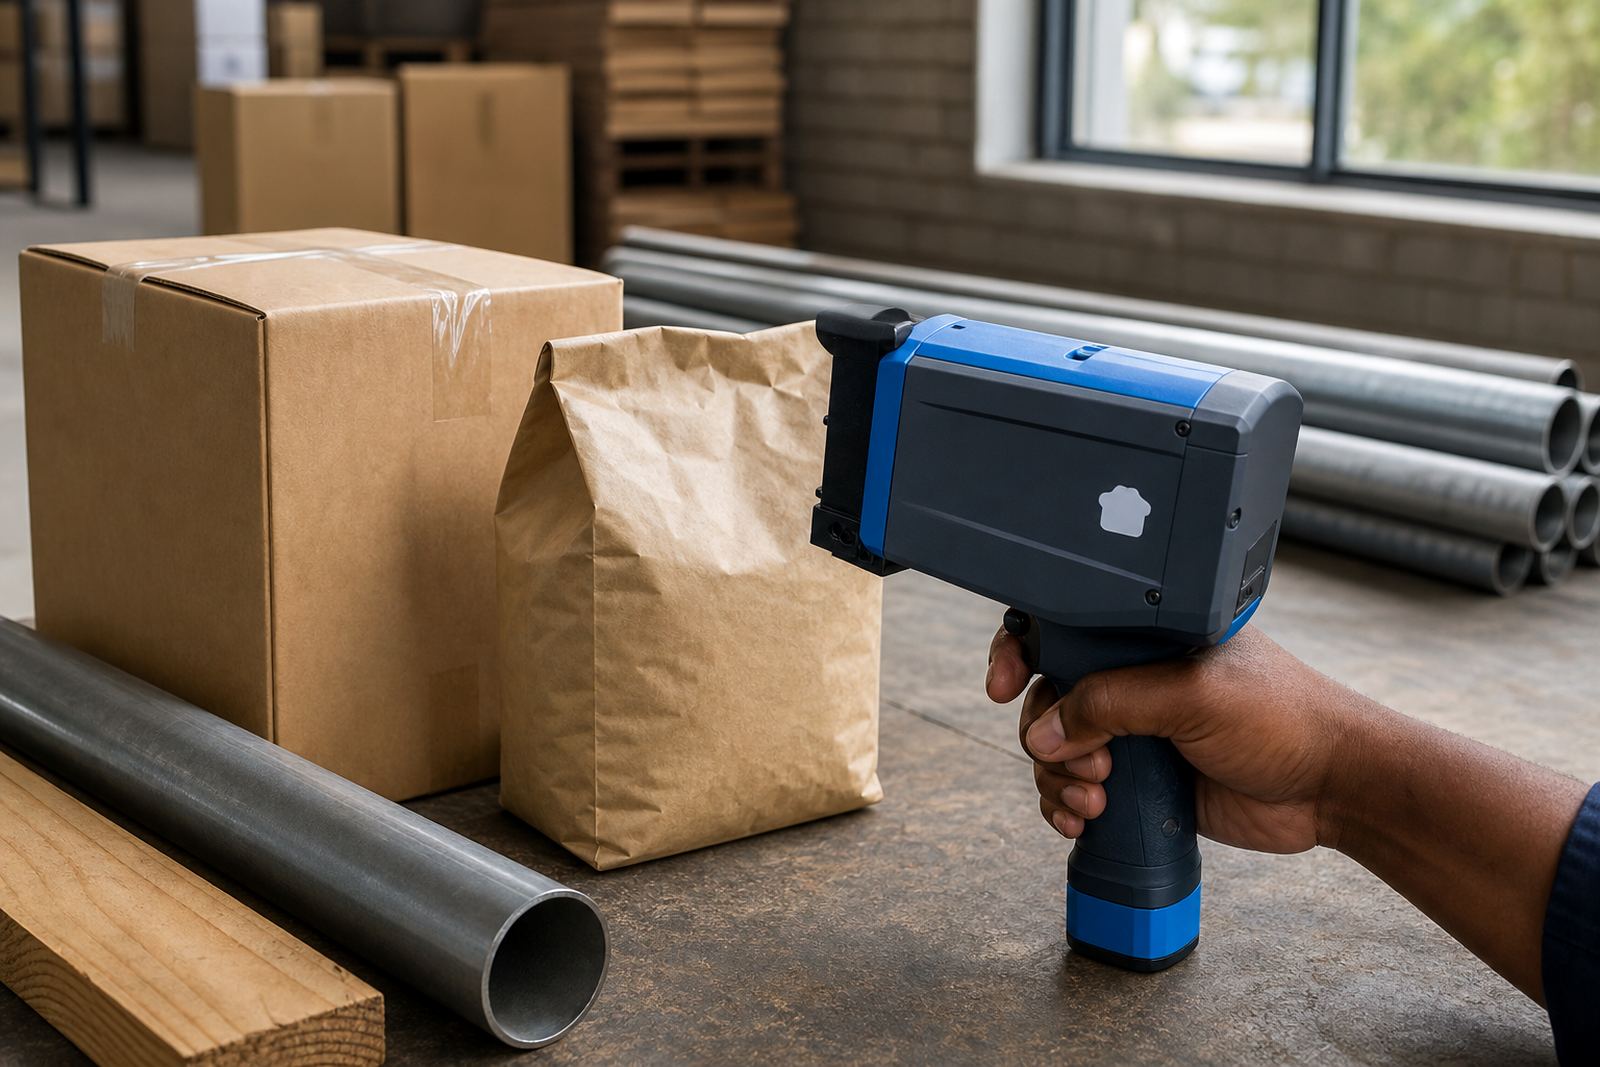
It helps to collect more than one surface if the job changes from one part of the line to another. A coder may print well on one bag laminate and struggle on another that has a waxy or fibrous finish.
- Carton panels, flat and folded if the job uses both
- Bags supplied by one maker and one batch
- Pipe offcuts or short sections with the same curve
- Timber offcuts with the same sanding or coating level
- Steel coupons, brackets or trimmed plates from the real material
- Any wrapped, coated or varnished sample that changes ink grip
Carry enough pieces to allow for trial prints, cleaning and a second pass. A single sample can be useful for reference, but a small set gives a clearer picture of how the ink behaves across the job.
Mark The Surface Conditions Before Testing Begins
Write down the state of each sample before the test. That note saves time when you compare results later and helps separate a print issue from a surface issue. If the material arrived dusty from storage, say so. If it was wiped, sanded, primed or left in the sun, note that too.
For metal, include whether the part is bare, oiled or painted. For timber, note if it is rough sawn, planed or sealed. On cartons and bags, mention whether the surface is glossy, matt or lightly coated. Quick-dry inks often suit more demanding conditions, while solvent or water-based inks may suit other surfaces better depending on how absorbent the material is.
Measure The Print Zone Before A Sample Leaves The Yard
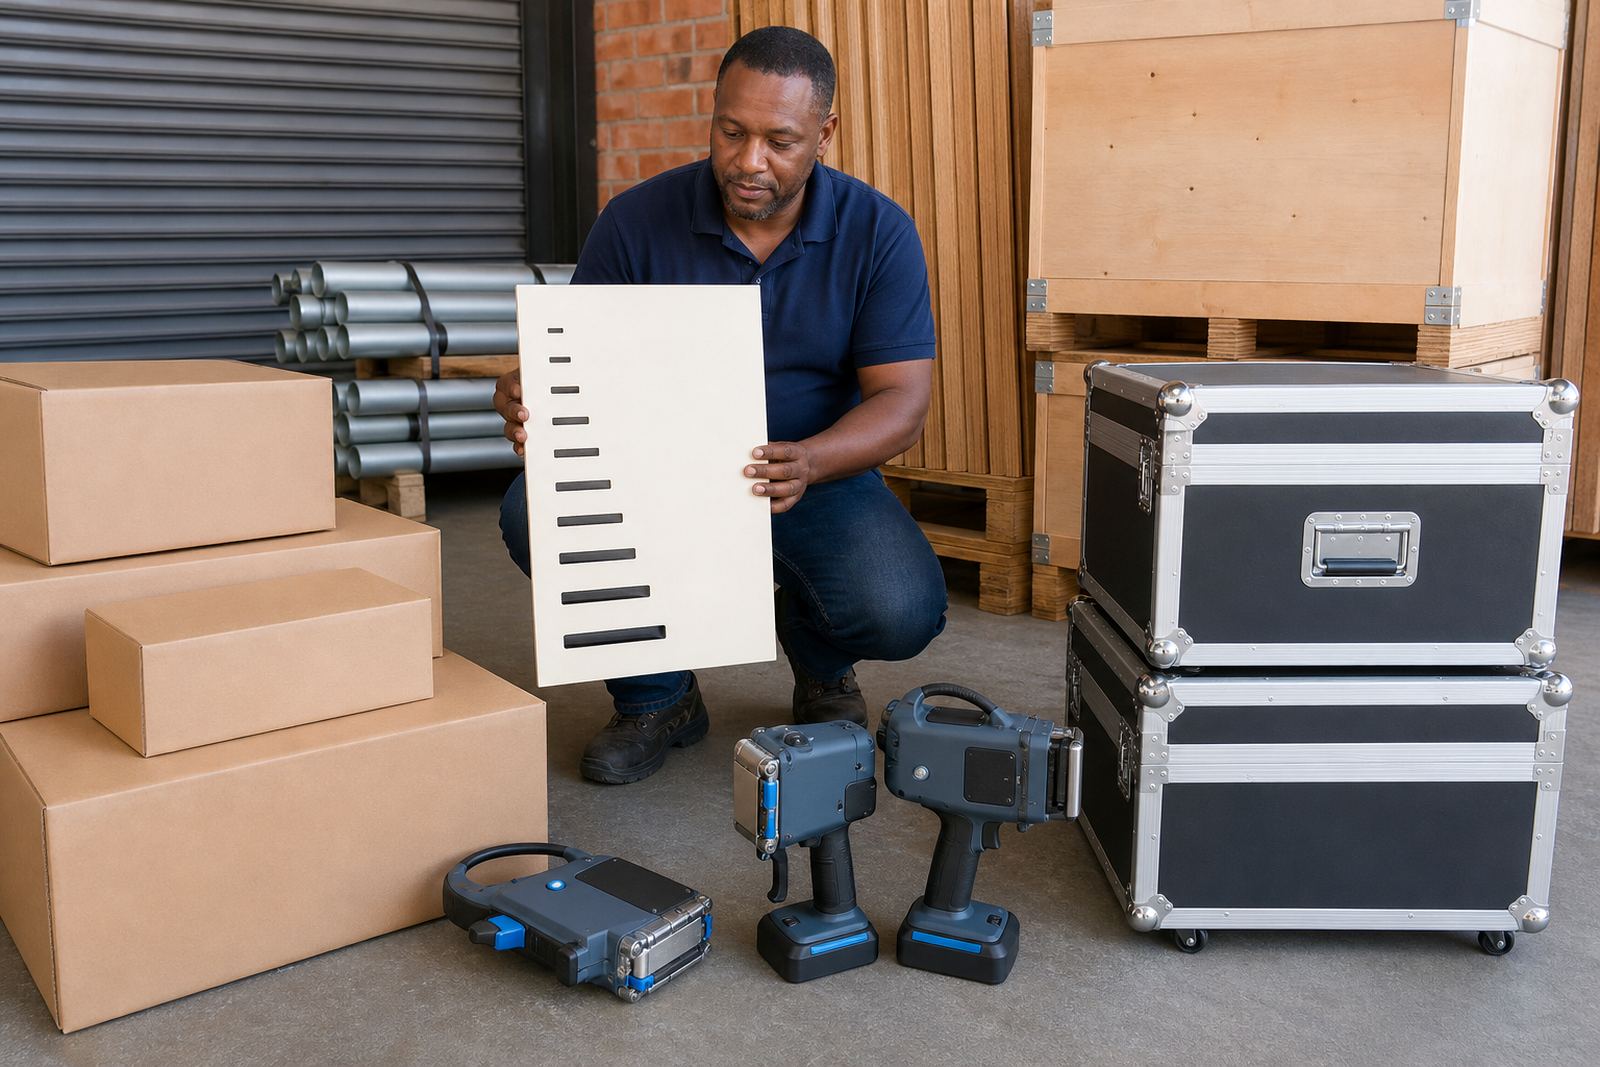
Handheld coders need the print area mapped out before testing. A barcode that is too wide for the available panel or a logo that sits too close to a fold will cause trouble on site. Measure the flat or curved space where the code must sit, then check the height and width available.
- Available print width on the sample
- Clearance from folds, seams and edges
- Space needed for date, batch code or logo
- Any curvature that may distort a barcode
- Target position on the carton, bag, pipe or timber
Print height also matters. A short date code may fit neatly at one height, while a longer batch line or logo needs more room. Bring the largest version of the message if the same coder must handle different formats on the job.
Choose The Ink Based On The Material, Not Guesswork
Choose the ink during sample testing, because the right option must be checked on the actual material at that stage. A porous carton can take one type of ink cleanly, while a coated bag or painted pipe may need a different formulation to sit well and dry properly. In coastal areas such as Durban and Richards Bay, humidity can change drying behaviour, so the same surface may test differently from a dry inland site.
Bring any information you already have about the material finish, handling time and whether the print must stay sharp during stacking, strapping or transport. If the pack is handled immediately, quick-dry ink may be the better trial. If the substrate absorbs ink fast, a water-based option may be worth checking. Where the surface is less absorbent, solvent ink can be tested alongside the others.
What To Pack With The Samples
A tidy sample pack makes the test easier to read. Include the items that affect setup and repeatability, then label everything clearly so the test can be traced later. That way the print sample, the surface and the message all stay linked.
- At least two samples of each material type
- The exact wording for dates, batch codes or serials
- Barcode artwork or a clear barcode number sequence
- Logo file or a printed reference image
- Notes on print position and preferred orientation
- Any packing method that affects the surface, such as straps or wrap
If the job will use weekly or monthly hire, samples should still reflect the real production line. A quick test on a counter-sized offcut can mislead the operator when the full carton or pipe arrives on the line.
How The Test Session Usually Runs On Site
Once the samples are unpacked, the operator can load the message, check spacing and test a few print positions. That stage usually shows whether the print head height, ink choice and hand speed suit the material. For barcodes, the scan result matters as much as the visual line, so keep a scanner nearby if the job needs one.
Our team can work through delivery and collection, on-site setup, remote setup help, operator training, message loading, barcode setup, logo setup, test printing, consumables supply, troubleshooting support and backup unit support. The aim is to leave the sample table with practical evidence rather than guesswork, so the hired coder is matched to the job before production starts.
A Clean Sample Set Saves Trouble Later
A good test sample shows how the material reacts, how the print sits and whether the message survives handling. If the sample is honest, the test is honest too. That gives a better read on whether the coder will suit cartons in Pinetown, pipes in Johannesburg or timber in Cape Town, with the same job logic carried through to each site.
Keep the sample set close to the real conditions and the hiring decision becomes much easier. The more the test matches the production surface, the less room there is for surprises when the unit is put to work.