
1. Open the case and match the kit to the hire note
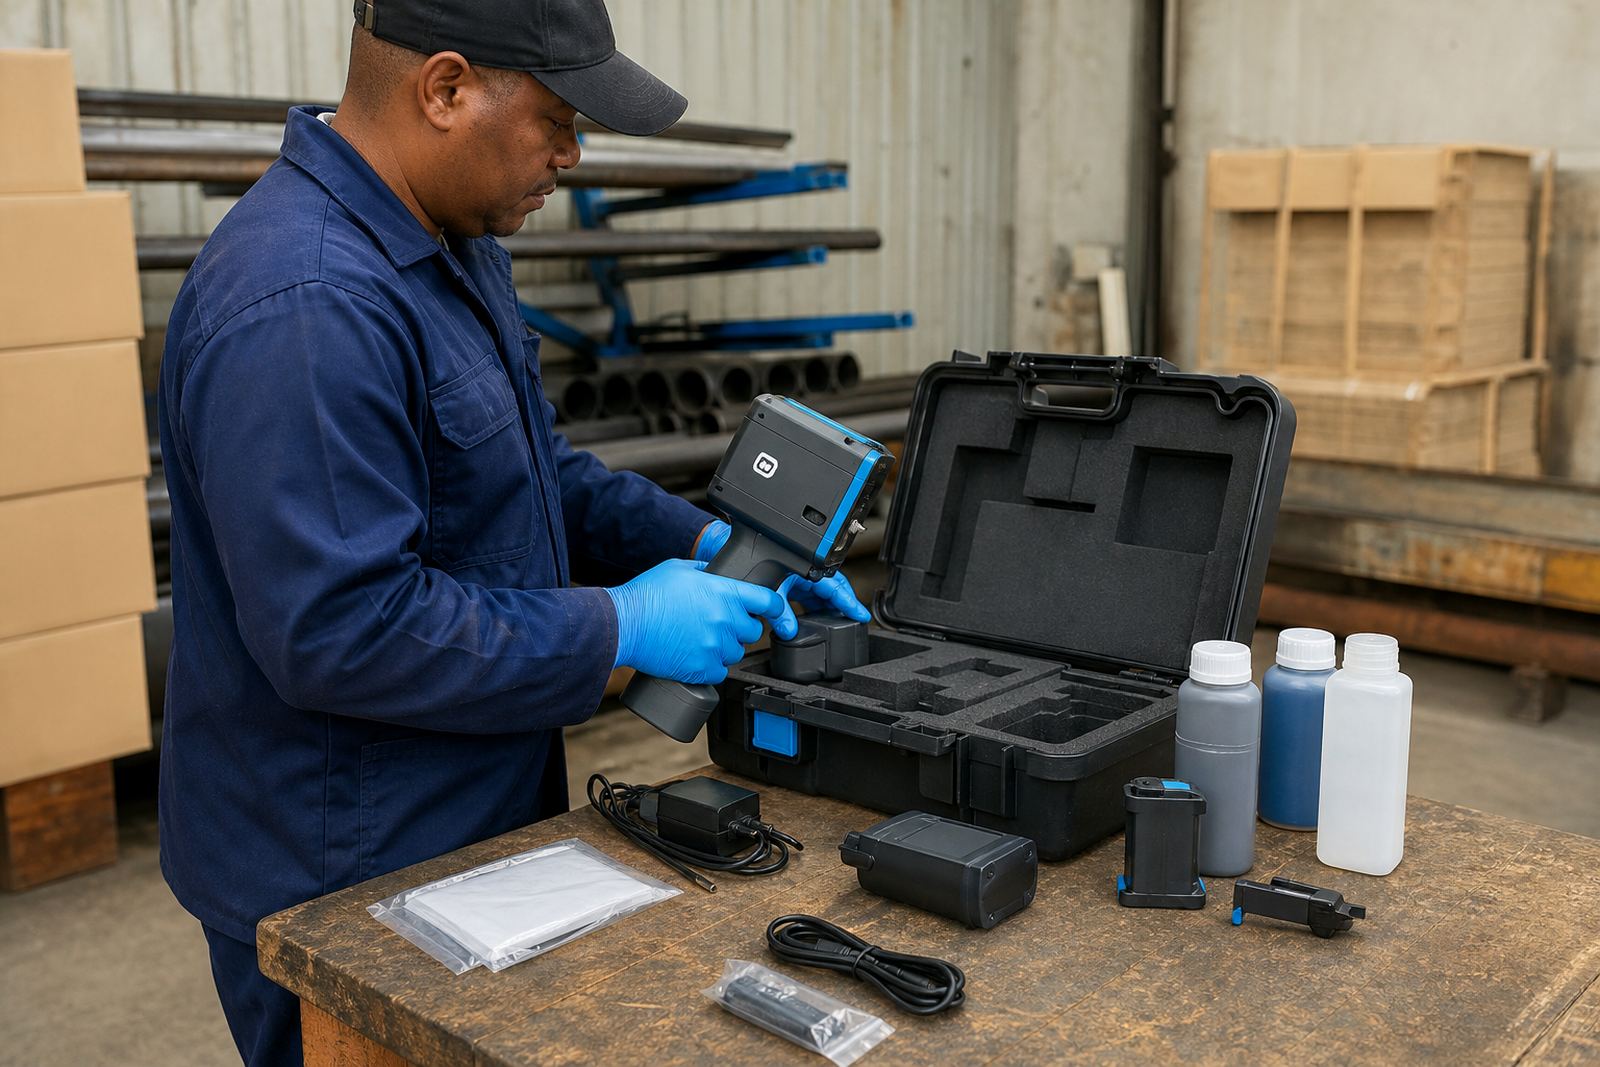
Start by laying out the coder, printhead, charger, ink cartridge or bottle, cleaning items, sample media and any message notes. Check that the unit number matches the hire paperwork and that the printhead is clean, straight and free of dried ink. A quick visual check saves trouble later when you need a clear date, batch code or logo on the line.
Look for any transit marks on the casing, trigger, screen and wheels if the unit has a guide roller. If the kit includes a test card or sample board, keep it close. It gives you a clean surface for the first pattern and helps confirm the print height before you move onto product.
2. Set the ink for the surface, not just the message
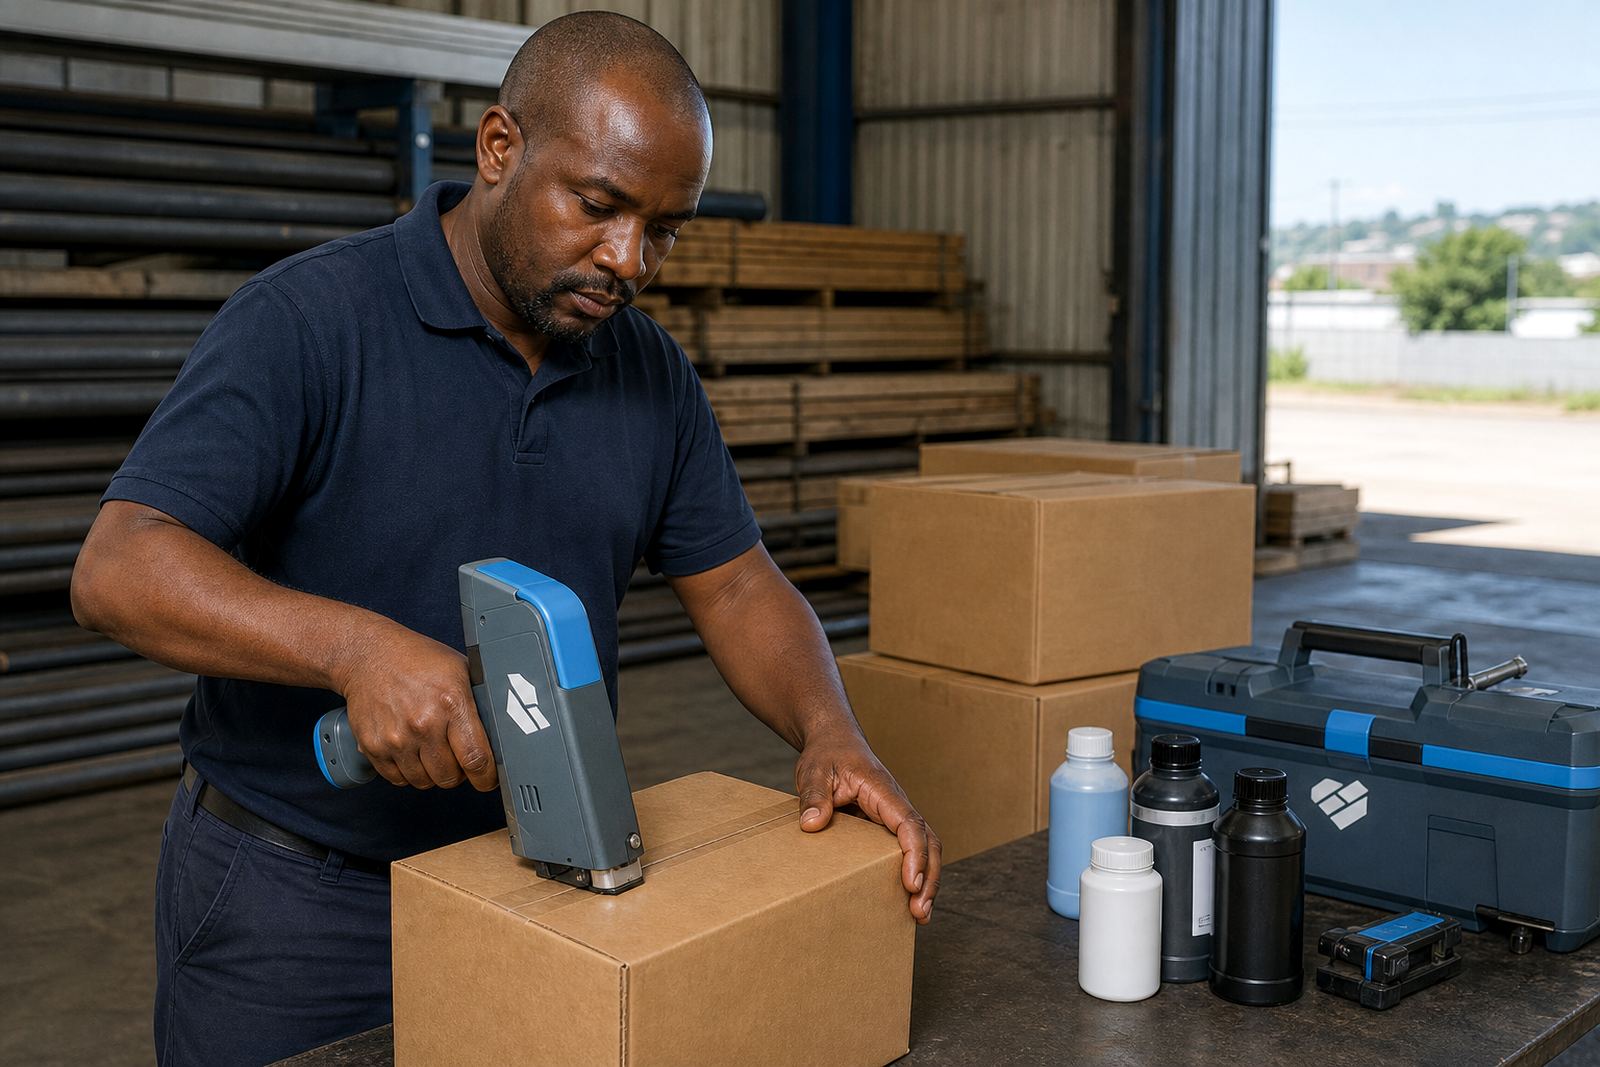
Handheld inkjet coders can print with different ink types, and the surface matters. Water-based ink can suit porous cartons and some timber, while solvent ink is often better on sealed bags, treated timber, coated boards and non-porous surfaces. Quick-dry ink helps where the item is handled soon after marking.
The chosen ink must suit the material, the drying conditions and the handling after print. In Durban, Pinetown and Richards Bay the humidity can slow drying on some surfaces, so a test mark on the exact product is worth doing before the full run. On steel, pipes or glossy packaging, the surface needs a clean, dry finish or the code can smear or bead.
- Cartons: check fibre absorbency and ink spread.
- Bags: confirm whether the weave or coating takes the mark.
- Pipes and steel: wipe dust, oil and moisture first.
- Timber: test on the same grade and finish that will be coded.
3. Load the message with the right line breaks and height
Before printing, confirm the message layout. Most jobs need a date, batch number, shift code, expiry line or logo, and the print height should suit the space available. A taller mark may work on cartons and timber, while smaller heights are often better for narrow pipes or tight panel areas.
Keep the characters neat and readable. If the coder has multiple lines, make sure the spacing leaves room for the whole message without crowding. Barcode setup needs extra care because bars must print evenly and stay crisp enough for scanning. A crooked or compressed barcode causes avoidable rework.
- Single line coding: useful for small spaces and fast moving packs.
- Two line coding: useful for date plus batch number combinations.
- Barcode jobs: confirm size, placement and scan direction first.
- Logo marks: test the logo at the true print height before use.
4. Test on the actual surface before full production
Use the first test print on the same material that will be coded in the job. A carton sample from a different batch, or a timber offcut with another finish, can give the wrong result. Hold the coder steady, keep the print path straight and check whether the ink sits cleanly without feathering, gaps or ghosting.
Read the print under the same light the team will use on the floor. A code that looks fine under workshop lighting can be weak once it is moved near a dock, pallet wrap or direct sun. If the mark needs a small correction, adjust speed, pressure or print height one setting at a time so you can see what changed.
5. Check operator handling and basic cleaning habits
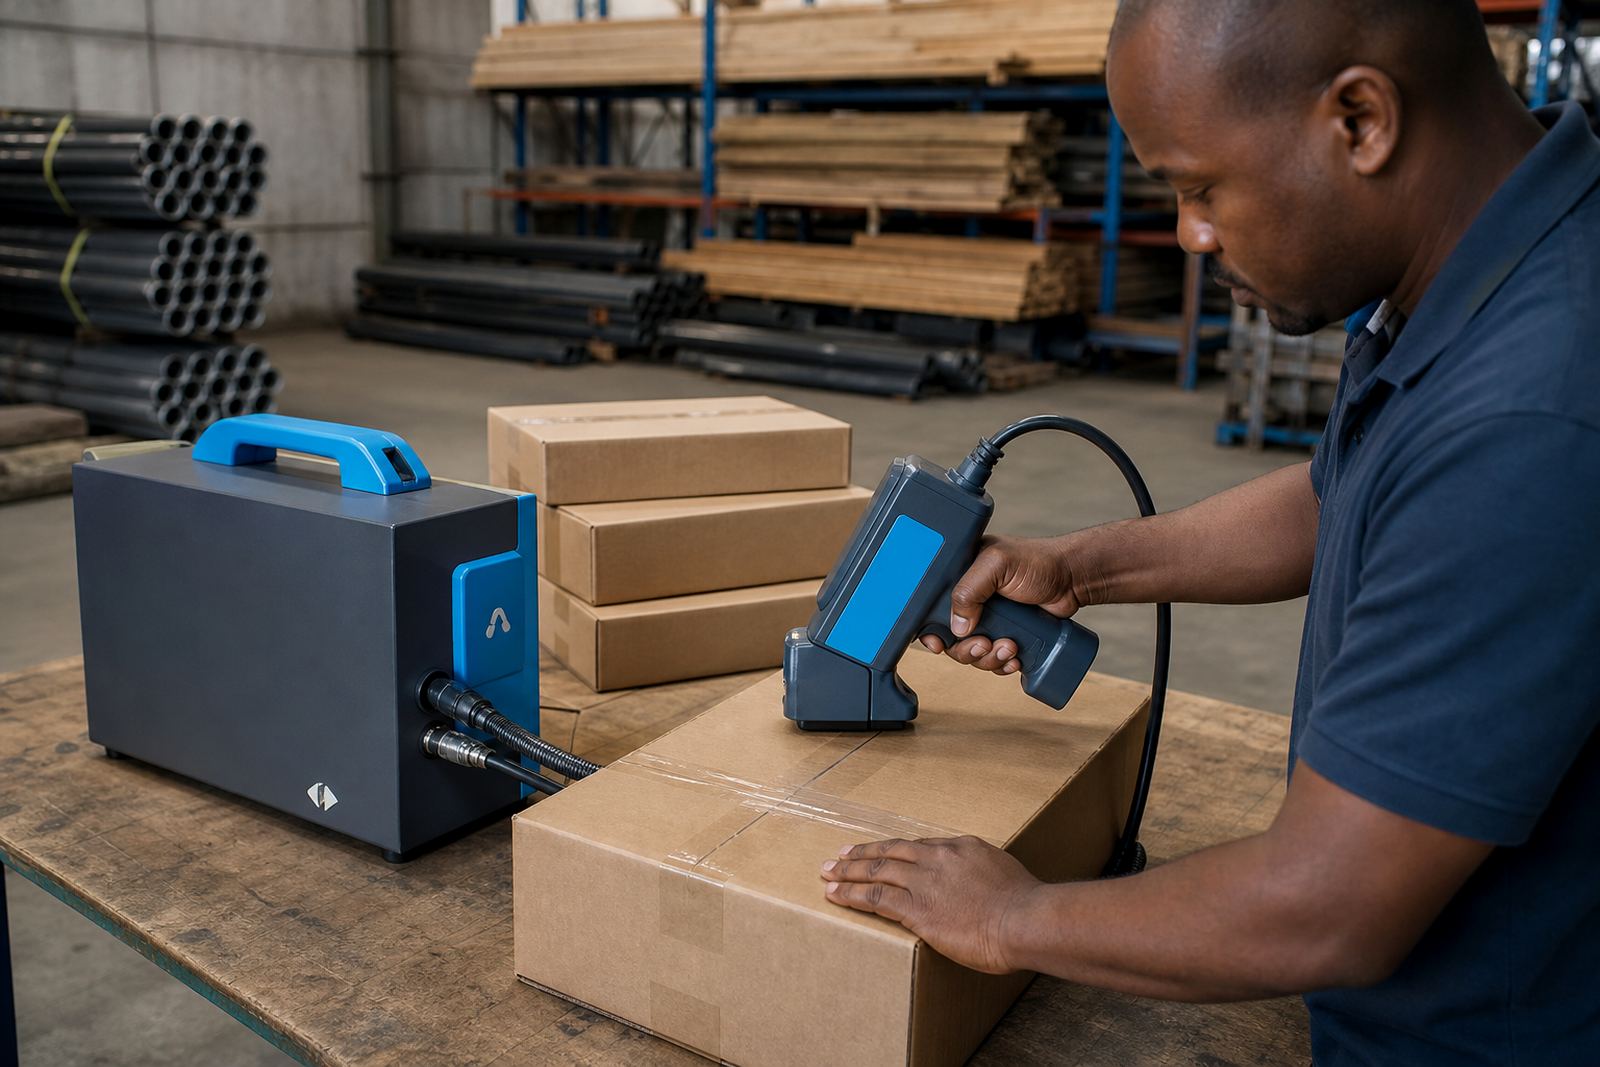
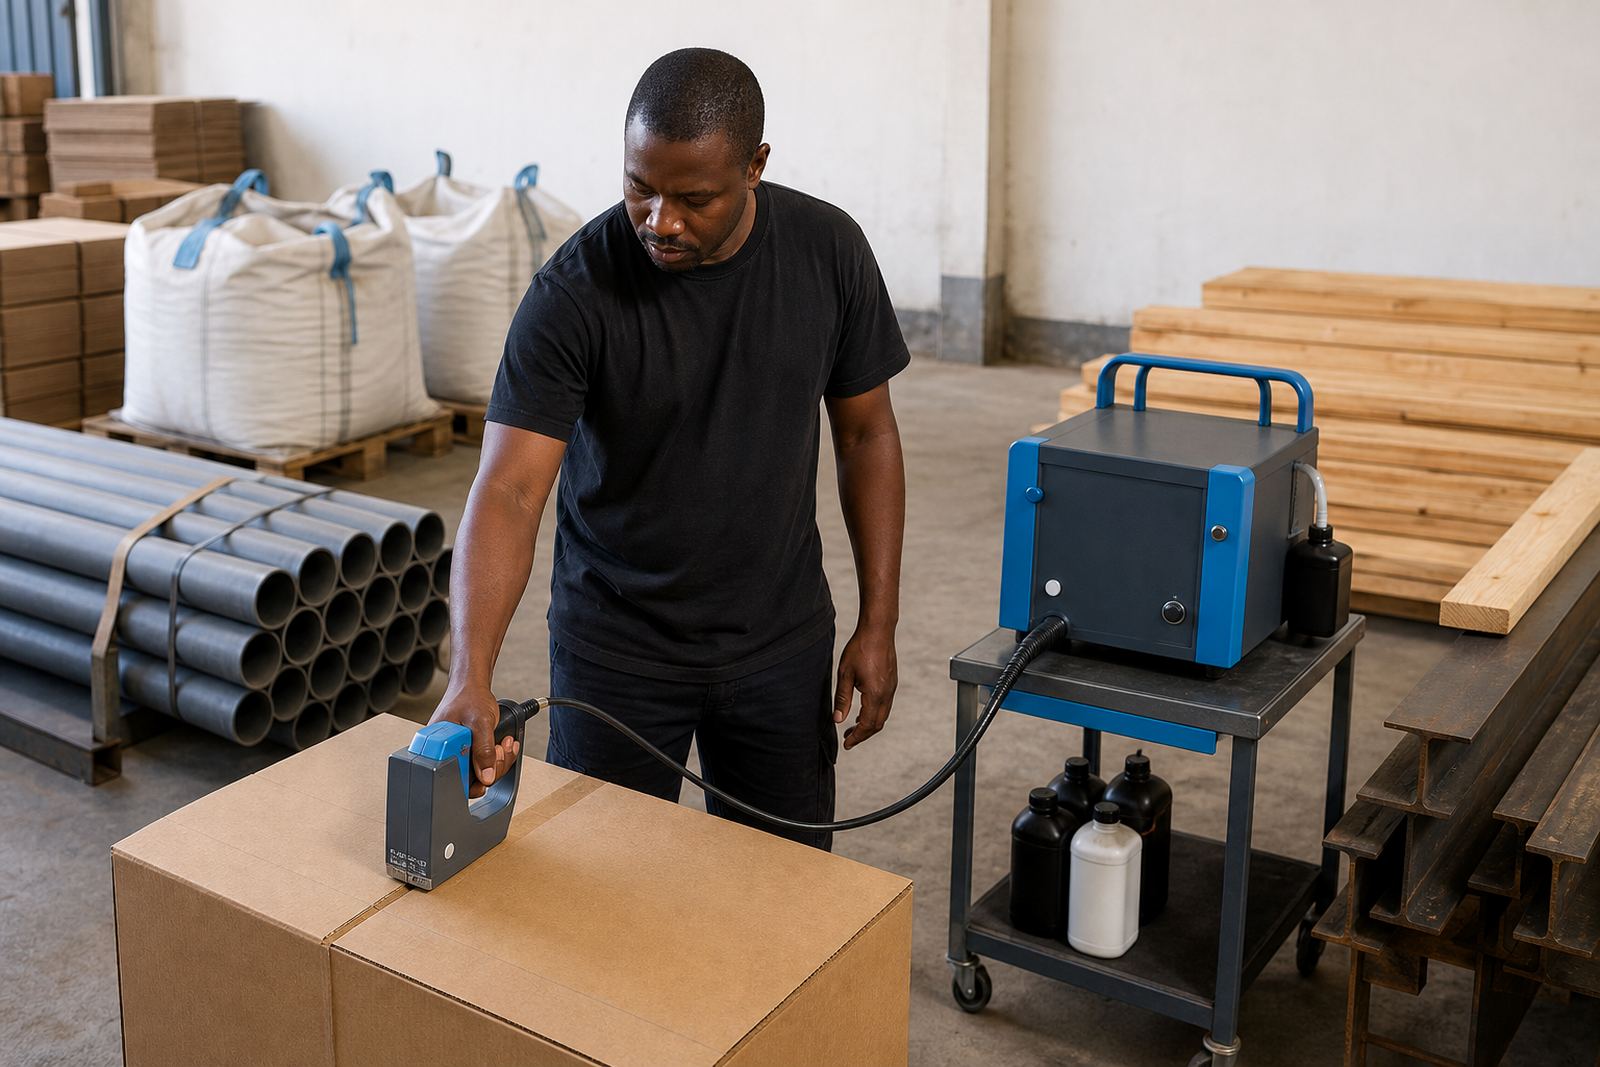
Handheld coders depend on steady handling. The operator should keep the device level, move at a consistent pace and avoid twisting at the end of each line. Training helps with that first run, especially when the job needs repeated coding on cartons, pipes or timber lengths of different sizes.
Before the hire starts, show the team the small cleaning routine that keeps the unit printing well. Wipe the print area, cap the head where required and keep spare cloths and approved cleaner nearby. If the line stops for a tea break or a changeover, protect the nozzle area from dust and dried ink. Small habits make the difference on a long shift.
- Use clean cloths only, not rough waste.
- Keep dust and packaging scraps away from the printhead.
- Store ink upright where the kit design allows it.
- Do a short test after any pause in production.
6. Confirm setup items for collection, delivery or on-site help
Some hires are sent to site in Pinetown, Durban, Pietermaritzburg, Johannesburg, Cape Town or Richards Bay, while other jobs need collection from the hire base. Either way, confirm what must travel with the coder: charger, spare ink, sample media, cleaning material and any message sheet. If a backup unit is part of the hire, keep its accessories together and marked clearly.
For remote setup help or on-site setup, make sure the team has the product samples ready, the chosen surface details written down and the barcode or logo file sorted if it is part of the job. That gives the technician a proper starting point, whether the hire is for weekly work, monthly production or a short run with a tight pack size.
7. Final sign-off before the first live mark
Before the job goes live, check the print quality on three or four sample marks. Read the date, batch number and any barcode carefully, then confirm that the logo is centred and dark enough for the surface. If the code is for cartons or bags, check that the ink has dried enough for stacking. If it is for pipes or steel, check that the mark stays clear after a light touch.
When the test run looks right, keep the approved sample nearby. It gives the operator a visual reference for the rest of the hire and helps the team keep the same result from one pack to the next.